There are some things that are worth a little extra-a little extra money, a little extra time, a little extra effort. It doesn’t matter, for some things we really don’t mind. Well, if your hiking boots aren’t one of these things, they really should be. These shoes serve as the barrier between your foot and the harsh outdoors.
They protect you from water, wind, cold, you name it and they are one piece of equipment that you would dearly miss if you found yourself without it.
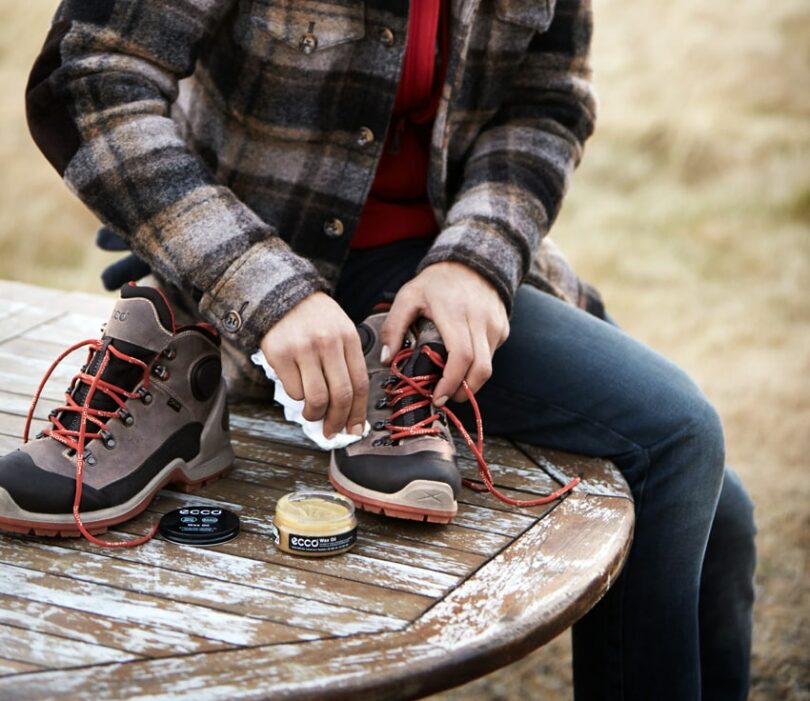
This is why it is so important to take care of your hiking boots and to make sure you clean them and maintain them.
A little extra effort and a little extra time will help keep them in tip-top shape so that you can know for sure that they are doing their job. We are going to discuss exactly how to wash hiking boots since the process isn’t as straightforward as it may seem and we want to make sure you are taking every step to protect your boots.
It still remains a pretty simple task, but let’s go over the important parts to make sure you don’t miss anything.
Why wash?
You might be thinking to yourself, why would I need to wash my boots? There’s a pretty good chance you bought a pair of nice boots that are waterproof and made of either full-grain or split-grain leather, so maybe you are thinking that they are indestructible and cleaning won’t do a thing.
Well, this is somewhat of a misconception. Hiking boots follow the same logic as almost any other quality product you buy. If you had a Mercedes you would surely wash it, change the oil and make sure the tires were fully inflated, no?
The same thing applies to your shoes. If you keep them clean and well-maintained they will not only last longer but will perform better. Cleaning your shoes frequently helps to:
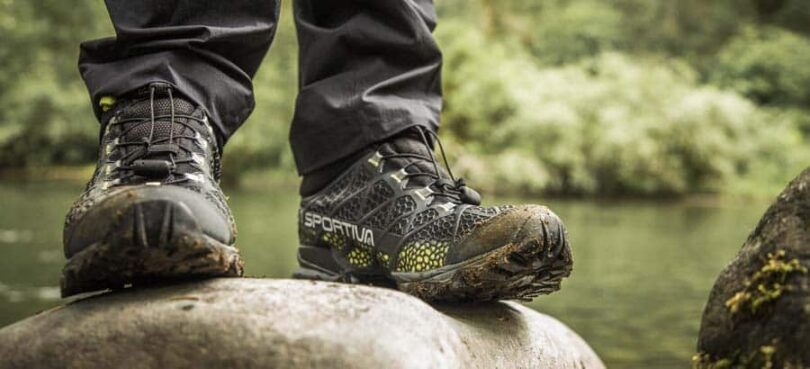
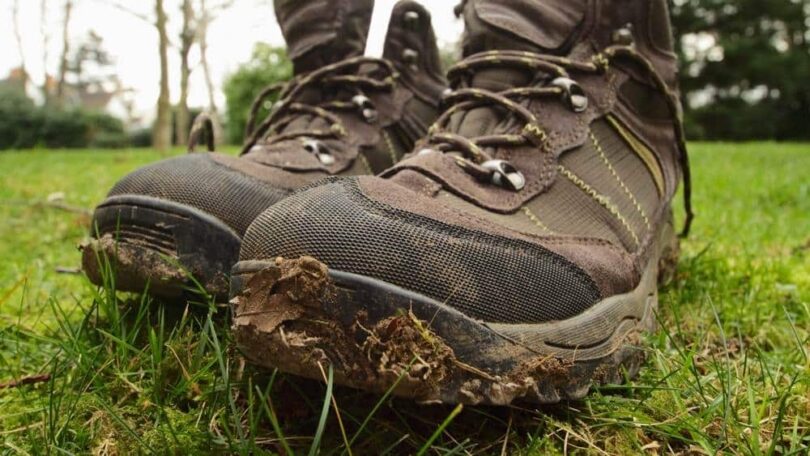
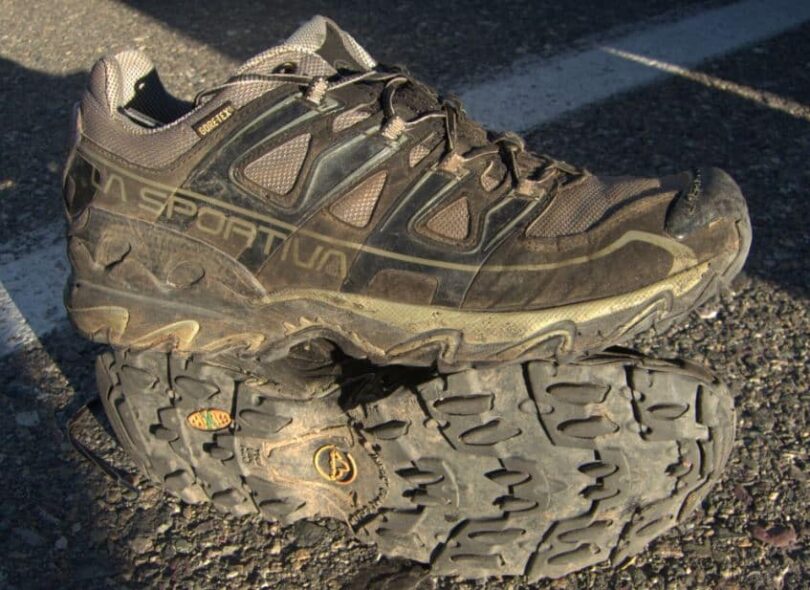
- Maintain traction. As you walk through muddy areas, dirt collects inside the rivets and lugs of the bottom of your shoe. You might not notice this in the beginning, but as it builds up you will lose grip on the surface you are walking on. Making sure to keep up with this becomes somewhat of a safety concern if you will be attempting to traverse slippery and uneven terrain.
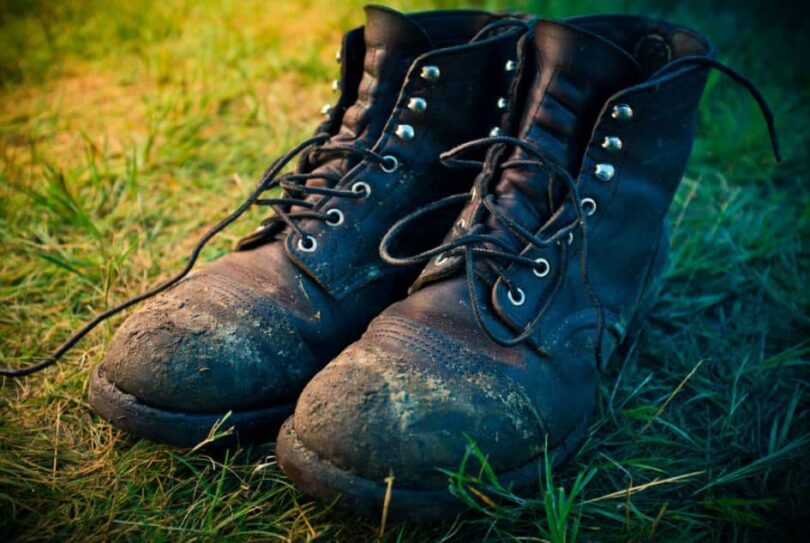
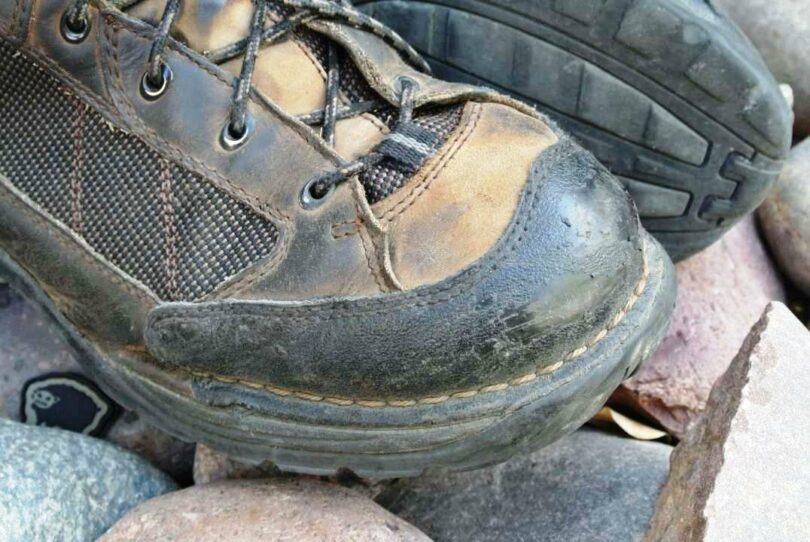
- Prevent leather from cracking. It is important to keep leather well moisturized, but if wet mud is left to dry up on top of theleather, or if the leather is left wet for t0o long, the process of drying up can crack the leather. If this happens your boots will be beginning their slow journey towards obsoleteness as the leather will continue to crack until the shoes are no longer able to be worn. You need to get on top of this before it happens to prolong the life of your shoes.
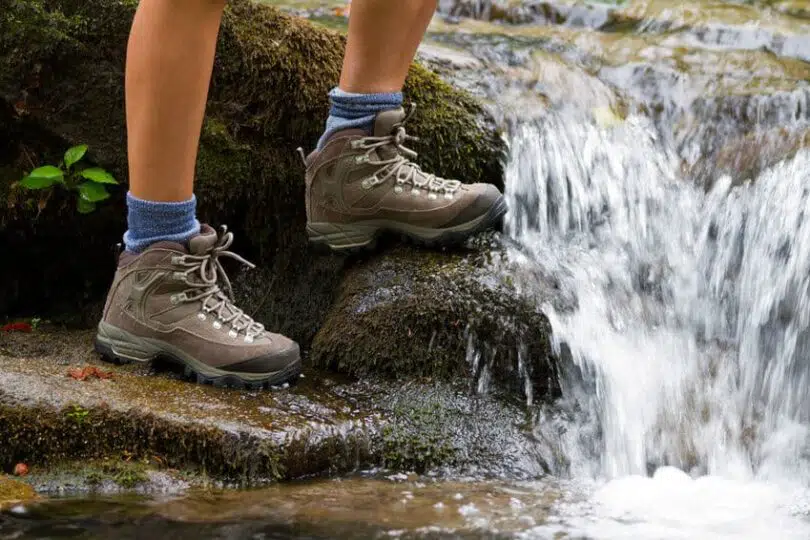
- Protect waterproofing. Every time you step with your shoes, the material cracks open a little and dirt and other materials can work their way in. If you go a long time without cleaning your hiking boots this can build up and eventually cause the waterproof membranes to either break or to work away from the surface, which will cause water to find its way into the shoes when you are wearing them. Take a look our easy guide on how to waterproof your boots to help you.
- Look sharp. Regular cleaning and maintenance of your boots will help them to maintain that slightly worn look that we all want out of our boots. No one wants their shoes to look like they just came out of the box but no one wants them to look like they are 100 years old either. Cleaning won’t return them to brand-new, but it will help them look sharp so you can maintain that look.
If you are someone who likes to head out into the woods frequently, take pride in your boots and make sure to maintain them well so that they remain not only aesthetically pleasing but also functional. It is extremely important to keep your feet warm and dry since failing to do so will bring about pain and discomfort that is certain to ruin your trip.
When to wash?
So now that you can see just how important it is to regularly clean your boots, you might be wondering what exactly is meant by “regular.” Some people might take this statement to mean that every time you take your boots out of the closet and walk around in them you need to get out the brush and the soap to clean them up.
This would certainly be an exaggeration and is entirely not necessary. In fact, over-cleaning your shoes could end up having the opposite effect.
Overexposure to a brush and to abrasive cleaning solutions could cause the leather or whatever other material the shoe is made from to break down and eventually crack. So based on this, it is probably a good idea to really clean your boots every three or four times that you use them.
If you are out in extreme terrain and come back with your boots covered and caked in mud, well perhaps you will need to clean more frequently. However, for most others this kind of time frame makes sense. In between cleaning sessions you can get away with hitting your boots against each other so that any dirt or mud stuck on falls off.
Different materials
It is very rare to find a pair of hiking boots that is made entirely out of one material. Typically, different parts of the shoe are made from different materials and this has an impact when you go to clean your boots since some materials require more attention than others. The usual materials found to make hiking shoes are:
Leather
You will find all types of leather, full-grain, split-grain, suede, nubuck leather, etc. This is usually the main part of the shoe and it is such a popular material because of its durability and for being naturally waterproof.
It usually makes shoes a bit more expensive, but it is worth it in the long run for its durability and effectiveness.Cleaning leather is a bit tricky and we will discuss exactly how you should go about doing it in the next section.
Waterproof membranes
These are usually synthetic materials that are used to reinforce the waterproof capabilities of these shoes. The most common material used for this purpose is Gore-Tex. It is extremely durable and works very well in keeping your feet dry while wearing your shoes. Cleaning it is very simple, just like leather except no need for conditioning.
Synthetic cushioning
Many manufacturers put some sort of synthetic material inside the shoe to insulate it and to provide some sort of cushioning. This helps to make them more comfortable and also provides warmth when you are hiking out in the more difficult conditions. Cleaning this material is both a little trickier, but a little less important.

Unless you are doing a lot of sweating inside your boots, which you should try not to do since that can make your feet cold and uncomfortable, your socks should keep this part of the shoe pretty well protected. If you do need to clean it, make sure to try not and let it get too wet as it can be difficult to dry, especially the parts way down by the toe. Don’t forget to keep your feet toasty by reading our reviews of the best socks to keep you comfy.
This is probably the most important part of the shoe to keep clean in terms of safety since failing to do so could cause you to slip and slide all over the place as you walk. However, luckily, this is also the easiest part to clean. Since the soles are almost always made from rubber, you do not need to worry at all really about over cleaning or damaging.

The only thing you should avoid is using sharp objects that might tear or rip the rubber, but this probably wasn’t a big concern anyway. Otherwise, don’t be afraid to dig into them to get all the dirt off them so that you can the most amount of traction possible.
How to clean hiking boots
Now let’s take a closer look at the exact steps involved in cleaning your hiking shoes so that you can be sure you are taking full care of such a precious piece of equipment. This description is geared specifically at leather hiking boots, but the same process could be followed for boots made of any material.
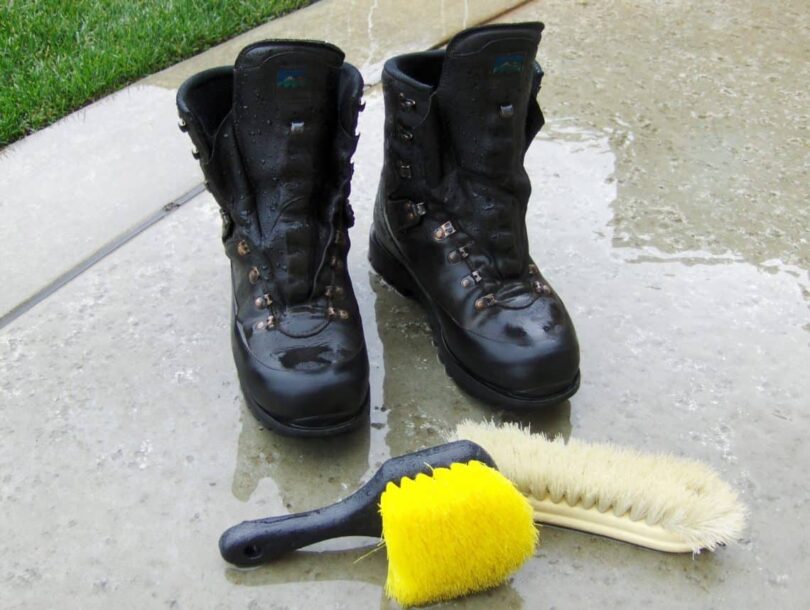
The first thing you will need to do is to gather your materials. In this case, there isn’t much but you will need:
- A bucket or barrel big enough to fit one shoe
- Saddle soap or mild dish detergent
- Water
- Soft brush—toothbrush or gentle dish brush. The important thing is that it is not too abrasive, no steel wool or other tough sponges that could scratch the leather.
- Stick/screwdriver—something mildly sharp to dig out dirt
- Rags
Remove any excess dirt
Since you want the cleaning process to be as gentle as possible on your boots, you don’t want to be scratching and scrubbing to try and remove dirt. To prevent this, the first thing you could do is bang the shoes together or against a flat surface.
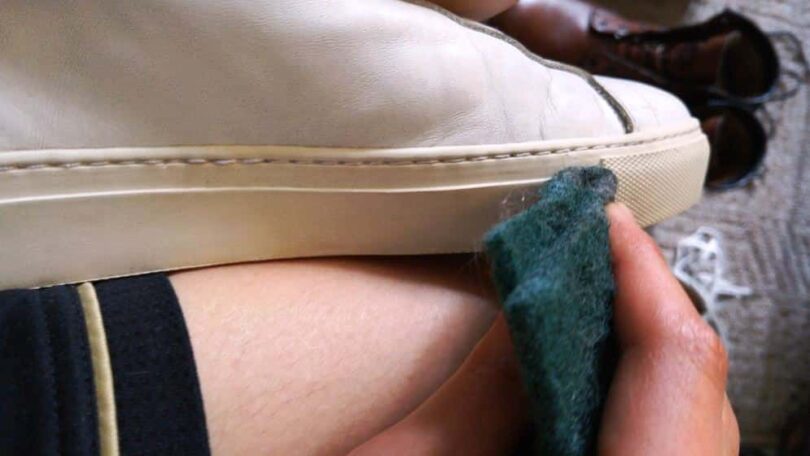
As long as you do this to the soles you won’t be doing any damage to your shoes. This will knock any looser-hanging dirt off the shoe. Afterward, you could grab a rag and just gently go around the shoe trying to break off any dirt that is stuck or doesn’t want to fall off.
Clean out the soles
The next step is to turn the shoes upside down and to spend a little time clearing out any dirt and mud from the soles. Whatever didn’t fall out after the first step needs to be dug out so that all you can see is rubber. It doesn’t make sense to spend all of this time cleaning your shoes only to leave some dirt deep in the lugs on the sole of your shoes.
To really get this clean you might need the help of a tool. This is why we put a stick or screwdriver on the list of materials. Something like this will help you get into the hard-to-reach places and will make it easier to dislodge any mud or dirt that is being stubborn and won’t come off. Once you’ve finished this step your ready to tackle the rest of the shoe.
Prepare the soap and clean the shoe
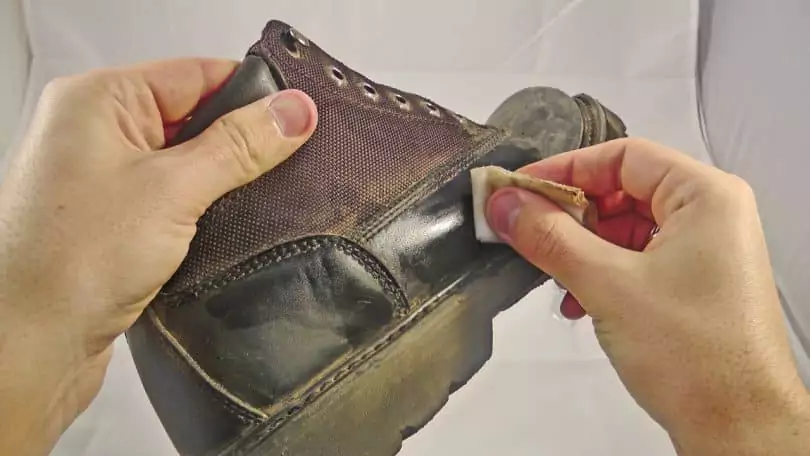
It is very important that you don’t use soap or any other more intense cleaning product directly on the shoe. This could be abrasive to the leather and cause it to deteriorate. Instead, take the bucket you gathered and fill it with water and just a few drops of mild dish soap. The water should have a few suds in it, but be mostly water.
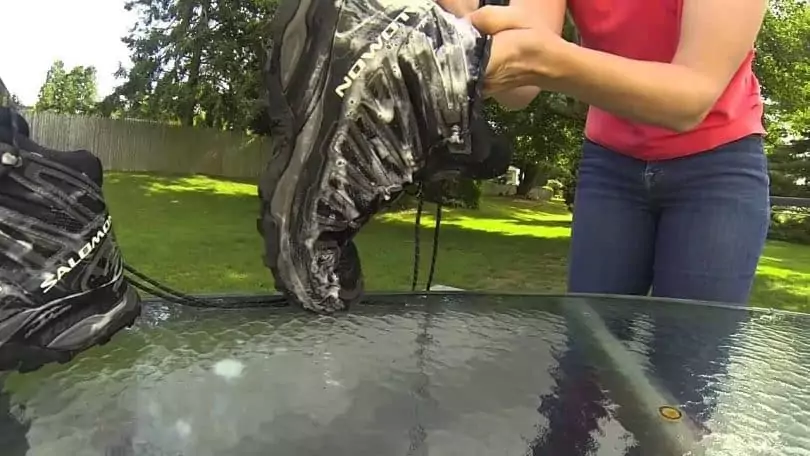
This will give you just enough to clean up the shoe without damaging the leather. From there, take the toothbrush or whatever you have found and wet it in the water. Take it and gently begin to scrub all around the shoe. You want to apply enough pressure to make sure you are actually cleaning it, but not so much that you could scratch it.
Continuously dip the brush in the water and go all around the shoe trying not to let one part of the shoe get too wet. Once you have done this for the whole shoe, put it down and repeat for the second shoe. It is helpful to wear the shoe like a glove so that you can easily work your way around the whole shoe without having to worry about putting it down somewhere.
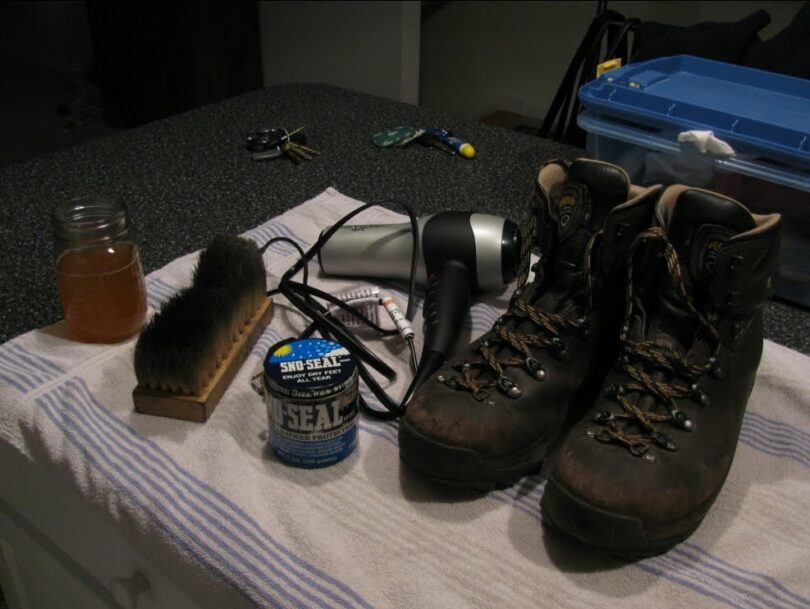
Let dry and condition
Once you have had the chance to clean both shoes, put them in a warm dry place to dry. It is important they are not over exposed to heat (this can cause the leather to dry out) but that they are also not in a dark/damp area like the basement.
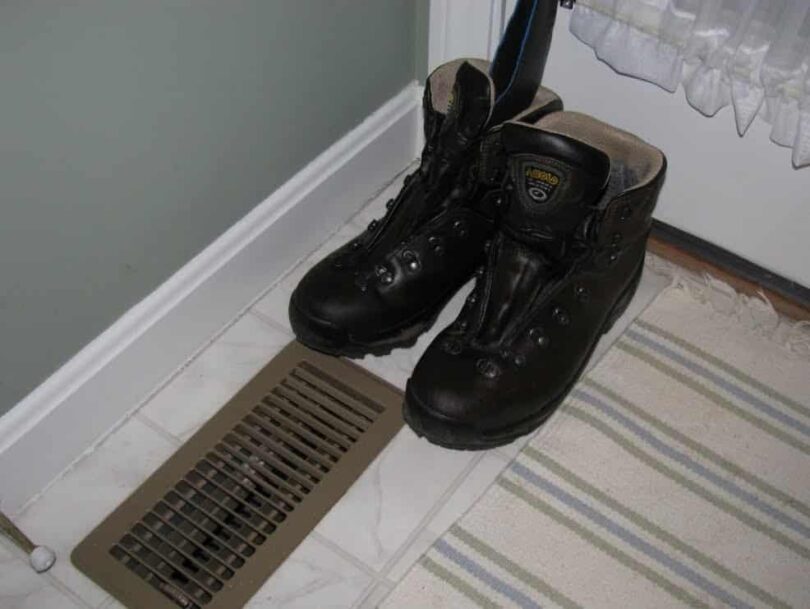
This will stop them from drying and could cause mold to form. If you have washed the inside of the shoe or if it is wet from use, you could stuff some newspaper inside it to help absorb some moisture and make sure the fabric dries. Never, under any circumstances, put your shoes in the dryer or use a hair dryer on them.
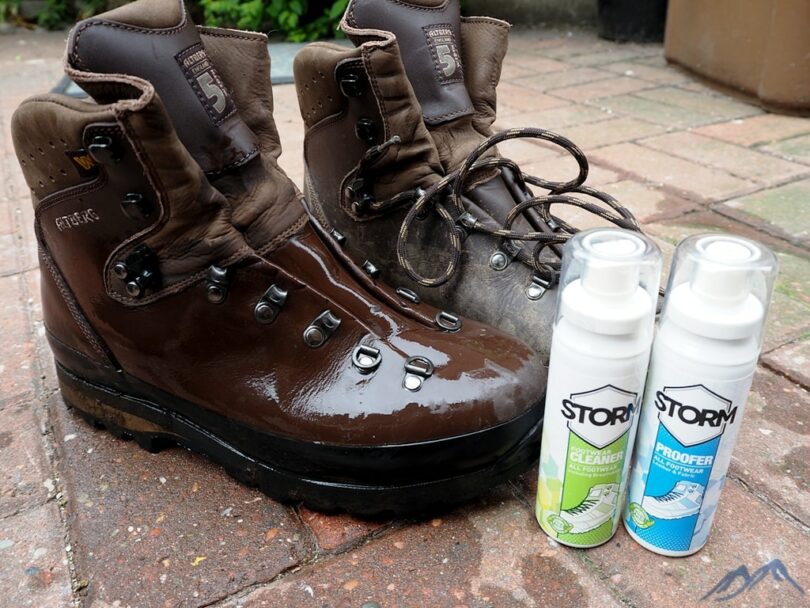
After the shoes have had the chance to dry, it should only take a few hours, overnight at most, you will want to be sure to condition the leather. To do this you will need to purchase a conditioning product. This is essentially a moisturizer that helps prevent the leather from drying out and becoming less effective.
To apply it, just grab a dry, clean rag and apply a small amount of cream on the leather by rubbing it in until it is fully absorbed. Try not to use too much as this can change the color of the leather, but don’t forget this step as it will go a long way in helping you maintain your shoes for a longer time.
Some common mistakes to look out for
Now that you have a clearer understanding of what goes into keeping your boots clean and protected, let’s look at a few common mistakes people make that can have serious negative side effects on your shoes and could cause you to buy new ones far before you would like to. Some of the most common mistakes are:
Not doing it right after
It’s understandable, the last thing you are probably thinking of doing when you arrive home after a long hike is to sit down and clean your boots. Well, this could be a terrible mistake.
It only takes about 20 minutes and getting the dirt and mud off your shoes right away will prevent stains and cracking and will help make sure you boots last much longer.
Using detergents
We mentioned earlier how important it was to use a mild soap. Sometimes people get caught up in how durable their shoes are and try to use more intense soaps to get out those tough stains.
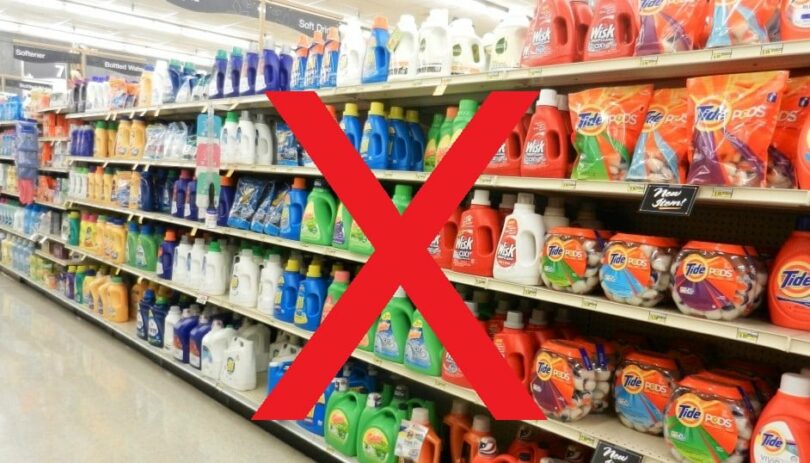
This is a terrible idea and will likely destroy your shoes if not right away slowly over time. If you have a tough stain to get out, just keep at it with the brush and the mild soap—the extra time will be worth it.
Washing machine
Some shoes, like sneakers and all-cloth shoes, can just be tossed into the washing machine to get cleaned up quickly and easily. This is not the case for hiking boots. Doing this will destroy the leather and could make you need to immediately buy a new pair of shoes. Simply don’t do this and you will be forever thankful.
Using heat
Maybe it’s cold out and you are worried your boots won’t dry quickly enough so you put them next to the heater or worse in the oven. This will dry out the leather very quickly, cause it to crack and could render your shoes essentially useless rather quickly.
If you need the shoes to dry fast you can put them next to a fan or somewhere with moving air, but never use heat to try and speed this process up.
Grab a brush and start cleaning
That’s pretty much it. Like we said, the process isn’t overwhelmingly complicated, but it does require a little more than maybe you had initially thought. Proper maintenance of equipment is essential for making sure it lasts as long as possible and is as effective as possible.
It is important to try and get yourself into the habit so that maintenance can become regular. Know that when you return home you at the very least need to get the dirt of your boots and that after every few hikes you should get out the brush and the soap and do a little more in-depth cleaning.
So what did we miss? What tricks do you use to keep your boots clean and to protect them from drying and cracking? Pass along your secrets so that we can learn the best way and get to cleaning.
To find out how to choose the best hiking boots, read our article on this important topic.