
The wonders of global trade and modernization have given us easy access to thousands of cheap products and cheaper entertainment, and yet we never seem to have enough of either. With this in mind, it’s really no wonder that people barely have the time to escape this rushed, urban lifestyle and enjoy nature.
So, when you do get the chance to do it, you need to do it right. Whether it’s merely fishing, hiking, camping or trekking (yes, there’s a difference, we’ll get to that), one thing you’ll definitely need is the appropriate backpack. So, what types of backpacks are available?
Let’s begin the answer with another question – remember the global trade and modernization we mentioned earlier? The flipside of it is that there is a staggering number of backpacks on the market, and wading through all the sales talk and technical babble can be exhausting.
You need a guideline to narrow down the choice, and, hopefully, get a kick out of it. So, pack your bags, Bilbo, ‘cause we’re going on an adventure.
Types of Backpacks: You Don’t Bring a Knife to a Gunfight
One of the most important things when shopping for a backpack, or any product for that matter, is knowing the basics. This will save you a lot of legwork in the future. Another important thing to do is decide the purpose.
In other words, you have to know in advance what the majority of your activities will look like – whether you plan on doing some light hiking on your day off, a camping trip with friends over the weekend or setting off on a grueling trek through Oregon.

Finally, here’s something you don’t have to worry about – the price. Most people set the price as the be all and end all of the buying, but oftentimes it proves to be a mistake. Don’t ever be afraid to splash out if you want the best quality backpacks.
Backpack Frame Types: The Bare Bones
This division pretty much overlaps the one that follows, so we’ll keep it to the point. It’s not as essential for a perfect pick, but if you’re just beginning to take interest in activities that require backpacks, then this is the kind of basics you need to know.
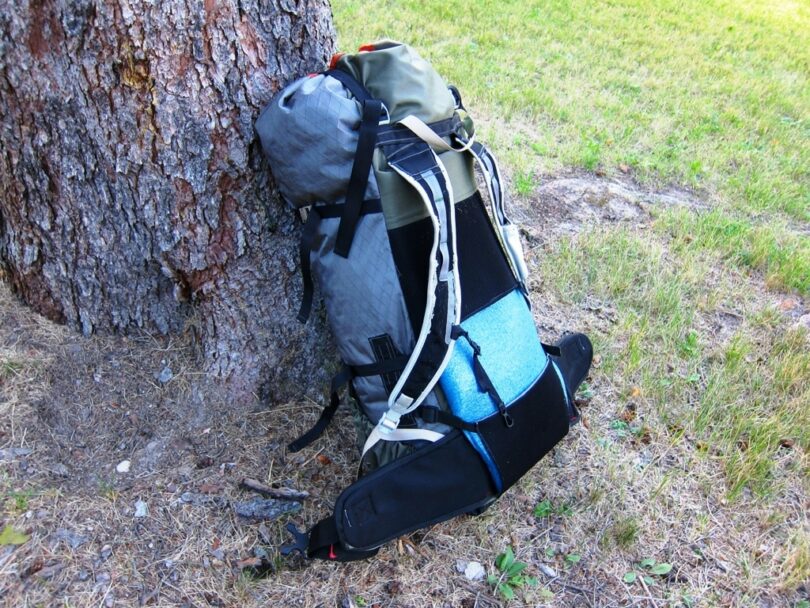
In short, you have frameless packs, internal frame packs, and external frame packs. Pretty self-explanatory, right?
Frameless are those that you’d use on a one-day hike, though you could conceivably bring them for the weekend. The problem with those is that, you guessed it, they have no frame to support the added weight, so they’re better suited for fast hikers, minimalist campers or weekend warriors.
Internal frame packs pack an internal frame, and they are designed with your body in mind. They are made for mobility and balance, so they will have a number of straps to conform snugly to your torso and allow you to carry significant loads. These are The (with capital T) backpacks for trekking (or just traveling through Europe, whichever jingles your jollies).
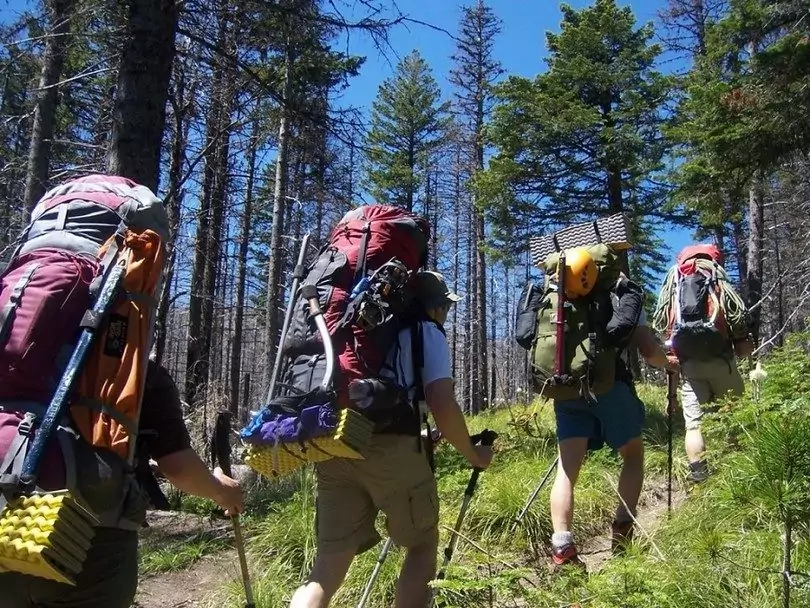
Similarly, external frame packs are designed to help you bear lots of weight without feeling encumbered. They are great for organizing your gear and carrying bulky pieces externally, such as bear canisters or tents (think of them as frames with backpacks attached).
They do tend to snag on branches and throw you off balance if you need to do a bit of rock scrambling, but on a flat and relatively clear terrain, they’re perfect.
The Trifecta of an Ideal Backpack
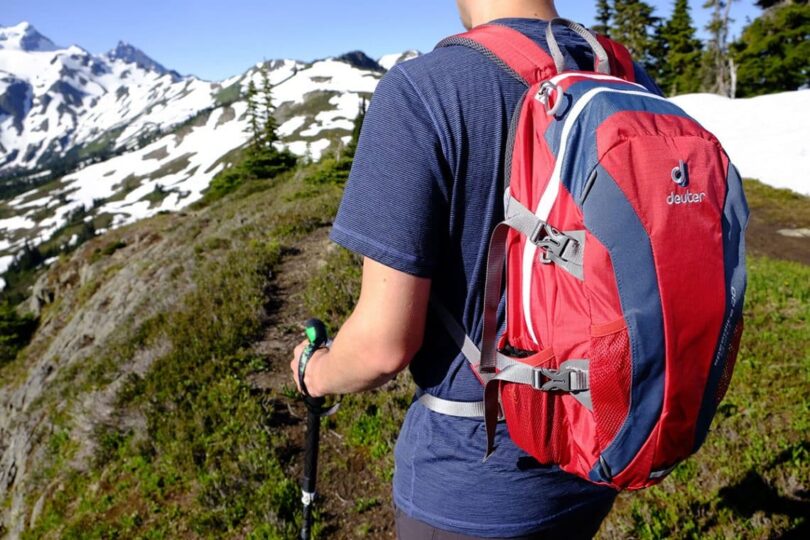
The first thing you should be keeping an eye out for when shopping for a backpack is the capacity – this ties in closely to the general purpose of its use and will help you narrow down the choice by a considerable margin. The second thing is to see how well it fits – you’ll be looking for a snug fit, right up against your shoulders and lower back.
So, make sure you try it on, and if you’re buying online, try to get the exact measures, and then try a similar model. The third and last major thing about getting the perfect backpack is checking its features, such as compartment number, the way it loads, and whatever purpose-specific trait you need. Think of it as finely sifting the offers before deciding.
Capacity: Carry Your Own Weight
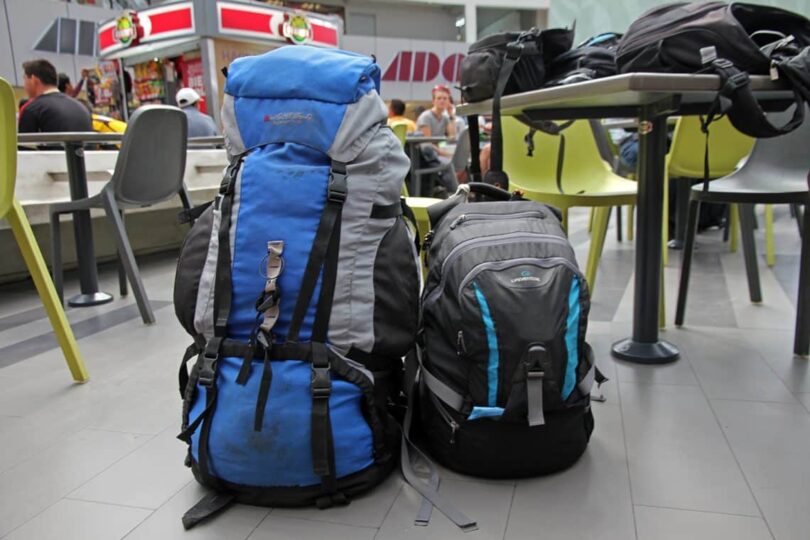
The first thing you’ll note about any backpack is its size, or, more appropriately, its capacity. Though there is a general consensus about categorizing backpacks according to size and the best usage for each, don’t let this be your main criterion when choosing the size.
Your number on concern should be how the backpack interacts with your body – too small and it may cause backaches and balance issues; too big and you’ll be carrying a skyscraper on your back. Still, here’s a useful rule of thumb:
- up to 40 liters – this will more likely than not be daypacks or something similar. These are frameless packs that are best used for short trips. Think fishing, hiking, bit of rock climbing, or some minimalistic camping. You should be able to fit water, a decent lunch, some snacks, and even have room left for the emergency and first aid kit, as well as some warm clothes.
- 40–65 liters – these are what the camping community calls weekend packs. As you might’ve guessed, you’re likely to see and/or use them on backpacking/camping trips. Most of the packs in this range will have a frame, and depending on the number of peripheral compartments, you’ll be able to fit everything you could in a daypack, plus a sleeping bag, perhaps a small tent, and a bigger food supply with even a stove to cook it on.
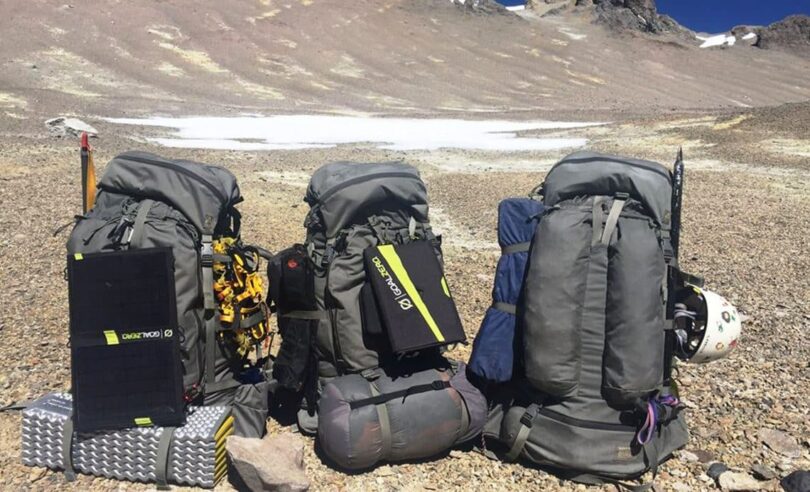
- 65–95 liters – to be honest, unless you’re a burly guy, able to pull more than your share of weight, there’s no reason to go beyond these so-called weeklong packs. All of the backpacks this big should have a frame, either external or internal (if they don’t, you’re just buying an oversized duffel bag). They are well able to fit everything above, only supersized – more clothes, more food, better cooking equipment, cushier and warmer sleeping bag, maybe even a camping mattress and some other luxury items. They should work great for backpacking and trekking on shorter distances.
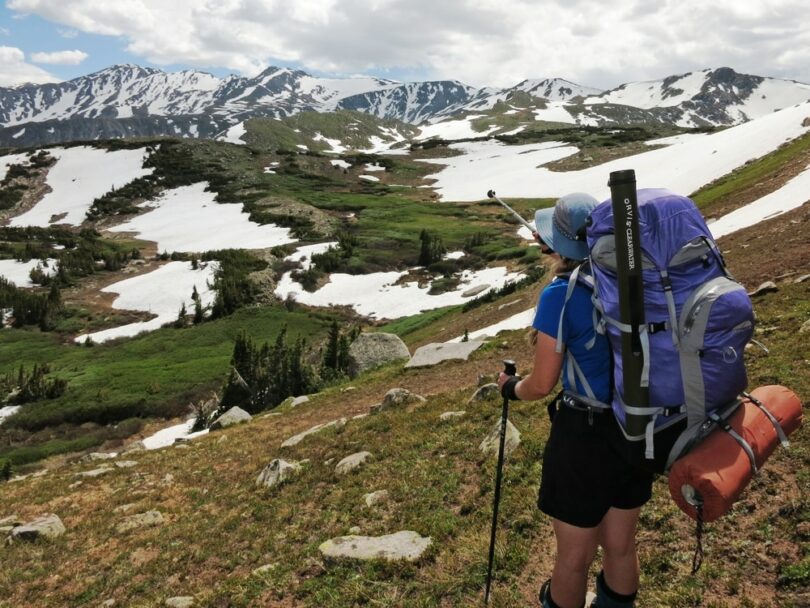
- over 95 liters – the expedition packs, superlatives of backpacks. You’ll mostly see them on trekkers and mountaineers, especially alpine climbers, as these packs will allow a person to bring enough supplies to hold them through a winter. Plus, they’ll usually have hooks or extra compartments for mountaineering gear and other assorted whatnots.
Fit: Hold Me Tight
The only way to get the right backpack is to look at the word itself – it’s called a back-pack for a reason. The important thing to note is that your height has very little to do with sizing. What you need to measure are your torso and waist.
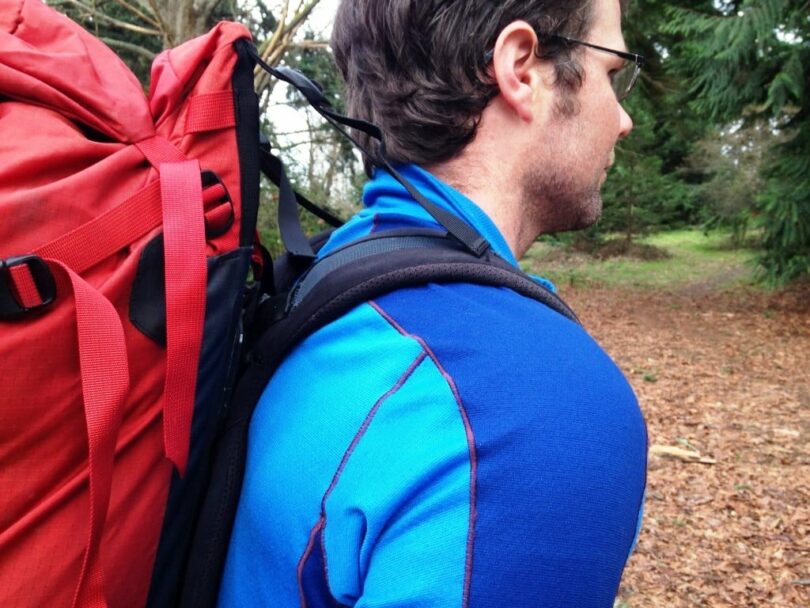
Your torso length will affect the size of the pack proper, while your waist size will determine which hip belt is good for you. Keep in mind that almost 80% of a backpack’s weight is carried by your hips, not shoulders. The best thing is to go with the flow and let the people working wherever you shop for backpacks size you up.
And, whatever you do, always try it on if you have the opportunity. If you can’t, try something similar in size to the model you want to get the feel.
This brings us to another problem – women-specific backpacks. What you need to know is that these are not just downscaled male backpacks with pretty straps. Although to be fair, even though women on average have smaller frames, they could just as easily wear unisex or men-specific backpacks, but with some sacrifice of comfort.
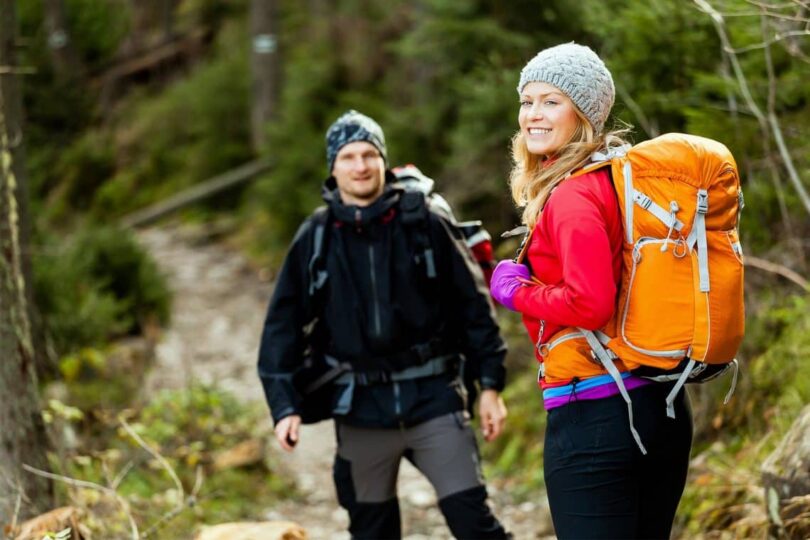
On a day’s hike this isn’t an issue, but for longer trips, you should seriously consider investing in something specifically designed for women.
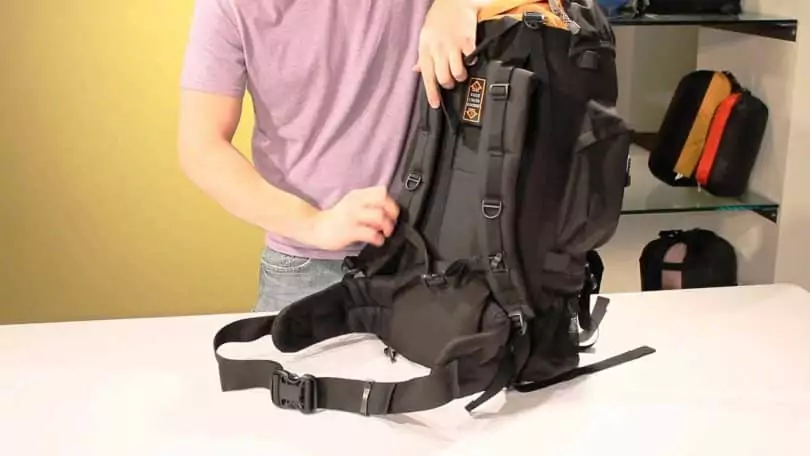
Additionally, you should always check what suspension system the backpack… well, packs. These systems are responsible for bearing and distributing the weight, their core being, you got it, the frame. They also include all the straps and belts, as well as padding – basically everything on the pack that interacts with your body.
There are three types – fixed suspensions, adjustable suspensions and interchangeable suspensions. The first lack the adjustability, but they do come in various sizes to accommodate different torso lengths, and they are the most solid of the three.
The second type is much more versatile thanks to the shoulder yoke that allows for length adjustments, but it can come loose if it’s not properly cinched (or if it’s just made of poor quality). The third type weds the best of both – maximum customizability with optimal sturdiness. And, yes, they do come with a matching price.
On the same note, be sure to find something with generous padding if you plan to go on longer trips. Get something with a cushy hip belt and a comfy lumbar pad to avoid sore spots and back aches.
Features: Nooks & Crannies
This section really homes in on your ideal backpack, as it compares the minutest differences between all the various models. This is where a climbing pack will differ from a skiing pack, or a backpacking one from the one meant for alpine climbers.
Of course, a backpack doesn’t have to have dozens of compartments and whatever bells and whistles you can think of to be great – sometimes less is more.
Though, come to think of it, some peripheral mesh pockets, as well as a sleeve for a hydration bladder and sleeping bag compartment, should be a standard on most backpacks, so if they don’t have these, walk away. On a similar note, check out how many and how varied attachment points the pack has.
You should find at least a couple of tool loops, and I some cases, even a daisy-chain, which is a length of webbing that is stitched to the outside of the backpack. One daisy-chain could give you at least half a dozen of tool loops.
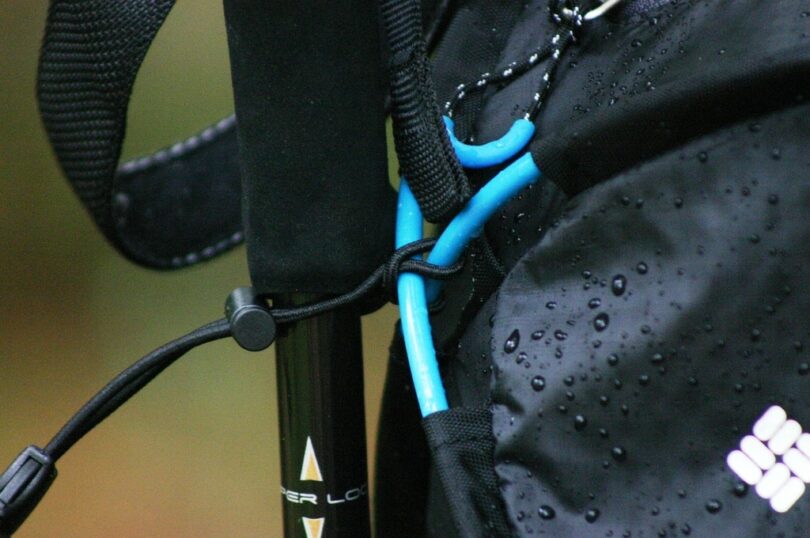
Additionally, check the hip belt or the lower part of the backpack for gear loops, which you can use as clip-on points to attach all sorts of gear, such as carabiners and quickdraws, insulated water bottles, ice axes, even hiking poles or skis.
Backpacks According to Purpose: Choose Wisely
This is where things begin to get interesting, as choosing the right backpack style requires you to do some soul-searching. In all seriousness, though, there are quite a few different styles of backpacks, so we’ll try to keep it short and sweet. Find out more information on our article on how to choose the best survival backpacks for your needs.
Granted, some manufacturers try and push multi-purpose backpacks, but nothing can beat a purpose-specific design if you want to get the most out of it.
Daypacks
As mentioned earlier, daypacks are smaller, usually frameless packs that are great for short hikes, decent for weekend camping trips, but poor for any serious trek into the big outdoors. Still, you should be able to bring the bare necessities, such as food and water, some clothes to change, and even a blanket or a small tent.

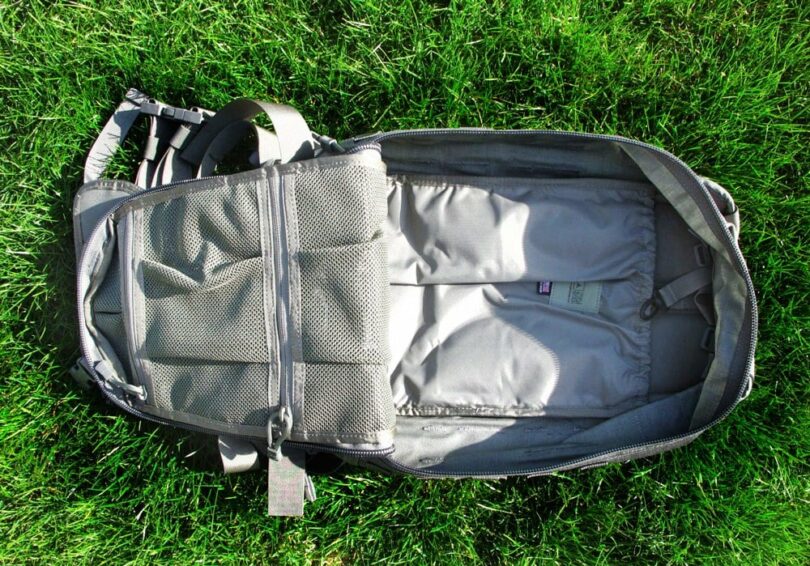
Broadly speaking, there are two types of daypacks, if we look at the way they’re loaded. There’s the panel loader, which will usually have one or more separate compartments that you can access through a zipper. They work much better for organizing, and you can rifle through the contents much easier.
Conversely, top loaders don’t have much in the way of organizational features, but they tend to be far lighter, simpler, and easier to maintain.
As far as style goes, daypacks come in all shapes and forms, from hiking packs, through climbing (bullet) packs and skiing packs, to very minimalist hydration packs, to mention but a few.
Hiking packs are pretty much what you’d expect – lots of pockets, loops and lash-on points, and higher-end ones might even feature a frame, with hip belt and all.
Climbing daypacks are an interesting item, as their design favors low profile, daisy-chains and straps for carabiners, quickdraws, ropes and other rock-climbing gear.
Similarly, skiing packs are specialist backpacks that not only incorporate lash-on points for the equipment but also Avalungs and/or airbags to increase survivability in case of an avalanche.
Finally, the hydration packs are pretty much what it says on the tin – packs whose sole purpose is quick and effortless hydration. They’re great for bikers and/or long-distance runners, but most regular packs contain a sleeve for hydration bladders, making hydration packs superfluous.
Backpacking Packs
As funny as they sound, backpacking backpacks are a real thing, and they perform exactly as the label promises. They’re designed to have a large capacity and carry heavy loads (think 50–80 liters and 30–50 pounds, respectively).
They are invariably outfitted with either an internal or external frame, and usually come with a hip belt, shoulder and sternum straps, as well as compression straps and load lifters as major parts of the suspension system.
There are lots of compartments where you can fit anything from three-day rations to a first-aid kit and warm clothes, not to mention water and other important fluids. Even a low-end backpacking pack will come with a sleeping bag compartment, so if you don’t see it on, don’t bother with it.
Mountaineering and Alpine Climbing Packs
There’s a slight difference between mountaineering and alpine climbing (the lines often blur.), which is evident in the add-ons that either of their respective backpacks has. Long story short, is more of a tackling a mountain (usually a smaller one) in stages, whereas alpine climbing is climbing the mountain in a single-push.

Another useful difference is that mountaineering usually involves ice, whereas alpine climbing doesn’t necessarily do that. Also, alpine climbing is self-reliant, meaning that your pack must have enough capacity to hold you through the winter.
Either way, both of their backpacks are more or less like the previous type, only with special attachments. A mountaineering pack will invariably have attachments for ice axes and crampons, while an alpine pack should be designed for both hiking and climbing while sacrificing comfort for the economy when climbing.
Travel Packs
Travel packs are pretty much similar to backpacking packs, only with some features that usually don’t cross over all too well to wilderness. These are comfy-packs, if you will, with thick, rich padding, detachable daypacks for kangaroo-style toting, as well as lots and lots of zippered compartments with TSA locks.
They’re good for tackling the wilderness or urban Europe, though, for that one year off between high school and college.
Tips & Tricks: How to Live with Your Choice
Now that you’ve chosen your ideal backpack, it’s time to have the talk. On a more serious note, though, there are a lot of things to keep in mind if you want to have a good time with your pack, but only three are essential – loading the pack, hoisting the pack and cleaning it.
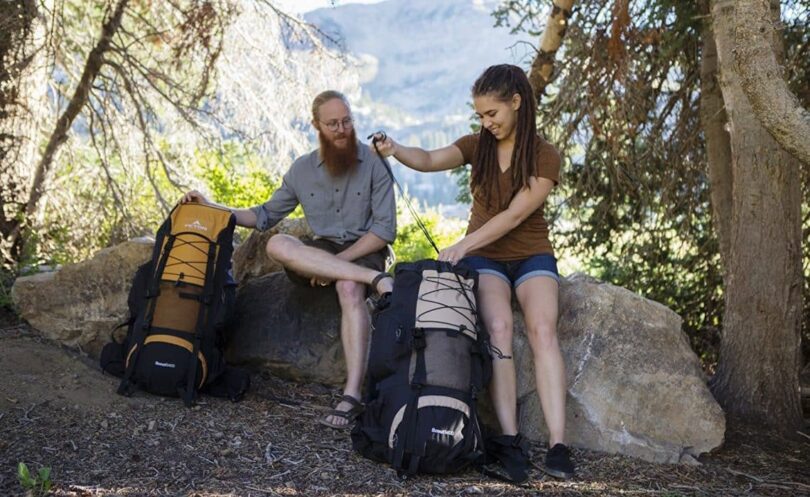
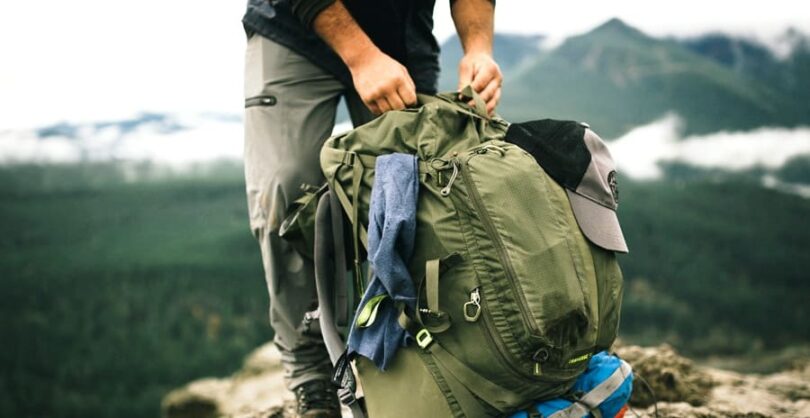
Loading Your Backpack: For Each One Will Bear His Own Load
Let’s take a typical backpacking pack as an example – you’ll essentially have three zones for packing, looking vertically: the bottom, core, and top zone.
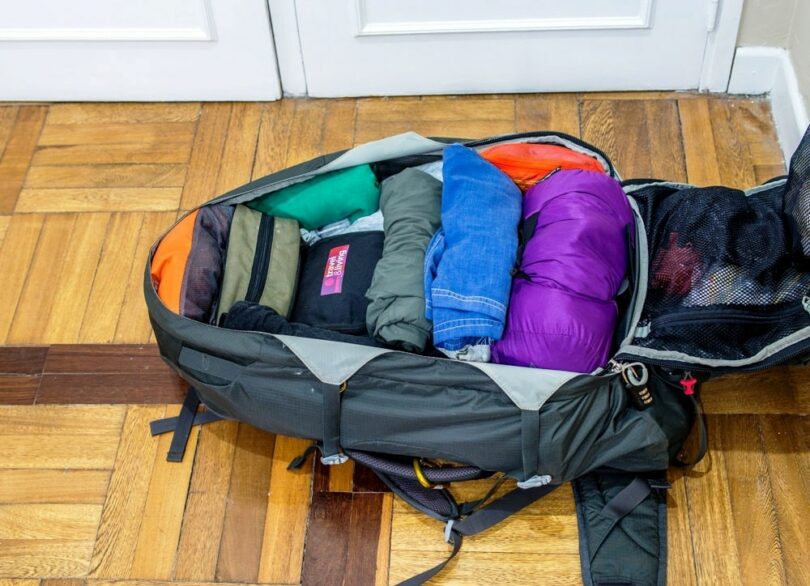
You’ll want your bulkiest things at the bottom, and everything you won’t need until you camp out. These include sleeping bags and pads, any layers that you intend to sleep in (long underwear, PJs, the works), or whatever footwear you plan to have on you at the campsite.
See also: Camping Survival Kit: The Most Essential Items for Your Backpack Inventory
The core zone will hold the heaviest gear in our pack, both for balance and to prevent mushing. Things like food and cooking kit, water, bear canisters, stoves, liquid fuel (pack it upright and screw the cap tight), and other assorted whatnots. Fill in the gaps using soft stuff, like any extra clothing, tent body, and footprint, rainfly, whatever you have.

The top zone should get all the essentials, things you’ll need a quick access to. Think first-aid kit, emergency kit, jackets, raincoats, water purifiers, filters, and last, but not least (not by a long shot), toilet supplies – a trowel, your favorite toilet paper and/or baby wipes, as well as zipper-lock bags (for the used paper and other… stuff).
This leaves the peripheral zone – all the pockets, hooks, loops, meshes and lash-on points. Use these whichever way you see fit, but make sure everything’s balanced. Use the pockets for your maps and compass, GPS, snacks, water bottles, bug spray, raincover, sunglasses, and sunscreen, as well as your keys and ID.

And don’t forget a little stash of green, just in case. The loops and daisy-chains are good for hiking/trekking poles, ice tools, crampons, climbing rope and bungee cords, sleeping pad, or even a camp chair.
Hoisting: Heave-ho! And Off We Go!
The main reason you should take the time to learn how to properly hoist a backpack is to keep your back from getting stiff (or falling over), but proper hoisting also prevents wearing out your harness. What you want to do is as follows:
- Loosen all the straps a bit so that you can slip in easier;
- Position your pack upright while still on the ground;
- Set your feet wide apart and bend in the knees;
- Use one hand to grab the pack’s haul loop (a length of webbing at the apex of your pack’s back panel);
- Using your wide stance with knees bent, move the pack up your thigh, letting it rest;
- Keeping a hold of the haul loop to steady it, slip your free arm through the first shoulder strap;
- Smoothly bend forward, shifting the pack on your back;
- Slip your other arm through the second strap.
- Keep leaning forward and tighten up the hip belt;
- Stand upright and finish off your fit;
- ???
- Profit!
A word to the wise – practice this at home until you get a hang of it.
Maintaining Your Backpack: Give It Some Love
Whether you hand wash it or throw it into a machine, the first thing you need to do with your backpack is empty all of the pockets and compartments, every nook and cranny. Be sure to brush off any loose dirt, and give the pack a nice going over with a damp cloth.
That should take care of any large and solid debris. Pre-treat any stains or gooey splotches with whatever you normally use on your clothes. Congratulations, now you’ve prepped the pack for actual washing.
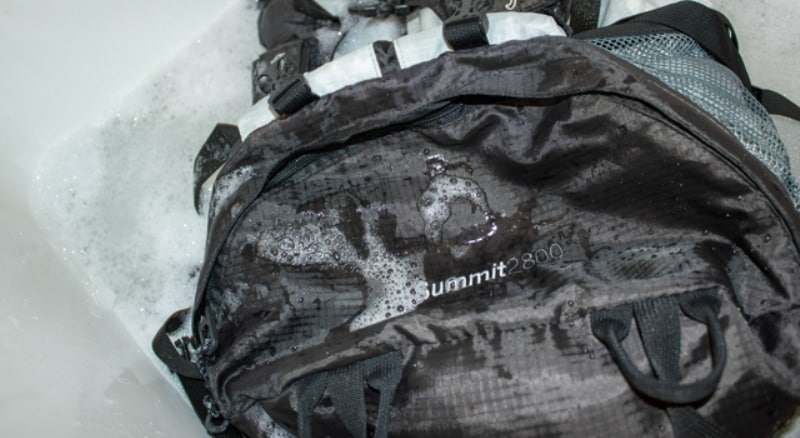
If you decide to hand wash it, prepare the mixture of water and your preferred soap/detergent. Submerge the pack, but don’t soak it. Wash it vigorously for about five to ten minutes, depending on the size, paying special attention to any embroidery (use a brush for these areas). Gently brush the zippers before moving to the next phase.
Drain the sudsy water and then pour in the fresh, gently rinsing the pack. Rinse and repeat until the water becomes clear, and make sure to wring the pack out to speed up the drying, then hang it out to dry.
If you prefer machine-washing, make sure to follow the instructions on the label to the letter. A good idea would be to put the pack into an oversized pillowcase or a laundry sack. Put it on gentle cycle, and keep an eye on it until it’s done. Take the pack out and air dries it.
Still Wondering Which Way to Go?
All in all, there’s no sure way to decide which style of backpacks is the best, since they are all best in their respective niches. The choice entirely boils down to you and your own preferences. Still, whichever way you decide to go about this, always make sure to try it on. If you can’t get to the one you want prior to buying it, find a similar model and try that!
This is at least as important as trying out underwear, and better yet, they even let you do it (unlike underwear). Finally, keep good care of your backpack, keep a weather eye on the horizon for articles about the great wilderness and how to make the most out of your backpack, and enjoy. Happy trails!
Before you hit the road, check out our reviews of the top bug out backpacks to fit your needs.


The weather is quite not friendly at all times, causing a great dilemma to hikers like me. Aside from being soaked in a heavy rain, wet belongings leave you gnashing your teeth for not having a waterproof backpack. I have been searching for a waterproof backpack for years, but I only encountered water-resistant bag. I want to know if there is such type of bag in the online shop.
Being a travel article writer and a feature writer at the same time requires me to bring a lot of equipment as I travel, one of those – a bulky DSLR camera. Because of this, I am looking for a backpack that is suitable for cameras, lenses, laptops and others. Though there are numerous types to choose from, I am looking for a backpack with the best quality as possible. Do you have any recommendations?
Different backpacks brands do interchangeably use the terms waterproof and water-resistant to describe the abilities of their backpacks to resist water, especially light rains. But, the water-resistance and waterproofing abilities of every backpack differ from one brand to the next.
There are numerous camera backpacks you can choose from, including the One Tigris, LOWEPRO, X-Freedom Military Style, TAMRAC Anvil 23, or the ProTactic 350 AW.