The practice of drying fruit dates back thousands of years and the first documented cases date back to around 1700BC. Seeing as though it has continued to enjoy success over the years, there much be some reason behind this form of food preservation. Many of us buy dried fruit products from the supermarket or a nearby health store without giving it much thought.
[the_ad_placement id=”in-text-1-type-r”]Learning how to dry fruit can be a truly valuable skill. It’s important to understand that there are several drying methods. It is also good to remember that you need to select and prepare your fruit properly in order to enjoy best results.
Why dry fruit
If you are searching for details on how to make dried fruit, you are probably already aware of some of the benefits. However, there are many more advantages than you may realize. Firstly, dried fruit tastes great! There’s no denying the delicious flavor regardless of the type of fruit you choose. Many dried fruits contain concentrated doses of antioxidants, fiber, potassium, iron, and do not contain any fat. Extra iron helps fight anemia and fiber helps with digestion.
Fresh produce only lasts for a certain amount of time before it starts to spoil. Drying can help you preserve them for much longer. It can also mean that you will be able to enjoy them even if they are no longer in season. This is wonderful for satisfying any cravings!
See also: Dehydrated Food Recipes: How to Dehydrate Fruits, Vegetables And Meat
You don’t need to refrigerate dried foods. They do need to be stored correctly, but they won’t take up space in your refrigerator. In fact, they will take up a lot less space in your cabinets too. Since they don’t require refrigeration, you can pack a fair supply in your bag when you go out for a hike or even if you go camping for a week or more.
Does it lose nutritional value?
Apart from wondering how to make your own dried fruit, you might be interested in the nutritional value of dried versus fresh produce. It’s good to understand exactly how drying affects the fruit itself so that you can make the most of its nutritional benefits.
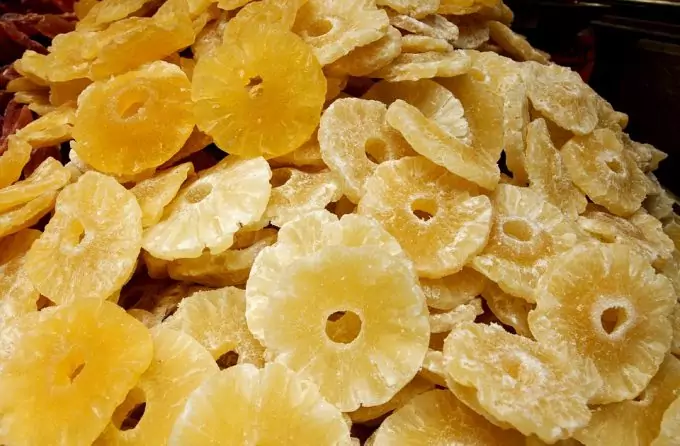
Firstly, a serving of dried fruit will look like less than a serving of fresh fruit. This is because, when fresh, they take up more space, and drying creates a more compact product. Properties like the number of calories and the sugar content remain the same while certain vitamin and mineral amounts are lower in dehydrated varieties.
The difference is worth mentioning since it will affect the way you plan your diet. Of course, if you find yourself in an emergency situation and, for whatever reason you cannot eat fresh fruit, dried is the next best thing. Even if a significant amount of vitamins and minerals are lost during the drying process, it’s still a better addition to any diet when compared to junk food and snacks.
Proper storage guidelines
When you make dried fruit at home, it will undergo a similar process to that used by professionals. Once the drying process is complete, it is essential that you follow the correct storage guidelines in order to ensure that the finished product does not spoil prematurely. Yes, dried fruit does have an expiration date albeit a relatively long one. The amount of time that it will keep for will depend on the conditions in which it is stored.
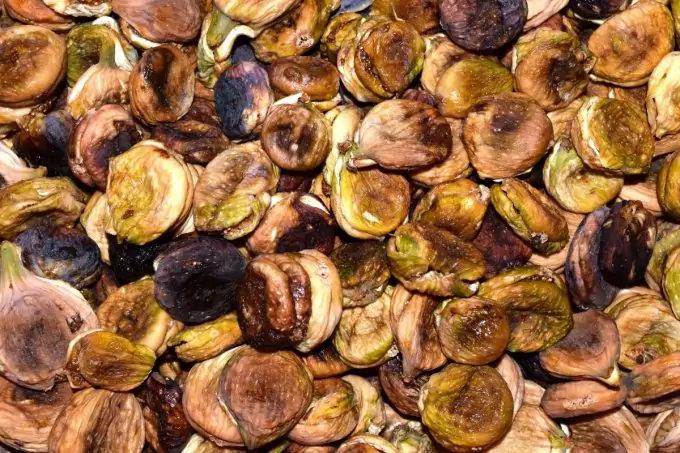
Firstly, you will need to keep moisture out. Moisture in the air can re-enter the dried product, and this can cause it to spoil. A good way of doing so is by using freezer bags and vacuum sealing them to avoid contact with air. Secondly, if you use sulphur during the drying process, you should make sure that you do not place the finished product in any kind of metal container. Place it in a plastic bag before storing in a can if need be.
Thirdly, always keep the finished product in a cool, dry, and dark place. Once you open a bag, store the rest of the opened contents in the refrigerator to keep it fresher for longer.
Finally, don’t try to pack everything into one bag. Make smaller batches for better storage and inspect them regularly. Your dried produce should last from four months to a year provided it is properly dried and stored correctly.
Pre-treatment procedures
No matter the method you use for making dried fruit, you should understand the importance of preparing your fruit before you proceed. Firstly, you will need to select ripe, firm, sweet fruits. Avoid any fresh produce that appears to be on the verge of perishing or overripe. Wash and dry your fruit to clean off any dirt. Depending on the type of fruit you’re drying, you might need to core the fruit, remove the skin, or crack the skin in order to facilitate the drying process.
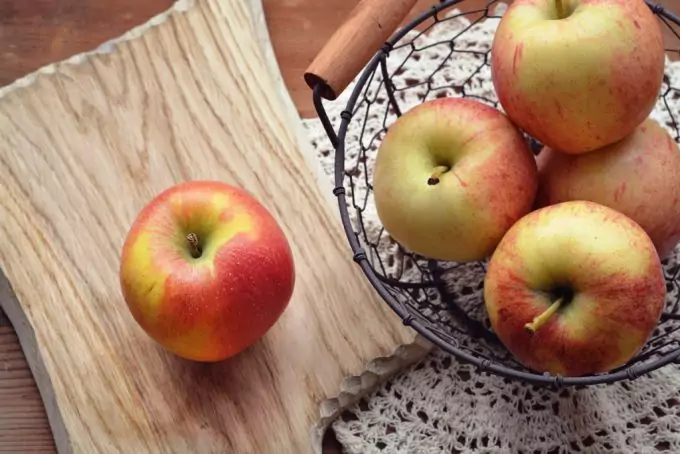
Ascorbic acid and citric acid can be applied to prevent the fruit from discoloring as it dries out. There are several ways of applying this substance. Make sure that you follow the instructions. Lemon juice can also be used to prevent discoloration. To use this method, mix lemon juice with cold water at a ratio of 1:1. Let your cleaned and cut fruit soak in this solution for ten minutes before draining and dehydrating them.
[the_ad_placement id=”in-text-2-type-r”]Sodium Metabisulfite (sulphur) can be used to reduce spoilage and prevent discoloration but should be used with extreme caution. If you are sensitive to sulfites, you should choose another method instead.
Fruit drying methods
When you read the following methods, you will notice just how easy it is to make dried fruit at home. The method you select will depend on personal preference, the amount of time you have available and if you’re willing to invest in certain equipment.
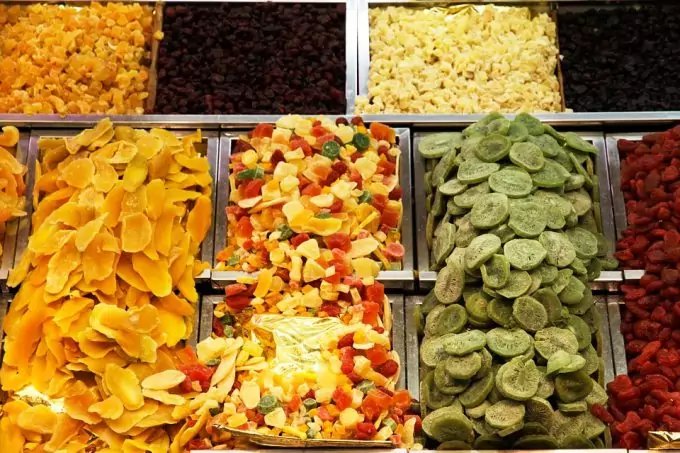
If you intend on drying fairly large quantities of fresh produce on a regular basis, then you may want to consider investing in specialized equipment.
Oven drying
What you will need:
- Oven
- Baking sheets
- Parchment paper
- Preparation equipment like a chopping board and knife or slicer
- Citric acid or similar product to prevent oxidation (optional)
- Fresh fruit of your choice
Instructions
- Start by selecting and preparing your fruit. All fruit should be ripe but not overripe. All fruit needs to be washed properly and, depending on the type of produce, you might need to peel off the skin, crack the skin, or remove the core. Berries will not need to be sliced, but other types of fruit should be sliced as thinly as possible.
- Choose a method of preserving the appealing appearance (sulfites, lemon juice, citric acid, etc.)
- Preheat your oven to 130-160 degrees F. For thinly-sliced fruits, use the lower temperature. Berries do better with a slightly higher temperature since they are thicker.
- Prepare your sheet pans by arranging parchment paper on each one.
- Arrange the fruit on the pans in a single layer. Don’t let them touch one another or it could cause them to burn.
- Use a pan liner or pizza screen to prevent any curling during the drying process.
- Place the pans in the oven and be sure to rotate them every 2 hours.
- When you notice that the fruit is leather-like but still pliable, then it is ready.
- Plums, pears, bananas, and apples usually take about 6 hours to dry. You will need 8 to 10 hours for grapes and citrus peel while apricots, cherries, and strawberries take about 12 hours.
- Once ready, place the finished products in plastic or glass containers and allow it to cure for approximately 5 to 10 days. This allows any remaining moisture to evaporate before you package them. Move the fruit around each day by giving them a good shake.
- Once the process has been completed, it’s time to package, seal, and store in the correct conditions.
Using a dehydrator
What you will need:
- A dehydrator
- Preparation equipment like a chopping board and knife or slicer
- Citric acid or similar product to prevent oxidation (optional)
Instructions
- Just like the steps mentioned above, you will need to prepare your fresh fruit and cut them into thin slices. Treat your oxidation prone fruits with some kind of citrus juice to prevent darkening during the drying process.
- Load up your dehydrator and make sure that none of the slices overlap one another or this will make the process take that much longer.
- Turn on the dehydrator and select the temperature as per the instructions. Remember that you should dry similar fruits together but don’t combine those with different dry times or temperatures.
- On average, it should take between 8 and 12 hours for the process to complete. As you approach the end of the drying time, you should check the contents of the dehydrator regularly. Remove a slice, allow it to cool and inspect it. If it is dry to the touch, it is most likely done. You can take testing one step further by cutting a few slices in half and checking for moisture.
- After the drying is complete, you will need to allow it cool for approximately 30 to 60 minutes (or until it’s cool to the touch).
- Place in a glass or plastic jar and allow for any remaining moisture to escape. Give the jar a gentle shake daily and, after 5 to 10 days, you can place them in a long-term storage container.
- Remember to never add fresh slices to the dehydrator when a load is already in progress.
- The thickness of your slices will determine the drying time. Other factors that affect dying times include the temperature, the amount of water in the food, general humidity on that day, and altitude.
Check out our article review of the best dehydrator to give you more choices.
Sun drying
What you will need:
- Plastic screen or frame with cheesecloth
- Sheet of glass and/or plastic rack
- Preparation equipment like a chopping board and knife or slicer
- Citric acid or similar product to prevent oxidation (optional)
- Fresh fruit of your choice
Instructions
- Prepare your fruit as you would in any other drying method.
- Prepare a drying try by using a plastic screen or you can use a frame with cheesecloth tightly stretched over it. You can prevent the cheesecloth from sagging by criss-crossing string on the bottom of the frame. Secure the string in place by stapling it to the corners.
- Dip the prepared fruit in salt water. Mix 6 tablespoons of pickling salt with a gallon of water for the correct ratio.
- Some fresh produce may need to be blanched through steaming for approximately 5 minutes before it is placed in ice cold water.
- Drain the fruit and pat dry to remove excess water.
- Some fruits do well when you use a honey dip. Make the honey dip by mixing 1 cup of sugar with 1 cup of honey and 3 cups of water.
- You can also use a citric juice dip to prevent oxidation.
- Space the fruit out on a drying tray and make sure that there’s enough space between them. You do not want them to touch or overlap.
- In order to help magnify the rays of the sun, place a sheet of glass on top. It’s also important to make sure that there’s enough room between the fruit and the glass for air circulation. Proper ventilation is part of any good drying process.
- Set the tray out in the sun for 2 to 4 days. The drying time will depend on various factors, including what you are drying, the thickness of the slices, and the weather conditions.
- You should bring your tray inside if it rains and every night so that moisture does not accumulate on the fruit.
- Give the fruit a bit of a stir after drying and do this several times a day for a few days. This helps equalize the batch as moisture from some of the fruit is transferred to the dryer slices.
- Don’t forget to store the finished product in a sealed bag or airtight container for maximum shelf life. Inspect regularly for any doubtful pieces and be sure to discard them.
- Remember that there are many ways of drying food in the sun and the specifics will depend on the type of food you’re drying.
Microwave drying
What you will need:
- Microwave
- Paper plates
- Cooling rack
- Preparation equipment like a chopping board and knife or slicer
- Citric acid or similar product to prevent oxidation (optional)
- Fresh fruit of your choice
Instructions
- Prepare the fruit as you would for any other drying method.
- Place your slices on a paper plate and make sure that they do not overlap or touch.
- Microwave at 30% power for approximately 10 minutes.
- Check your fruit and, if necessary, flip them over and microwave at 30% power for an additional couple of minutes.
- Allow the fruit to dry on a cooling rack and not on the paper plates or they might end up sticking.
- Let them air dry and, after a couple of days, store them in an appropriate container.
Making fruit leather
If you feel like something different, you might like to try your hand at making fruit leather. There are many different recipes, but the all follow the same basic steps.
What you will need:
- A large saucepan with lid
- Fruit of your choice
- Sugar
- Lemon juice
- Spices (optional)
- Baking sheet
- Plastic wrap
- Potato masher
- Food processor, blender, food mill or chinois
Instructions
- Prepare the ripe fruit by washing thoroughly and inspecting for any damage. Depending on the type of fruit you’re using, you will need to remove seeds or pits, peel, core, de-stem, and chop them into smaller chunks.
- Make sure that you taste the fruit before you continue. You will need to add sugar based on the sweetness of the fruit. The sweeter it is, the less sugar you will need to add. If they are really sweet, you might not need to add any sugar at all.
- Place the fruit in a large saucepan and add water. For every 4 cups of fruit, you will need to add half a cup of water. Once the water reaches a simmer, let it cook covered on a low heat setting for approximately 10 to 15 minutes.
- Uncover and give the contents of the pot a good stir. Mash the fruit with a potato masher and taste it to double check how much sugar to add. Make sure that you add small amounts of sugar at a time. Add just one tablespoon of sugar at a time until you reach the desired level of sweetness.
- Add some lemon juice. Mix just one teaspoon at a time to help bring out the flavor.
- Continue stirring and simmering the mashed fruit until the sugar has been properly dissolved and mixed in. After approximately 5 to 10 minutes, the pureed mixture should thicken.
- Use a blender, food processor, food mill, or chinois to obtain a smooth texture.
- Taste again to make sure it’s sweet enough, and add more lemon juice, sugar, and any other spices if necessary.
- Line a rimmed baking sheet with microwave-safe plastic wrap and spread the puree out over it.
- Make sure that the plastic does not touch the sides of the oven and that it does not fold over the puree.
- Put the baking sheet inside the oven and heat to 140°F. The convection function really helps speed up the drying process. This usually takes 8 and 12 hours.
- You will know that it’s ready once the puree is smooth and no longer sticky.
- Remove from the baking sheet by rolling it up. Roll up with the plastic wrap and store in an airtight container in the fridge or freezer.
Uses for dried fruit
After exploring the various simple ways of making dried fruit, you might be wondering exactly how you can best put all your efforts to good use. Well, apart from enjoying them as a delicious snack, you can also serve them as on a colorful platter to your guests or add them to various recipes.
Some dried fruits are just what you need to transform a good salad into a great one. Dried cranberries, for example, taste delicious on a green salad topped with roasted pecans and slivers of grilled chicken.
[the_ad_placement id=”in-text-3-type-r”]Dried apricots are an important part of any Thai chicken curry or chicken almond curry. In fact, there are several kinds of fruits that can be added to curry including prunes and peaches. You can sear or roast various types of meat with different fruits to enhance the flavor. For dessert, you can make a scrumptious fruitcake, dried fruit bars, or cookies.
You can even add some to your breakfast cereal. There are many quality cereals available that add dried fruits for extra flavor and nutrients. Simply purchase a plain cereal and create your own flavor.
Choose whatever suits you
A good guideline to remember is to experiment with various methods for drying fruit before you settle on your favourite. Some methods involve the use of equipment that you already have at home while others will require some investment. It’s a good idea to try the easiest methods first and use whatever you have on hand. Test small amounts of fruit and try something easy to start with (like apples).
Remember, by stocking up on nutritional foods that have a long shelf life, you will always be prepared for any kind of emergency. You can’t always predict when a disaster may occur and, if you’re caught in the middle of it all, you’re going to need a reliable food supply.
For more options on how to dehydrate food, see our article on this important topic.




I prefer sun drying my fruits as compared to using an oven and a dehydrator. The sun drying is more sustainable and uses less energy to get almost the same results.
I have always been a big fan of dry fruits, though I love the fresh ones too. I rely on buying the fruits rather than making them at home. The recipes are certainly good but they are quite time-consuming. I find it easier just to get that off the shelf. That isn’t bad I assume?
How safe is sun drying?
Is the sun affecting the food negatively during the process, and are there special methods that can prevent harmful effects (if there are any)?
Sun drying is safe, and everything should be just fine if you follow the discussed methods correctly.