Canning of food has been used by many generations before us, and is still used today. Preserving the fresh produce is one of the major reasons why canning is still popular. We’re talking about preserving the nutritional value. This can’t be fully achieved if you put preservatives. They will only keep the food edible, but it will be devoid of its nutritional value. Hence, canning is still one of the preferred ways of keeping the food’s vitamins and minerals.
[the_ad_placement id=”in-text-1-type-r”]It is true that by canning you will lose up to a half of the nutrients, and lose from 5 to 20% of the remaining nutrients every year. Yet, that is still impressive, considering the fact that fresh produce loses more than half after 1-2 weeks in the store. Even if you keep the produce in a refrigerator, still the nutrient loss will occur within 2 weeks and it will be too quick to consider conserving.
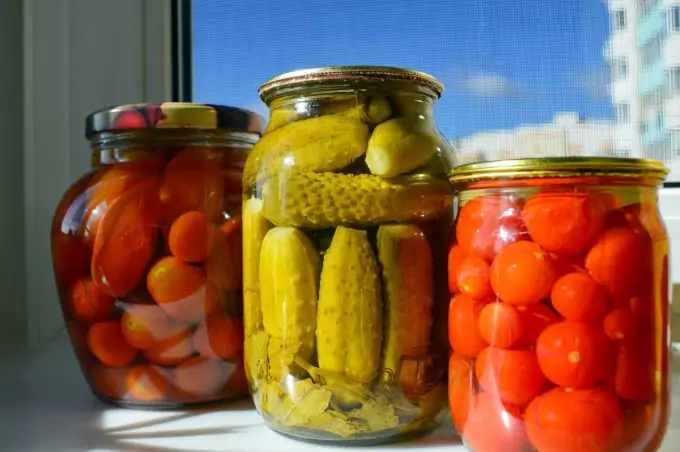
In this article we will share with you the steps and processes of canning different types of food.
How does canning work?
First, we need to look at why food gets spoiled. The reason is the high water content. As a result, lots of microorganisms and bacteria grows, and thus spoils the food. The enzymes present in the food also contribute to the spoiling.
Oxygen is another strong factor, which leads to the breaking down of anything organic (including our own bodies). And finally, loss of water/moisture is another factor.
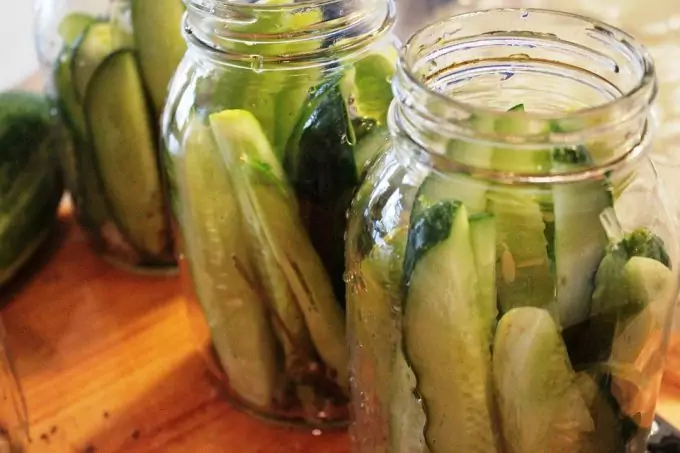
If canning is done properly, all of the above four factors will be reduced greatly, thus significantly slowing down the spoiling process. Some important steps of canning include thoroughly washing the produce, removing any part which may be ripe and soft (this can speed up the spoiling even if canned), adding vinegar or lemon juice and finally pressurizing the can or/and using boiling water as produce solution.
Proper canning practices
Be careful when choosing the types of food for canning. Since Botulinum spores exists all around us, and are very hard to remove just by washing, or even boiling water, they may spoil the canned food, or even lead to food poisoning. Thus care is required. To make sure you do the canning properly, make a list of all acidic and alkaline foods you plan on canning.
Low acidic foods must be made acidic by adding lemon juice, vinegar, and to sterilize them at high temperatures (boiling water). This will ensure that the Botulinum spores have little chance on spreading and causing spoilage. Acidic foods do not specifically need sterilization. Simple pressurizing may prove to be enough. Of course, using boiling water to sterilize is still advised, even with acidic foods.
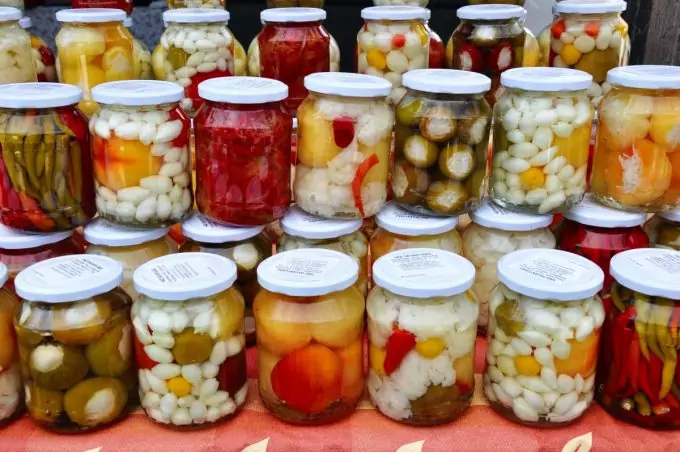
Another thing to consider is to can the produce almost immediately upon harvesting. In the cases of some fruits like peaches, nectarines, apricots, plums and pears, it’s best to wait a day or so (after harvesting) until they ripen a bit more. Then it’s time to can them. In case you don’t want to immediately can the produce, you can store it in cool and dry place until you’re ready to can it. This must not be prolonged too much, since food will ripen and thus the spoilage will have begun (even if there are no visible signs yet).
When it comes to fresh meat, make sure to can it immediately. Meat can spoil very quickly and is a fruitful ground for microorganisms and bacteria.
Preparing the jars and lids
While canning can be done using metal containers, it’s much more costly and also, the metal cans must be used only once. Thus, using glass jars is preferred. Glass jars can be reused over and over again, as long as they are kept clean before each canning process. We recommend using self-sealing lids.
When preparing the jars, you must first clean them well with detergent. Make sure the detergent is then washed thoroughly. Detergent residues may lead to color or taste changes in the canned food. Then make sure to sterilize the jars, by submerging them in boiling water. Keep them simmering until you’re ready to fill them with food. For foods which will be sterilized for more than 10 minutes (in boiling water) in a separate canner, you don’t have to pre-sterilize the jars. Such foods are pickled or fermented foods, plus certain fruits and tomatoes.
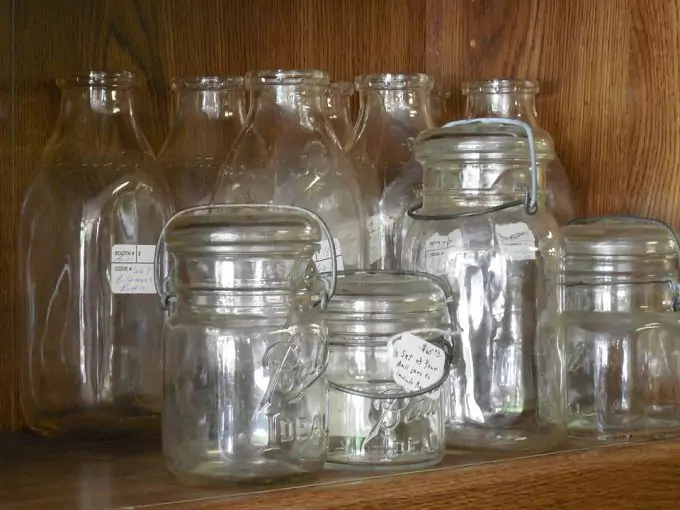
When you have collected the exact amount of lids you will need, make sure to find also a screw band. It will help you screw the lid tightly over the jar’s opening. Usually, if you properly store a screw band, it can be reused over and over again. Keep it off jar’s opening, or you run the risk to have a rusted screw band over time. It may even be hard to unscrew if left there for a year or so.
Another important thing to consider is that the lid must not be too tight or too loose on the jar. If too loose, the lid will not be able to prevent water from leaking from the jar. If too tight, the produce inside will lose its color over time. There’s also the risk that the jar or lid can break and thus spoil the entire jar’s canned food. Screw bands need not be left on the jars. Once you use the screw band to place and tighten the lid, remove the screw band.
Types of canners
There are two types of canner – water-boiling and pressure canners.
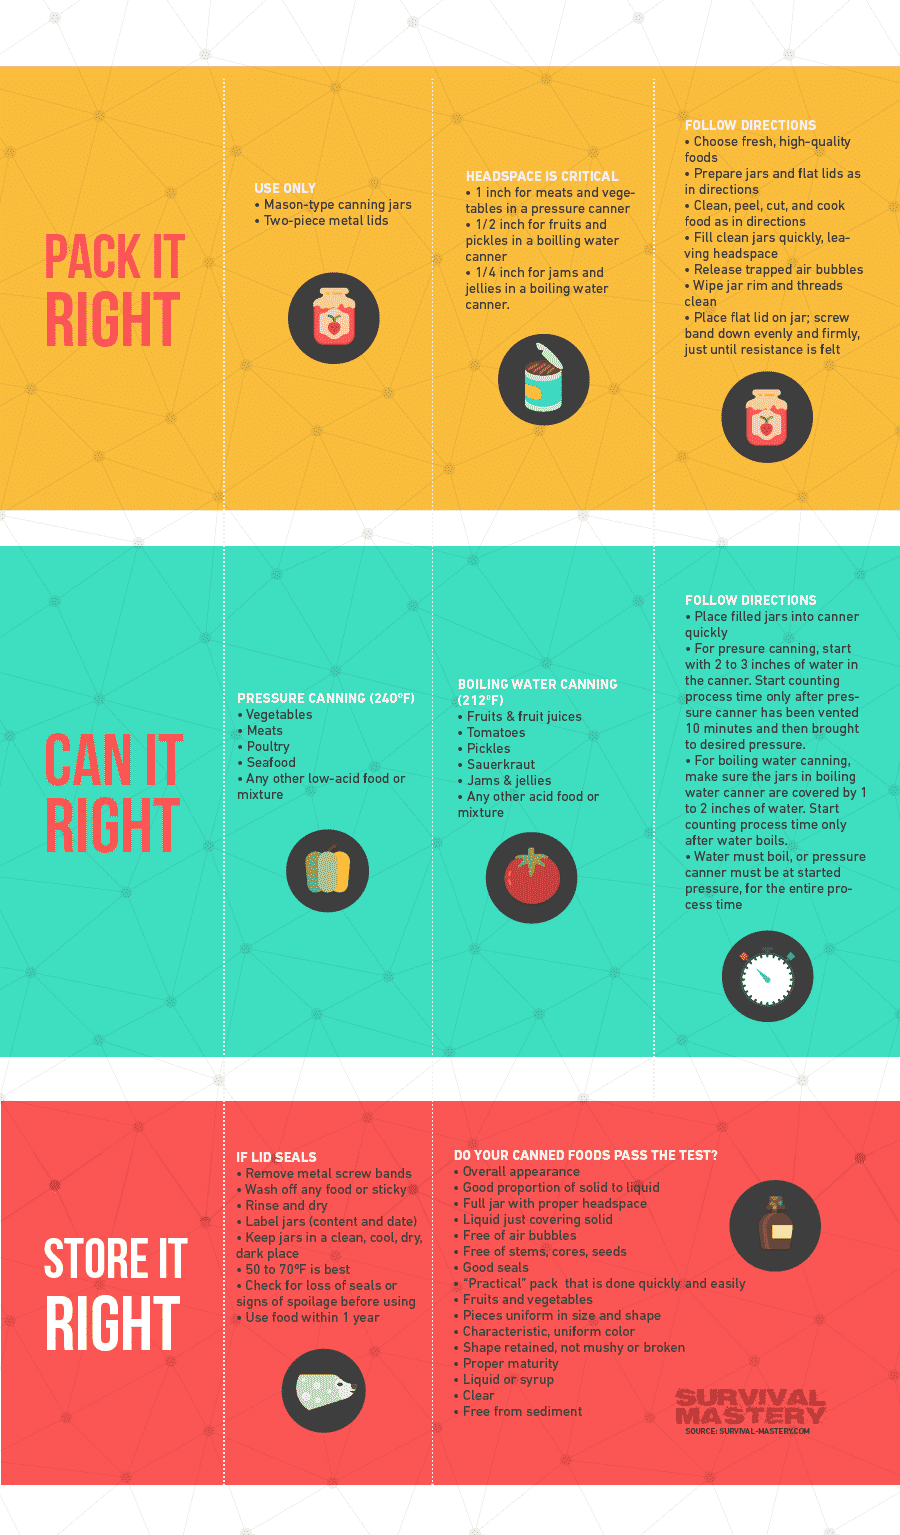
In order to compare the use of both these types, you need to know that a load of jars would require up to 100 minutes of processing in a pressure canner. With boiling-water canners, it takes slightly less (for acidic foods) – from 30 mins to 1hr total. Boiling-water canners require up to 30 minutes before the water actually starts boiling.
With pressure canners, this time amounts to 15 minutes, but it takes more time in total to vent and pressurize the canner, and finally up to 10 mins to actually process the jarred food. Keep in mind that for safety’s sake, you need to wait up to 1 hr before you remove the jars, because they are too hot. Cleaning the canner also requires that the water is cool to the touch.
Canning fruits
To remove any chance of spoilage of the canned fruit produce, make sure to add syrup or sugar. It is considered one of the best preservatives for canning acidic food. Depending on the natural sweetness of each fruit type, you can put more or less syrup. For example, very sweet fruits need only light or very light syrup.
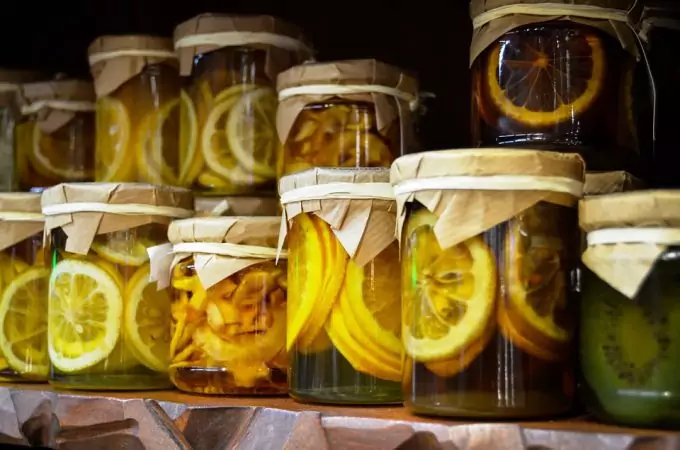
For apples, berries and cherries, medium sweet is needed. For sour fruits like sour cherries, nectarines and apricots heavy syrup is required. As a reference, light syrup has 10% sugar. The heaviest syrup has 50% sugar.
Canning tomatoes
It is important to note that you must never can too soft tomatoes, or can tomatoes plucked from dead vines. This is also applicable for frost-bitten vines. Both fully ripened and green tomatoes can be canned. Green tomatoes, though, are much more acidic, and thus it’s perfectly safe to be canned using only a little vinegar or lemon juice.
As for ripe red tomatoes, much more acid must be added. If you want to reduce the acidic taste, for purely aesthetic reasons, you can add a bit of sugar.
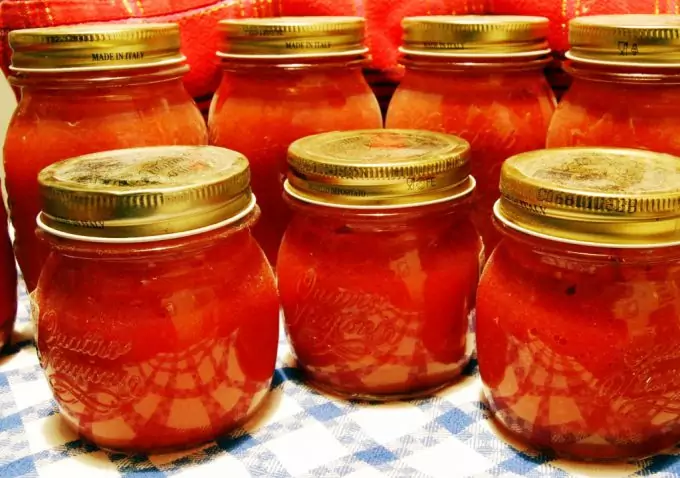
For different products using tomatoes, you can choose between boiling-water canners and pressure canners. Yet, either of these offers the same result, thus it is entirely up to you which method you want to choose. The only difference is the time spent for processing the canned food. Yet, we need to mention that often pressure canning results in better nutrient preservation.
Canning vegetables
When it comes to vegetables, due to their low acidic content, they don’t need sugar or vinegar as preservatives.
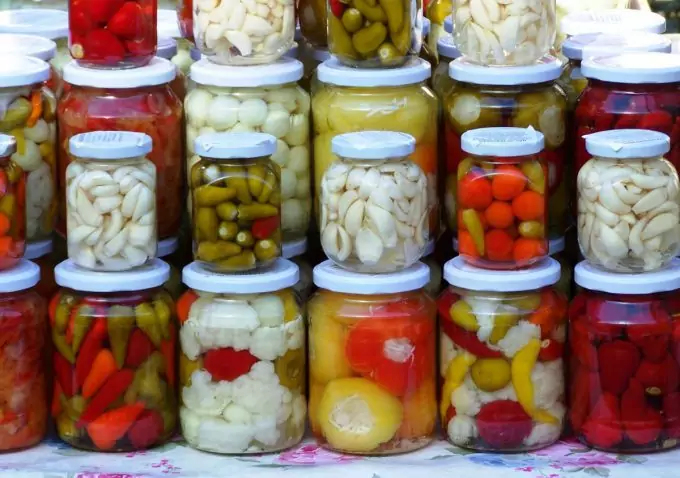
Often adding sufficient amounts of salt is enough. Some vegetables may not even require boiling water, since pressure canning is considered more than enough.
Canning fish and meat
Canning meat and fish requires more attention in order to avoid food spoilage. As we said, meat spoils much quicker and because of the variety of bacteria, there are health risks. You can avoid them if you follow the instructions below.
When it comes to fatty fish (except tuna) it’s highly advisable to catch it yourself, drain the blood and clean it quickly. You can keep it in ice, but for no more than 2 hours. We don’t advise canning fish after two hours of you catching it. If it’s in ice/fridge, you can keep it longer.
[the_ad_placement id=”in-text-2-type-r”]If you are canning frozen fish, let it thaw (preferably in the fridge), and rinse it in vinegar to remove slime. Make sure to remove the head, fins and tail. Yet, you can keep the bones, since they soften due to the fermentation. They are also a favorable calcium source. Fill the jars with hot water, fill them with the fish slices and then add 1 tsp of salt.
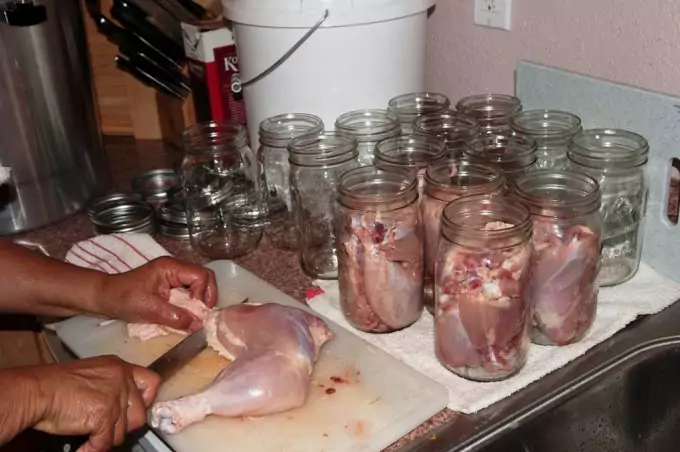
Image credit: preparednessadvice.com
When talking about tuna, the process is slightly different in some aspects of the preparation. You again need to clean and eviscerate the fish and drain the blood. Cut it and pre-cook it in a baking pan at about 250º F for 2 to 4 hours (it depends on the size of the fish). Optionally, if you want to do it quicker, bake at 350º F for no more than 1 hr. Then you have to refrigerate it for one night. On the next day, remove anything different from the main white meat like blood vessels and skin. You need to remove all bones and discolored or dark meat.
You’re ready to place them in hot jars. For the liquid inside you can use either water or oil. Both are fine. Put about 1 teaspoon salt per pint jar. The processing time is about 100 mins.
Canning chicken or rabbit meat is a relatively easy and quick process. Clean the meat (preferably fresh meat, recently slaughtered). Make sure to remove any fat and skin. You can pre-heat the meat by cooking it (any method is fine – baking, boiling, steaming). Cut it to pieces and add a teaspoon of salt per quart of a jar. Add broth to the jar and then place the meat inside. Make sure to remove any bubbles that are present in the jar.
If you want to pack the meat raw, you need only place the meat in the jars and fill them with salt (1tsp per quart). For this method, no liquid is needed. You’re ready to close tightly the lids and process the meat. The process will take from 65 to 90 mins depending on the types and capacity of your jars.
Canning pickled and fermented foods
There is a third method which can be used for canning foods with the idea of fermenting them. This method is called Low-temperature pasteurization.
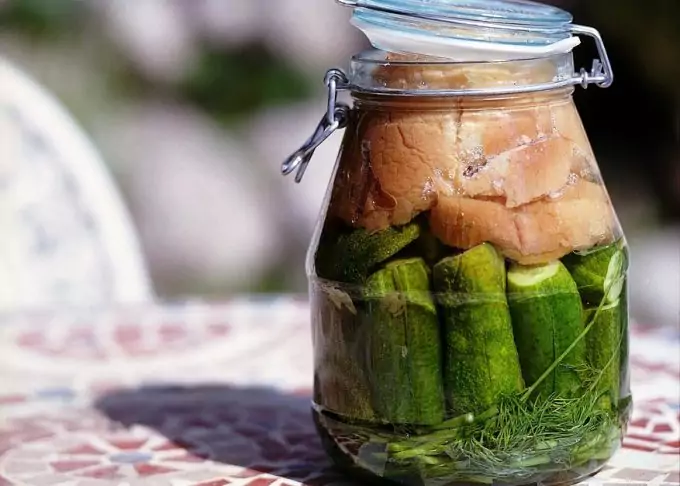
To do it properly you need to follow these steps. Fill the jars with the vegetable in mind (pickles), and arrange them in a canner. Fill the canner with warm water (120º to 140º F) so that there is a 2-inch water coverage over the jars.
Then you need to heat the water a bit more to up to 180-185º F. This should be done for no more than 30 mins. If the water is too hot (hotter than 185º or you warm the pickles for too long, they will soften too much). This process makes the food more delicious and appetizing. Use a thermometer to regulate the temperature.
An important note must be made in regards to using salt for fermented or pickled foods. Usually any type of salt is just fine – both iodized and non-iodized. Salts with reduced sodium content can be used for quick pickles, while it must not be used for making fermented pickles.
Fermenting cucumbers
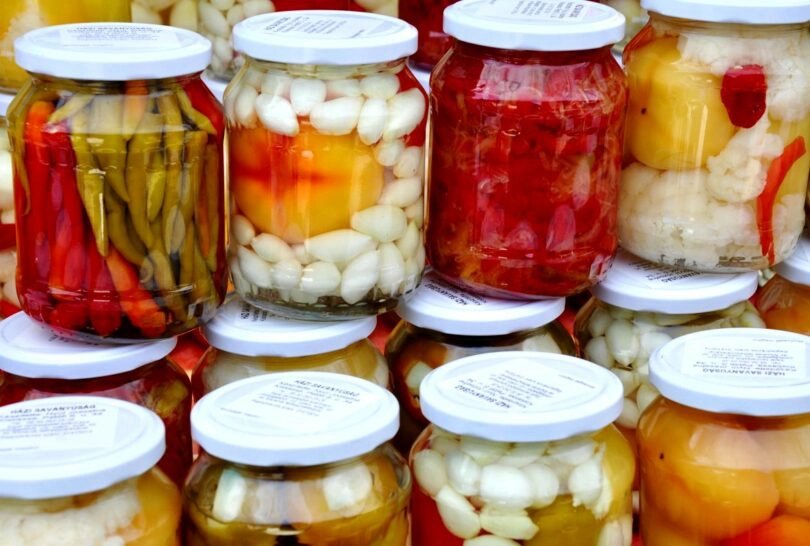
Clean and cut the cucumbers. Remove any damaged place on the cucumber, including the ends. You can add dill and fresh spices (which you prefer) in the jar. Mix in a solution both salt and vinegar. Arrange the cucumbers into the jars and cover them with the solution. Place a lid on each jar and keep them in temperatures about 70-75º F. It will take up to 4 weeks for the pickles to be ready for eating.
Keep in mind that if you discover strange slime on the pickles or there’s an unfavorable smell coming out of the jar (upon opening), you should discard the entire jar. Even if only one pickle was spoiled, it will be spread around the entire jar’s content.
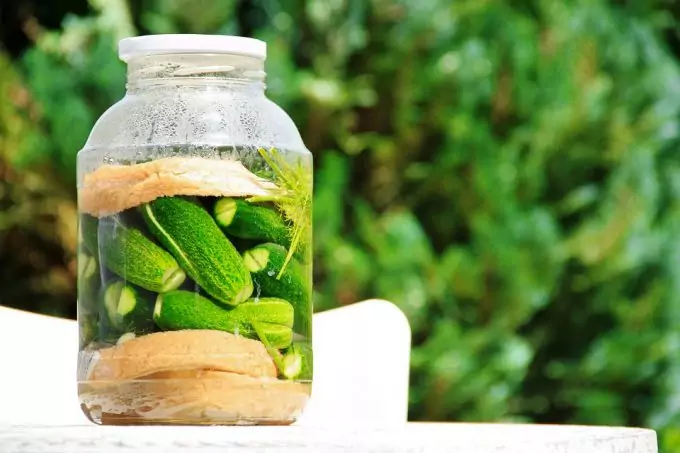
If there is some mold or scum covering the pickles, remove it. Optionally you can even rinse the affected pickles under water and return them back to the jar.
To store the already fermented pickles, either keep in a fridge or cold place for no more than 4-6 months, or can them. To can them, you can fill a large canner with the brine from the jar. Use a filter to remove any particles or unpleasant molds (even cloudiness). Then heat the brine slowly, boil it and let it simmer for 5 mins. Then you can finally fill the jars again with the hot solution/brine and add the pickled cucumbers. Make sure to keep the jars clean and wipe the openings with a damp clean cloth.
If you want to proceed with simple boiling-water canning, the required boiling time is no more than 15 mins.
Fermenting cabbage
The process is again easy. First make sure the cabbage is fresh, and there are no damaged or spoiled areas on the leaves. If so, remove them and cut a larger circle around the damaged place. This is to ensure that no spoilage would occur while the cabbage ferments.
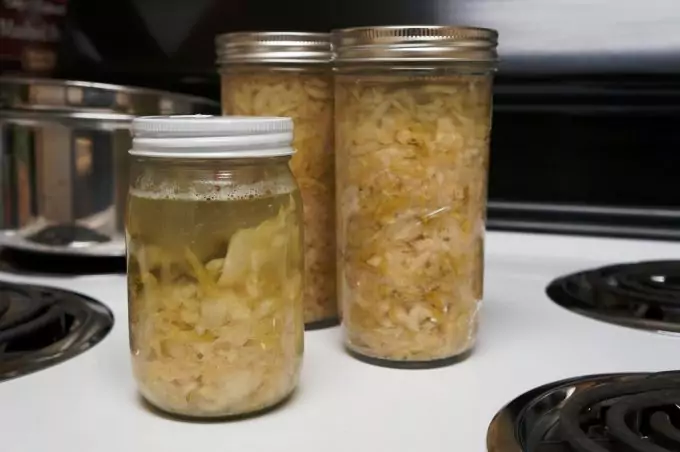
Begin shredding the cabbage and place salt in the jars. Place 3 tbsp of salt in a jar (if large enough). You can mix the cabbage with the salt even with your hands, if they are well cleaned. You can then add water so that the shredded cabbage is covered and no cabbage floats. If so, place a weighted cap on top of the cabbage. When this is done, you don’t need to place lids. In fact, cabbage needs to breathe while fermenting, so you can simply place a clean cloth on top of each jar.
The cabbage will ferment within 70º and 75º F for about 3-4 weeks. With higher temperatures it will take shorter, but the sauerkraut will become too soft and discolored. At lower than 60º F the cabbage may not even ferment at all.
When this fermentation process is complete, store in the fridge, or can the sauerkraut. Pay attention to the fermentation process though, since mold or scum may cover some jars. If so, remove the slime and continue the process.
To can the sauerkraut, you need to boil both the brine with the sauerkraut inside a large kettle or canner. When they have boiled, fill hot jars with the solution and vegetables. Make sure to have some of the brine covering the sauerkraut.
Canning jams and jellies
Jellies
When it comes to making jellies often manufacturers use pectin. This isn’t really necessary since there are fruits which contain enough natural pectin and the jellying occurs without added pectin.
Also, you’re advised not to use frozen or canned fruits to make jellies and jams. These commercial products contain insignificant amounts of pectin (too low to be considered). Keep in mind that soft fruits are best crushed, while firmer fruits should be cut in small pieces or shredded. Do not always remove peels or the cores, since they contain high levels of pectin.
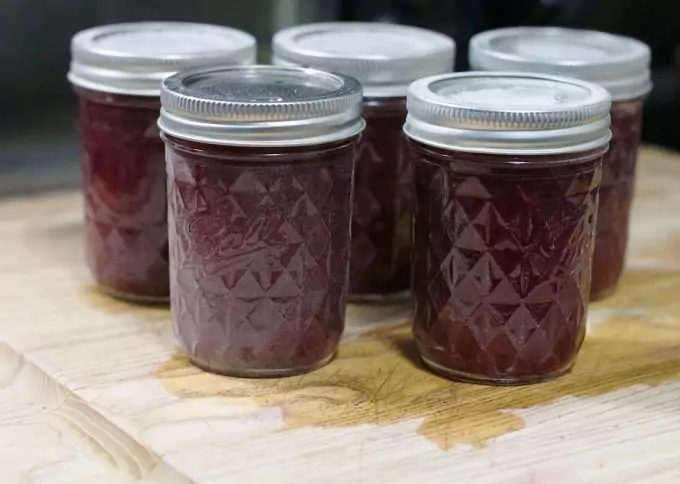
Some fruits require that you add water for the canning process. These fruits are hard fruits like apples and plums. Blackberries and grapes, on the other hand, don’t require water. Those fruits that require water also must be cooked (simmered) for a bit longer (up to 25 mins). Blackberries and grapes though need no more than 10 mins of simmering. All fruits require up to 1 cup of sugar per cup of strained juice.
So, after the simmering process is finished you need to remove the juice by using colander or squeezing through a cheese cloth. Finally, mix the sugar, lemon juice and the extracted juice from the fruits and boil again. When the temperature has reached 220º F, remove from the heat.
The last step is to fill clean hot jars with the jelly, and sterilize in boiling-water canner. This should be for no longer than 5 mins.
Jams
To make jams, cleanse and rinse the fruits well and crush them. Make sure all fruits are ripe enough, but not spoiled or over-ripen. Remove stems and seeds, including the peel and pits. Then the steps are more or less similar to the above. Mix the crushed fruits with lemon juice and sugar, and bring to a boil. Make sure to stir often to avoid burning the fruits. The boiling must be done for no more than 5 mins. You’re ready to fill the jars with the jam. Finally, place the jars in a boiling-water canner and boil no more than 5 mins.
[the_ad_placement id=”in-text-3-type-r”]Making jams and jellies with pectin is usually more productive and renders the need to test the products if they are ready useless. Adding pectin strengthens the original taste of the fruits. The above described process can be repeated, but add pectin to the jams and jellies while you boil them. You will immediately notice that the gelling occurs.
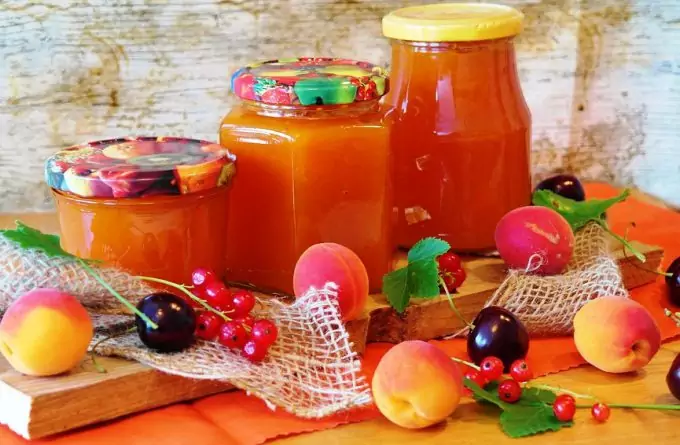
The above described processes and information is basic enough to get you started in canning your own food. Canning food can be both time-consuming, and yet a fun thing to do together with your family or friends. Enjoying the food you made during the cold winter days can be a great pleasure to the senses. If you use the above information as a starting point, you can then build on that and get more in-depth knowledge with time and practice.



Hi! This is a very interesting article. I was wondering if you could provide more information about canning, as in using tin cans instead of jars. Or would that be too industrial for this type of blog.
Home canning is usually done in jars. I honestly never considered canning using tins and I don’t think I ever will, but if you know someone who does, please let me know.
I love this article! I prefer preserving food for my family’s consumption, and even process food like ham and sausage whenever I can. Not only is home canning and food processing a fun skill but most importantly, it decreases your family’s risk of toxins and carcinogenics. Remember that canned and processed foods are cured with as much preservatives as industries could possibly inject but if you do it yourself, you have the choice of using minimal to no preservatives because you know your family’s consumption (I process weekly).
Preserving the fresh produce is one of the major reasons why canning is still popular, and we are glad our content has been helpful.