
As you head on your next camping trip, one of your primary considerations is going to be how much food should you be, and what is the best way to pack it? What most first time campers often forget, is that the food not only needs to be packed to stay fresh but also to stay safe from our not so friendly forest friends, bears.
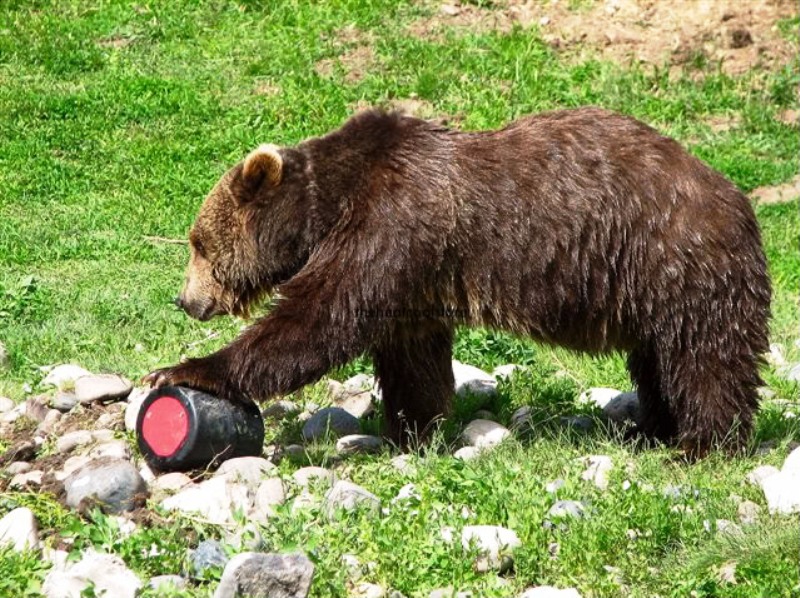
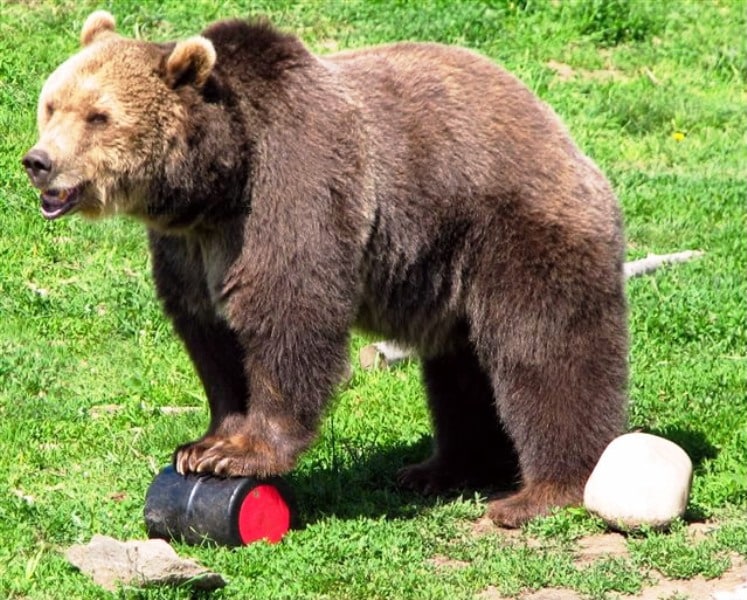
Bears are notorious for wandering into camp sites to sniff out the snacks you left out and will paw around any containers in an attempt to open up and feast.
For the car camper, you may think that your food is safe in the car, but unless you have an airtight vehicle, you are going to want to either invest in a bear canister or read on to learn how to make a DIY bear canister. In many parts of backcountry camping and even your local parks, bears can be a pesky nuisance, even on the overnight excursion.
Unfortunately for us, bears don’t really care if we are only there for one night, or left only one item out. They will find the food, and if they are successful, will return time and again for more. Small wrappers, scraps of food we drop, or pots and pans are all perfect for not only bears but also raccoons, mice, and insects.
Before you start on our alternative homemade bear canister, check in with the park you are traveling to, some have regulations and fines associated for backpackers traveling without a preapproved bear canister. If there are regulations, pop over to your nearby camping store and either purchase or rent a bear canister that has been pre-approved!
*Bear tip: An old camper belief is that your food and belongings are safe if you hang it up in a tree. Bears can and will go after food dangling just out of sight, and if they sniff more snacks in the tree, they will be relentless trying to get your food. Unless your container can withstand the force of a bear bouncing it around on the ground and off the tree, it will not help you to hang it up in a tree.
Why Do I Need a Bear Canister?
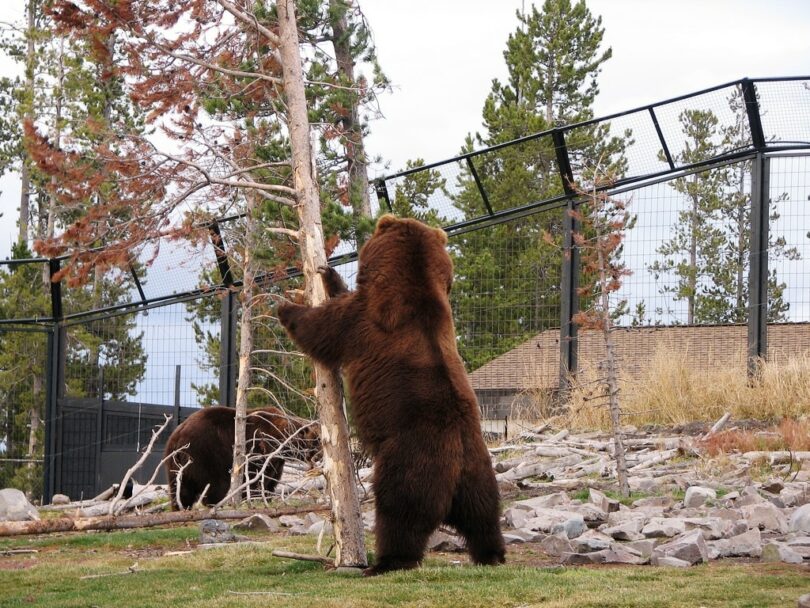
Bears will travel many miles to sniff out a tasty snack that you have left behind and will become quite aggressive if they believe this food source is in danger. Bears are nowadays are largely desensitized to human populations, and cars, especially in big parks with a lot of foot traffic.
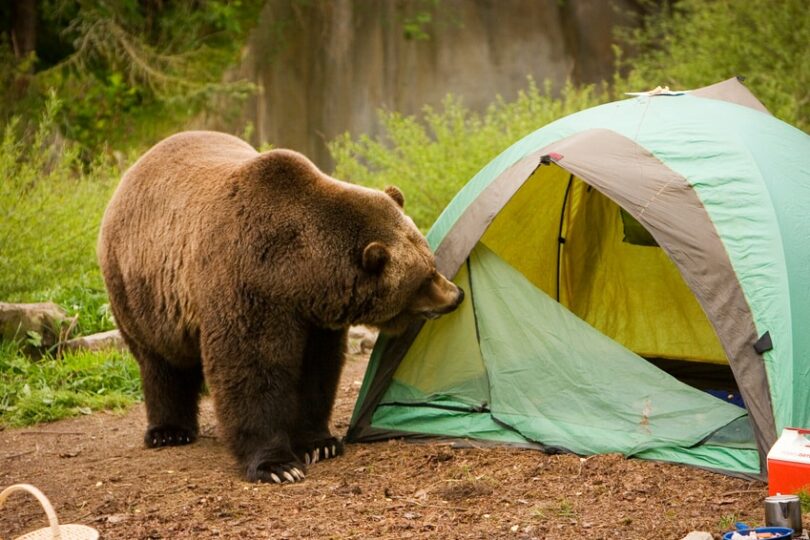
At night, they will happily walk right into your campground on the hunt for a smell. Once a bear tastes human food, it’s like they are hooked on your snacks, and will come back for more. Unfortunately, for our furry friends, eating human food is a deadly and dangerous for bears eating habit.
When people think of bear canisters they normally only associate it with only food, but bear canisters should hold anything with a strong odor. Trash from food (think of all the granola bar wrappers in your backpack or pockets!), medications, bait if you are out fishing and even toothpaste.
If you are bringing your beloved pet along, their food will also need to go into a bear canister, as their scent can be just as attractive. Bears are attracted to any opened beverages, such as sodas or water with electrolytes and they even love your insect repellent!
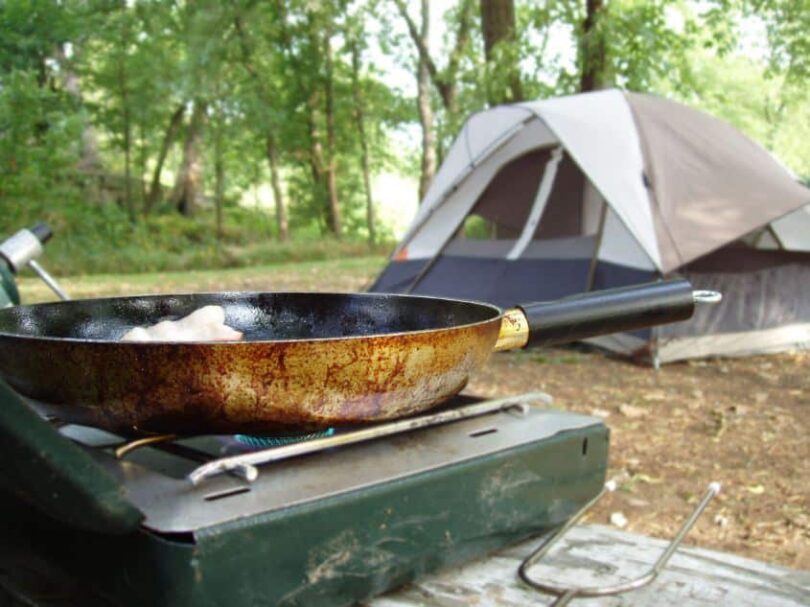
Some new campers worry about their camping equipment collecting smells. If you are struggling to really clean certain cookware, and you have space in your bear canister, feel free to place it in there.
While there is no guarantee to avoid a bear when camping or backpacking, having a bear canister storing your food is one simple way to have some peace of mind when out in the forest.
What leads the average backpacker to find alternatives to the classic bear canister or bear keg, is that they tend to be very heavy, ranging from two to three pounds. Also on average, the best bear box is only going to hold about five days’ worth of food and toiletries for one person.
Aspects to Consider
Before we jump into what to consider for your at home bear canister, we should fist address the counterbalance method that is popular, but not as efficient, amongst campers. This method, first titled and popular in 1970, is when you take two stuff sacks, ideally of equal weight and hoist them in a tree.
The problem you may think of here is that bears can climb, so you as a camper need to place these two stacks at least ten feet from the beginning of the tree’s trunk. While this may seem difficult, if you are headed out into the wilderness, especially in areas notorious for bears, you are going to want to keep your food safe and difficult to access.
Before you throw it up into the tree, you are going to want to make sure to tie a loop on at least one of the bags so you can snag it down later. This method is difficult, and in some places not permitted, so having a bear canister is really the best way to go. Below are a few things to think about when you are making your own!
Odor Proof
Not all bear canisters are going to completely reduce the odor of your food and sanitary products. Especially in DIY bear canisters, it can be even more difficult to get an airtight seal. What you are going to want to do, especially in areas where the bears are common, is purchase odor-negating barrier bags.
Some of the more aggressive bears you will encounter are grizzly bears, so you are going to want to take extra precaution in areas with grizzly bears and have odor sealed bags.
Smooth and Durable
You want your bears to have little to no leverage to pry open your canister. The best way to do this is to have a slippery or smooth surface that makes it difficult for bears to get their paws around it. Bear canisters you can purchase or rent, are going to have difficult to open lids (difficult for even a clever human!) and zero leverage for bears.
Where to Place the Canister
Once you have made your canister, where you place it on your big backpacking or camping adventure is going to be important. Make sure to place your canisters at least 100 feet away from your actual campsite.

Your canister is going to have one side that twists open, so make sure to plant the canister face down, if you are stashing them below ground. If it is permitted, and you have the time, you are going to want to use the counterbalance method to store your food.
How to Build Step by Step
Now that we have covered the importance of a bear canister and a few considerations we are going to outline how to make your own bear canister. Keep in mind that some national parks do require you to have a pre-approved bear canister, and may mean that you will need to rent or purchase a canister.
What You Need
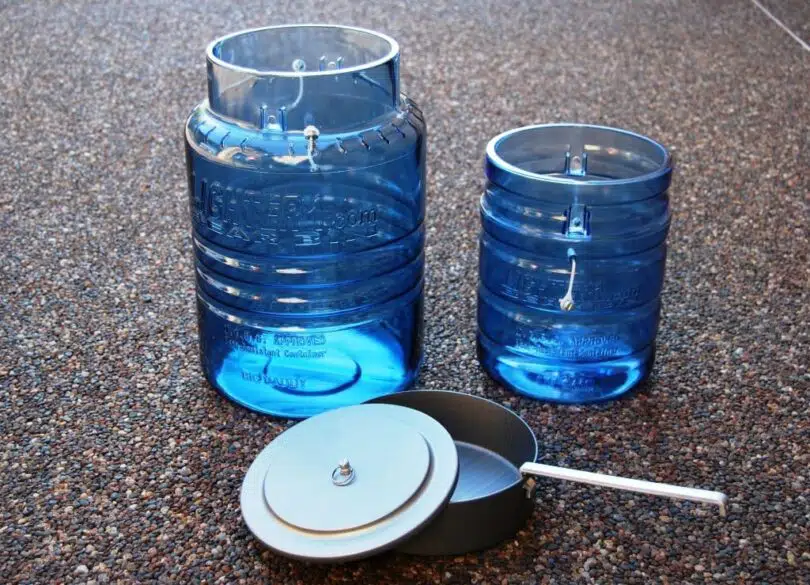
Your bear canister will require a quick run to your favorite home goods store to purchase PVC pipes and cutting material, here are our suggestions for a 4″ bear canister.
- A 4” PVC pipe
- A 4” pipe cap
- A 4” pipe coupler, which will connect two pipes
- One PVC female thread adapter
- A removal male threaded 4” cap
- One 3” plastic disc, this can be cut from any sturdy plastic material, even a milk jug.
- PVC glue, make sure to get the right type of glue for successful construction!
- Drill
- Saw, preferably a circular saw, but regular hacksaws will also work
- Sand Paper
Step by Step
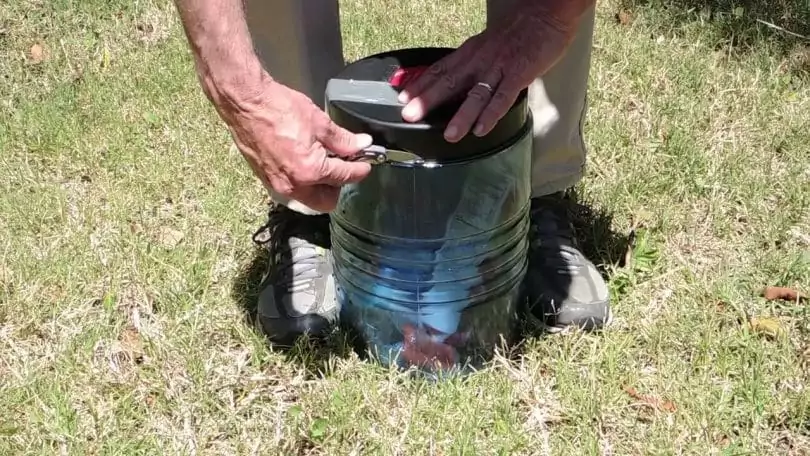
Overall creating this bear canister will take you about 30 mins, and when all completed you can choose to paint the bear canister if you would like. Make sure to sand down the pipes as you go along to keep them smooth, and to give the bears zero-leverage when trying to break in.
- First, you are going to want to cut your PVC pipe to the size of your bear canister. Most PVC is not sold in 4″ lengths. Rather than buy two smaller pieces, we suggest cutting longer PVC pipes down to size to reduce any weakness in the overall design. Use either a circular saw or a hacksaw to cut the piece down.
- Now that you have made your cuts, you may notice they are a bit rough, so sand the pipes surface, very lightly. This will help make the overall design smoother, but also help with the PVC glue adhering the pieces. Make sure to clean any debris left by the sanding process before attempting to glue the pieces together.
- Taking the 4” cap that you have bought, glue it onto the freshly sanded edges. For an even better hold, slightly twist the pipe after the cap has been placed on the edge of the pipe to create a tighter bond.
- One the opposite end of the pipe, glue on the coupler, use the same technique in step three for a better adhesive stick.
- For this step, make sure you have the female threaded adaptor because you are going to glue this piece to the coupler you have just attached.
- You are going to want to let the glue dry for serval hours in total, but before your next step letting the glue set for 15 minutes is enough. Be aware that you should wait several hours, or ideally several days, before taking your canister out into the wild to really let the glue settle. Check the side of your glue bottle to find the best time and temperature for glue to dry.
- While the glue is setting, you are going to take the male threaded adapter and drill two holes in the top side. This allows for two things: the first is for the optional rope to be threaded through, which is ideal for the counterbalance method of keeping food safe. The second thing is that if you do tighten the lid too firmly and you can’t open it, you can slide a screwdriver or metal rod through for some extra leverage. Make sure that you drill the holes to be large enough to accommodate both of these potential needs.
- Take the now drilled male threaded cap and glue the plastic disk to the inside of its surface. Because the plastic bit is not PVC, you might need to try different glues to make it work. The plastic is helpful to keep rain out and more important to keep your food odors in.
- Test out your canister at home to make sure there are no links, and that the glue does not need to be redone in any weak points. PVC pipe is pretty durable, but you are going to want to use the counterbalance method with this homemade bear canister to really keep yourself, and your food safe.
Safe Camping
Having a good bear canister is only the first step to avoiding bears in the wilderness, and we have a few more tips on safe camping. The first has to do with food and food preparation. Once you have cooked, pack away your cooking clothes and avoid sleeping in clothes that have your dinners scent on them.
Always clean up your campsite, and if possible store away your cooking items in the car. Finally, if you are able to cook away from your tent site, try and prepare your meal at least 100 feet away from where you sleep, this is especially important for backpackers on more isolated trails.
In loud campgrounds, the likelihood of seeing a bear can be diminished due to all the human noise and activity, but the likelihood for people to leave out food at night increases. If you are traveling in grizzly infected areas or in areas with large amounts of bears, invest in bear spray, and keep it in the tent with you. See our article on how to choose the best bear spray for more options.
So, what happens if a bear does come into your campground at night? There are a few things you can do, especially if the bear is habituated to human beings and the food they often carry. Try and make as much noise as possible, if you have metal items then try and bang them together for loud noises.
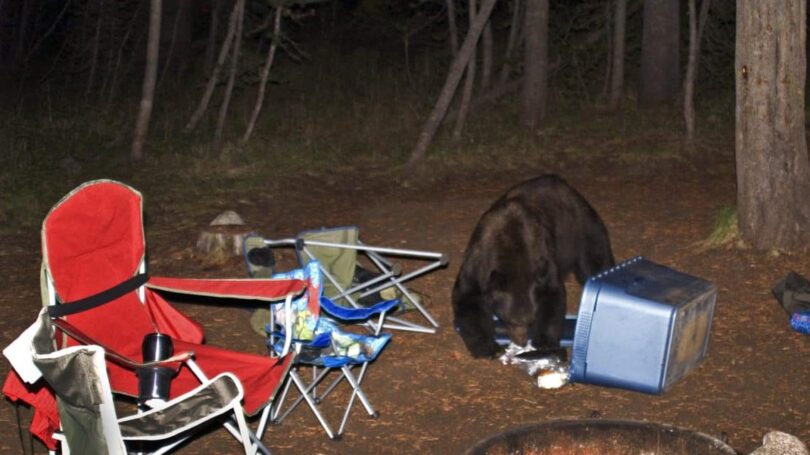
As big as they are, bears do tend to scare easily, and the biggest deterrent for a bear is the human voice. If the bear is unsuccessfully finding food and is not being aggressive around your sleeping area, allow it to wander off on its own. A bear will only be interested in getting inside your tent if you have left food out in the open.
As we mentioned before, certain bears are more aggressive around humans than others, so doing a little research before you go on what type of bear you may encounter can be helpful. On average, a run-in with a black bear will be frightening, but not deadly.
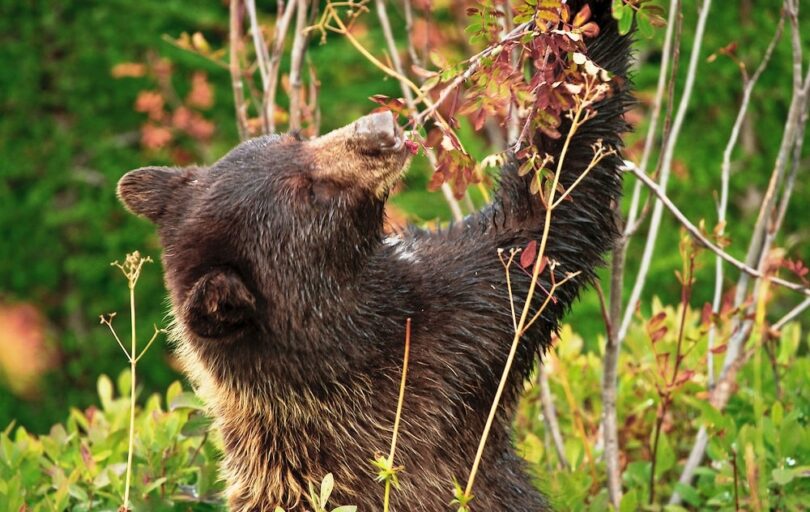
Per year there is only one person to die from a black bear attack in Northern America, yet the sightings are countless. The black bear will actually spend most of its life eating berries and insects, with the occasional fish or small deer. The grizzly bear, or the brown bear, will be much larger, and therefore tends to go after larger prey.
They are more aggressive and are also more solitary in their travels. Regardless of the type of bear, the most dangerous bear you can encounter is a bear that is used to humans and being fed by humans.
See also: How to Avoid Wild Animal Attacks: Surviving Outdoors
In popular parks where humans and bears live side by side during happy spring and summer camping parks, bears become bolder in approaching a human camper. While the bear may be used to us, most campers are not used to, nor prepared for a bear sighting, making it more likely to escalate.
Hang it in there
While making yourself a bear canister can help you reduce overall costs and can be lighter weight if you are going to areas with bears that are habituated to humans, or there are aggressive grizzly bears, you may want to invest in a bulky bear canister.
A bear canister is designed to be both smooth and large so that bears struggle to wrap their mouths and their paws around your food. The plastics used in a bear canister are incredibly durable and are designed to have reduced to zero edges, to make gripping the canister difficult.
The goal of a bear canister is to keep yourself and your possessions safe, if you are making your own, it is best to double with the counterbalance method, or leaving your canister in a car. Have we missed your homemade bear canister method, or do you have tips for staying safe in bear country? Let us know in the comments below!
Here’s our reviews of the top bear canisters to help you make a good choice.


Bear canisters are just great equipment for a wilderness adventure in which, my retired father is now trying to work on. He has made some encampment tools already, but he wanted to make some usable bear canisters. Are there any standard or necessary features in making them?
The best bear canister is one that the bear will have a hard time accessing its contents. So, the material has to be strong and smooth. And the design must be bear resistant. The article has the requirements and step-by-step instructions.
Various materials can be used in making bear canisters, and I have seen some tutorials that really made good ones. So far, I have not seen any bear canisters made of PVC pipes. Could it be possible? I am planning to use PVC pipe with 8 inches diameter and 12 inches in length. Is there any advice that you can give me in terms of threading?
PVC pipes come in large sizes; just make sure the design consists of a cap and a screw on the lid for fastening. Check out more details from the article.
How in the world can you write an article about a DIY bear canister and not include a single photo of one?
That is a good question. I just recently purchased this website and I’m working to update the 650 articles. I’ll check that one out.