When looking to make your own ammunition, there are a number of factors that you have to consider before you take the plunge. The first thing you need to do is understand the type of ammo you want, the size of the round that suites the weapon you are using, the types of equipment you need and the process that you want to use. There are three main ways to make your own ammunition- casting, swaging, and machining.
[the_ad_placement id=”in-text-1-type-r”]The method of casting bullets is one of the oldest methods. It uses a lead furnace to melt the lead, molds for each size and caliber of bullet, and a device to size the rounds to the right diameter and lubricate it. Casting bullets are best used for handguns like pistols and semi-automatics and it is popular among hobby reloaders.
See also: Best Reloading Press: Definition, Pros, Cons And Popular Best
For this article, I will focus on how to make your own bullets by using scrap lead weights to make your own ingots, pouring the molds and sizing them up and the process it involves.
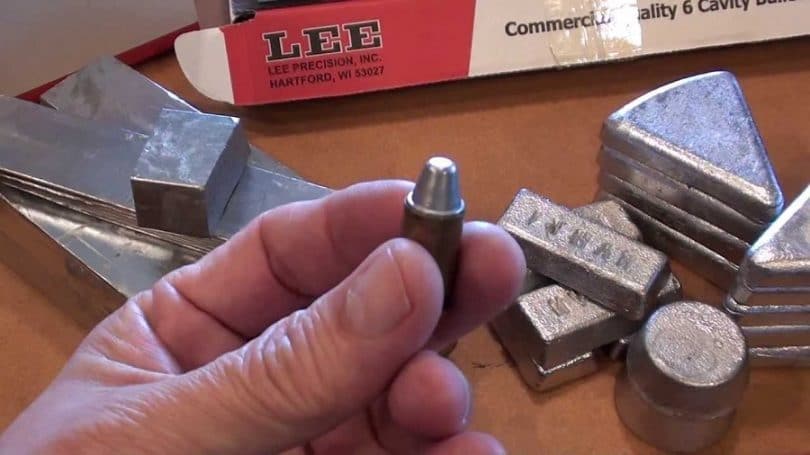
Casting bullets can be fun and can give you a sense of pride in your work if you let it. With the rising cost of ammunition, it has become easier and more cost efficient to make your own bullets, especially if you plan on using a lot of them.
Safety
When wanting to cast bullets, there are a few steps to successfully casting your own bullets safely: equipment and supplies, pouring ingots, and then finally the casting process itself. Safety is important when dealing with molten lead. So when casting bullets, cast smart.
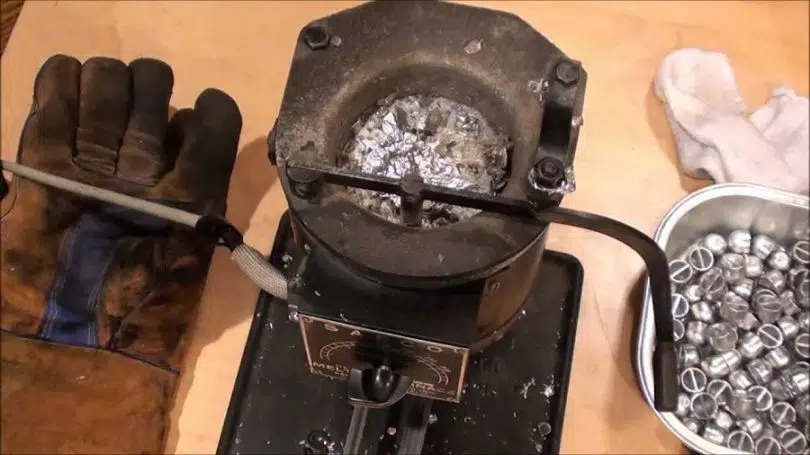
The safety materials you would need to get started should be only used for the casting process and nothing else since the materials can be toxic, especially if there are children around. This being said, the materials needed are a respirator mask, welding gloves, clothing that is not loose-fitting, closed top shoes, a sturdy surface to hold the welding furnace, safety glasses, and a well-ventilated area to work with (outside is best).
Ingots
To get started, besides the safety equipment, it is important to have all of your other required materials ready. You would need to purchase a list of materials in order to start melting your lead down.
- Single burner stove that has a temperature control
- Cast iron melting pot
- Metal spoons
- Small stainless steel cups for molding the ingots
- Cast iron ladle to scoop the molten metal
- Flux material (like paraffin wax, candle wax, bullet lube, etc)
- Bullet mold(s)
- Bullet lube
- Gas checks
- Aluminum sauce pan and aluminum cake pan
- Disposable aluminum cake pan
Once you have these materials, the next step would be to source your lead. What you are looking for are lead wheel weights since they have a good amount of tin and another alloy. These can be melted down to make your bullets easily. A good ration for your bullet alloy would be 10 parts lead to 1 part tin and 1 part antimony. If you aren’t sure if the source lead has enough tin, you can always add 1 part tin, by adding plumbers’ sodder.
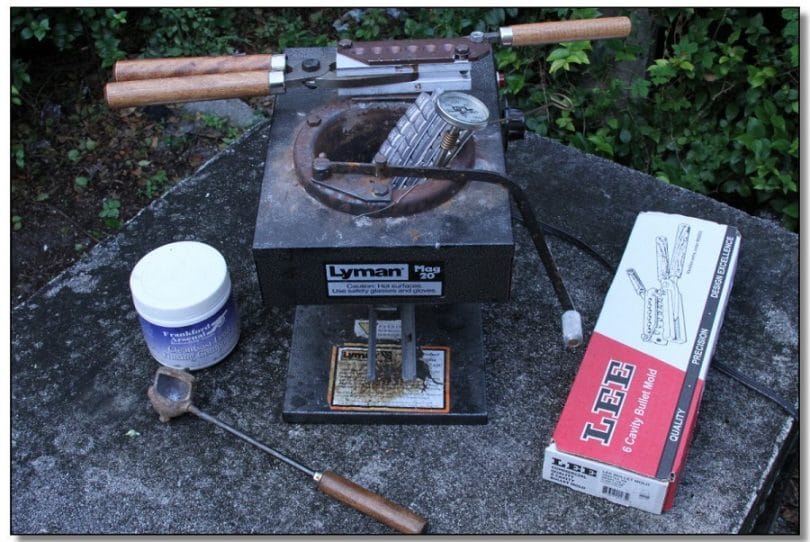
If you want to get the full experience, then you can make your ingots instead of buying them. Wheel weights are becoming less used as technology advances, so if you are going to start casting your own bullets, it is recommended that you head to your local salvage yard or garage and get as much as you can. Some times they will give them away for free, other times it may cost a bit, so check out the local sources, and develop a relationship with them to make sure they save the weights for you.
When you are making your own ingots, it helps you get comfortable pouring molten alloy before the actual process of casting the bullets is done. Make sure that your melting pot doesn’t come into contact with water. Water violently reacts with molten metal causing the steam to blow all that molten lead all over everything nearby.
So it is important that there is no moisture or water anywhere close by. Use the wheel weights that have the steel clips, save the adhesive ones for another day, as these ones are pure lead and would be too soft for modern bullets.
Make sure there is no zinc and other stuff you don’t need. This is a good video on sorting your weights here.
Once you have them sorted, take the lead weights with the steel clips and get them into the pot- you want about 5 pounds to start with. Turn the burner onto its highest setting and wait. You may want to invest in a lead thermometer to make sure the temperature stays at a certain point.
If you are working with harder alloys like Linotype, you will need to increase the heat of the burner that you are using. Make sure you have your respirator on, so that the fumes that come off the lead aren’t inhaled. This is toxic, so safety is extremely important.
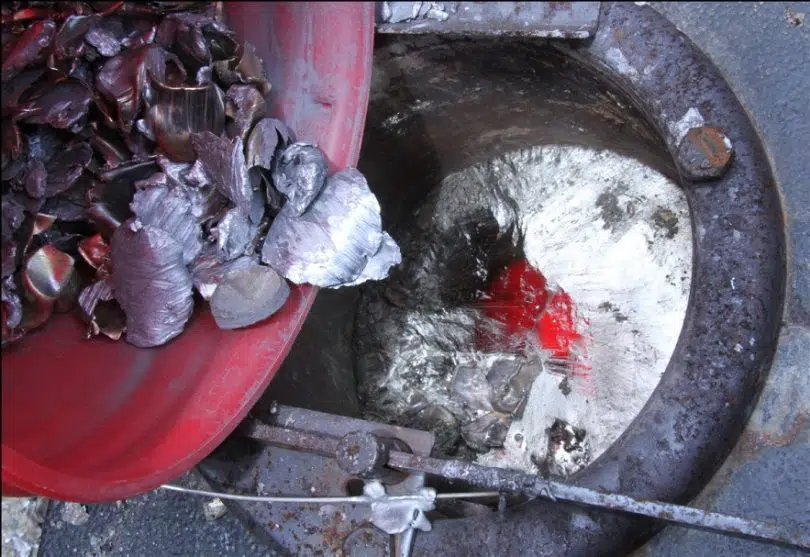
When the alloy is melted and the fire is out, the steel clips and other waste material from the top using a slotted spoon. This stuff is very hot; so when you scoop them out, make sure you put them into a disposable cake pan, to keep them from ruining the work surface. Once you get all of this stuff out, you should be left with the molten lead. To this, you add your flux. This will be either paraffin wax, sawdust, candle wax or flux powder like Marvelux flux.
These options are your best bet, the wax will smoke and create a smell, so you can add a bit of sawdust or paper in with it to help reduce the smoke. You could use beeswax but this is best saved for lubrication in the later stage of bullet making. Flux is used to keep the metals from oxidizing, and to remove the impurities from the surface tension of the liquid pool of molten metal, like calcium, zinc, copper and aluminum.
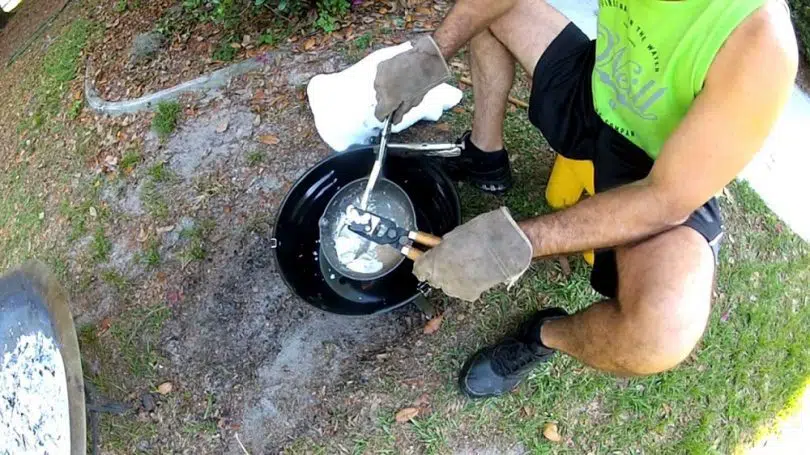
When you add your flux to the pot, you wait for it to stop smoking/burning. At this point you stir the pot carefully, scraping the sides and bottom with your metal spoon. This will bring the impurities to the top for you to skim off. More may appear, but you can always flux again if you find more impurities floating to the top later. You will get a nice silvery shiny molten alloy left over in the pot and its time to pour the ingots.
[the_ad_placement id=”in-text-2-type-r”]Set your cups inside one of the pans, and make sure it is on a level surface that will be able to withstand a very high temperature that will be spread through the steel cups (like the ground). Put your gloves on, and grab the pot and pour the mixture into the small steel cups till they are about 2/3rds full. Be careful not to spill or splash it. It will cause serious injury. Let it sit in the cups for a few minutes so that it can harden.
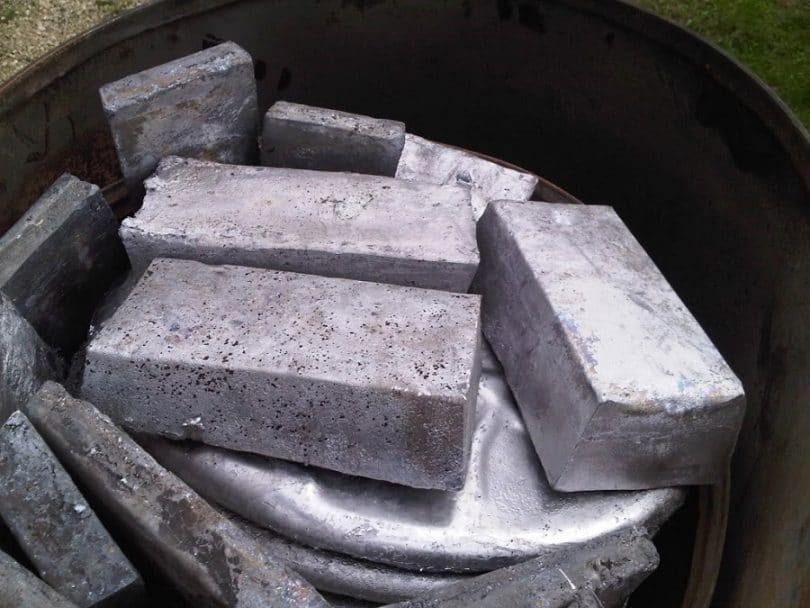
After about 10 minutes, keeping your gloves on, turn the cups over and carefully tap their bottoms to get the ingot out. They will still be hot, as will the cups. After a total of around 20 minutes, they should be cool enough to handle. Repeat this step until your alloy is gone. It would be best to have more than a couple cups, so that you can do many at the same time. Now you have your ingots for making your bullets.
Casting process
Bullet molds and melting pots
Above I listed a really helpful video on choosing equipment in preparation for bullet casting. There are various types of molds and lubricant machines that can help you decide which would be best for you. There are many options to choose from like cast iron pot and ladle, bottom pour electric furnace from Lee (around $80) and a more inexpensive electric furnace precision melter that costs around $45.
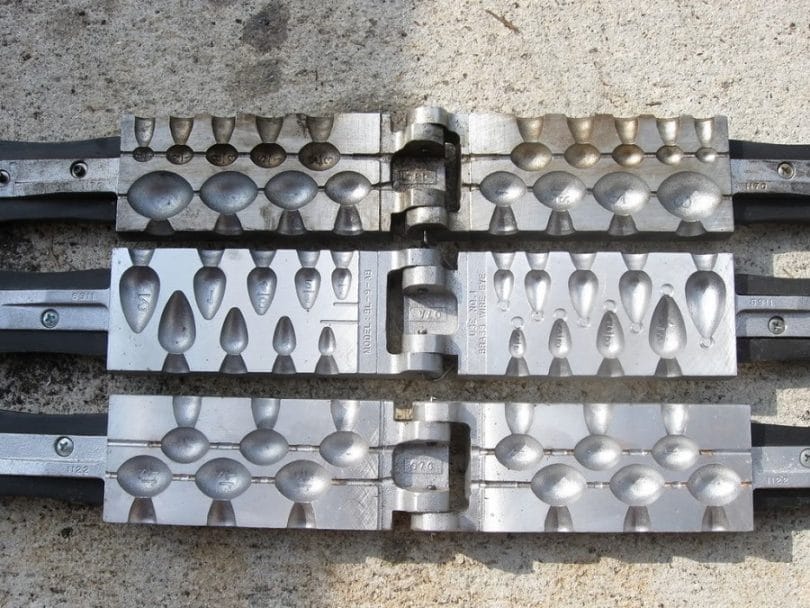
Either way, its a matter of preference what you want to use but the bottom pour pot would be the easiest way to get the alloy into the molds. When it comes to molds, there are different molds for different style, caliber, and weights so it is important to make sure you have the right one for the weapon you are planning on using the bullets with.
If you are planning on making a lot of bullets, on a frequent basis, it might be best to buy one that is new, good quality molds like a Layman 2 and 4 cavity molds. The best melting pot for beginners would be the bottom pour pot.
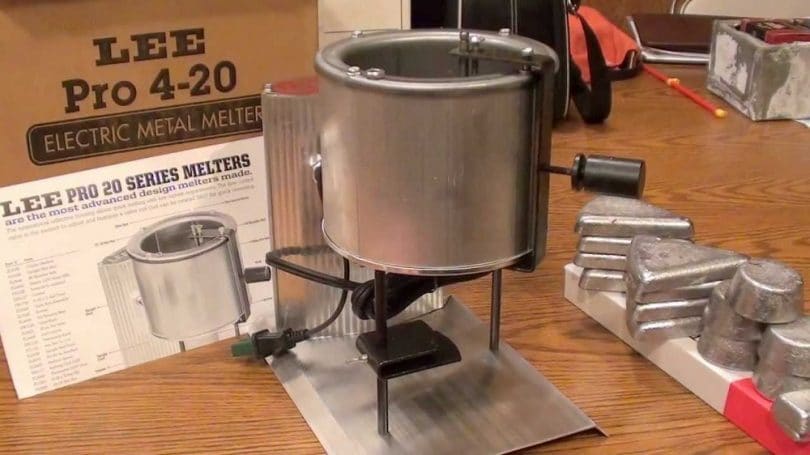
This one is easy to manage, as the spout is on the bottom, and you just raise the lever, and pour it into the mold. If you want to go for top accuracy, you will want a single cavity mold to make all of the bullets uniform. If its high volume handgun shooting that you are going for, then a multi-cavity mold like the 2 and 4 cavity molds would be the better bet.
Just make sure your molds have wooden handles. Handles sometimes don’t come with the molds; so when you are buying your mold, double check to see if it comes with a handle. Follow the prep that the mold manufacturer suggests, which may involve lubricating the mold or smoking it before use.
Making bullets
Now its time to make some bullets! Set the pot of your choice onto the well-ventilated, level, dry surface, and turn on casting pot to high, and put in some CLEAN, dry ingots. Once it is melted, turn the temperature down to between 5 and 6 on the dial of the furnace. This would keep it to around a medium high temperature. Set your mold on top of the pot to warm it up, and if you are using a standard electric furnace variety, then make sure the cast iron ladle is heated up as well.
When making bullets, if they look frosty, the mold is too hot. If there are holes in the bullet, then the alloy didn’t make it into the mold all the way and this means that it was too cold. It is important to performance and quality that the temperature of the alloy be perfect.
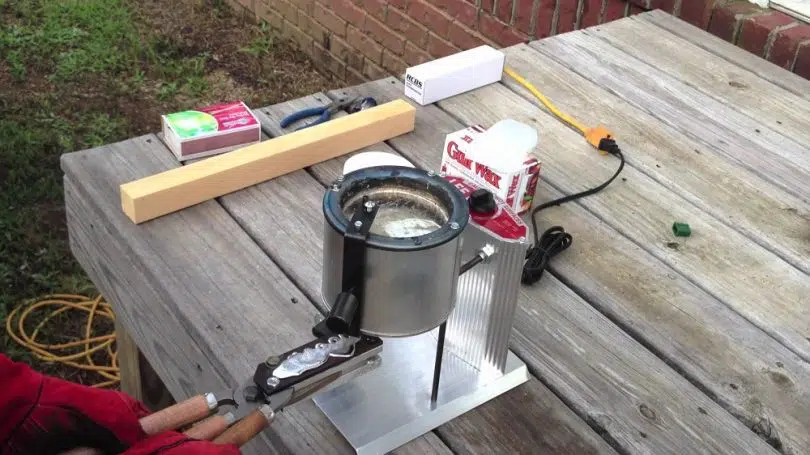
Once the alloy is melted and the temp is correct, you can start pouring. First, make sure your gloves are on, and your disposable aluminum pan is handy as these bullets will be about 500 to 600 degrees and will be EXTREMELY hot. Take the mold and hold it under the pour spout. Pull the leaver down gently and fill the sprue until it forms a little puddle at the top of the mold. Wait a few seconds for the bullets to harden, and open up the sprue plate and drop the bullets out onto the aluminum foil-baking pan.
Sometimes a little tap with a wooden dowel or stick is needed in order to help pop the bullets out. Don’t use metal to tap it as the mold can get damaged. Close the mold and pour more molten alloy into the mold. The more you do these steps, the more efficient and quick you will be. Below I have listed a video of a Champion shooter making bullets with an aluminum pan and bottom pour pot.
The other way to make them is with the electric precision melter furnace that doesn’t have the bottom pour spout. It works the same in terms of heating the alloy to the proper temperature and making sure the molds and ladle are heated as well.
When the alloy comes up to temp, you very carefully ladle some of the alloy into the mold, while holding the mold over the top of the furnace. You still wait a few seconds for the bullet to harden, then you can either drop them into the aluminum foil pan, or when you get better at casting, you can drop them into a bucket of cold water.
Now, if this is the method you choose, it will give you harder bullets. But, make sure that this bucket, is at least 5 feet away from the furnace that has the molten lead because if even a drop of water gets into the lead, it can cause a steam explosion. This method is viewed here.
Sizing, gas checks and lubrication
If you are meaning to make high velocity loads and are not jacketing them, then you will want to put gas checks, thin rounds of copper, on the bullets. This helps them to keep from deforming, aids the accuracy of the round, gas cutting, as well as helps to reduce the buildup of lead in the barrel. Some bullet molds are designed for gas checks and some are not.
Make sure you know which one you need. The most common use of gas checks are in the .44 Magnum, .375 Magnum, and 10mm auto. They are also popular in obsolete military rifles. So, it’s important to be familiar with the ammo that your gun or rifle needs.
For the sizing and lubrication process, the best option would be to use a Layman RCBS sizer lubricator. It will run you around $250 brand new, but is worth the money if you can’t find a good one second hand. This device will size the bullet to the size you need, apply the gas check and lubricate the grooves all in one shot. It saves time and energy. You can get a variety of dies that you can get depending on the caliber of the rounds you need and these dies come with liquid bullet lube that is easy to apply.
If your bullets don’t need gas checks, then you can tumble lube them, which is faster but not as neat. Tumble lubing is when you put the bullets in a plastic tub, and the warmed lubricant and tumble the bullets around so that they get an even coating all over them. From there, you just set them out overnight, on some wax paper, to dry.
[the_ad_placement id=”in-text-3-type-r”]Below, is one of the better videos showing the sizing and lubricating process by using the Lee reloading kit, and RCBS lubrimatic, as well as goes on to show the jacketing process of bullets that require a jacket and a charge.
So, whether you are new to the gun range, researching for a new way to make bullets, or an experienced user, casting your own bullets can be rewarding and can let you create your own bullet design. By making sure you are safe and have clean equipment, and are careful with the molten liquid, then the bullets should come out nice and strong and ready for action.
Making your own ingots can help in the process too, as you would have control over the tin and antimony content of the molten alloy. There is a lot of room for creativity when it comes to making your own bullets. Make sure you are familiar with your weapon of choice, and the ammo it needs, as well as all of the components that are involved in making your own rounds.
Do check out our reviews on the best survival gun to help you protect your family.




I belive that your best bet is just to simply buy the bullets, because I think that making them on your own is not worth your time. Am I right?
Making your own ammunition is not hard, and it is cheaper and convenient. Moreover, you will be able to design the bullets as per your preference.
A friend of mine bought some gears so he could make his own bullets but for him, the accuracy of the bullets he made seem to be off and he now regrets ever buying those gears as he has never made a bullet that was precise, regardless if he changed the formula or way that it usually is made.
Making your own bullets does take practice and it needs a rather advanced sort of skill set in order to create bullets that will work. I would suggest that your friend take basic gunsmithing lessons as well as metalworks to improve his skill.