A tomahawk commonly referred to as a hawk is a single-handed hatchet that is resembled with a straight shaft. This unique axe-like cutting tool is common in North America and you can best learn how to throw a tomahawk by studying its anatomy.
[the_ad_placement id=”in-text-1-type-r”]To begin with:
- the cutting area is referred to as the beak or the bit
- the middle section connecting to the handle at the back is referred to as the poll
- the whole thing from the bit to the poll is referred to as the head
- the part on the top of the beak is known as the spine while on the side of the beak you have the cheek
- the area under the cheek is called the hook
- the sharp cutting area is referred to as the edge while the angled area that extends from the edge is called the bevel
- the point where the edge and the hook meet is known as the beard
- the part that extends from the handle is called the tip while the edges at the back of the poll are referred to as the shoulders.
You can have a number of sections at the back of the poll. Your tomahawk can have a flat poll or the poll can have an extended solid section called a hammer or an extended hollow section called a bowl.
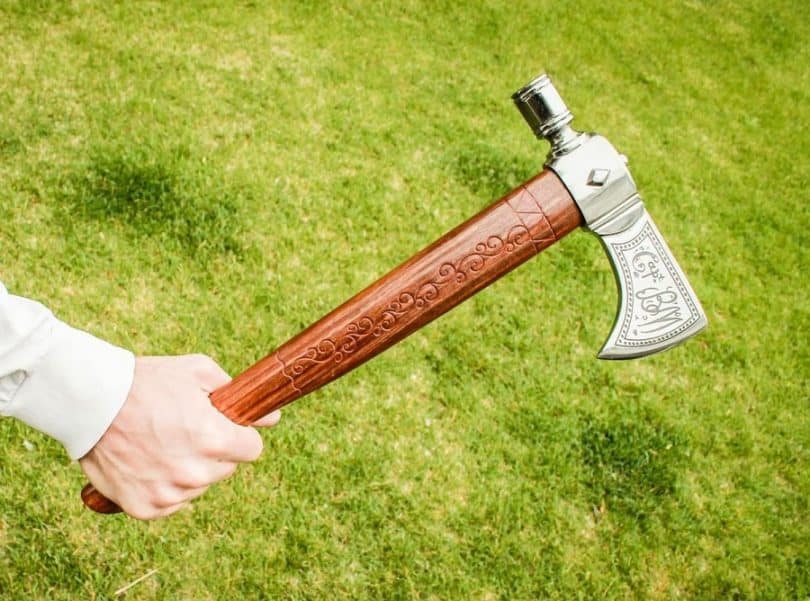
If the extended part from the poll is a solid spiked section, it is often referred to as a spike. The section that you use to hold the tool is called a handle or a shaft. There is a section either at the beginning of the beak or at the edge of the poll referred to as molding.
Another popular part of the tool is the v-shaped section at the back of the head called a chevron. There is a circular part between the spine and the poll referred to as the eye. The aforementioned facts are the basics of the tomahawk anatomy.
Styles of tomahawk
There are various styles, but the most common ones and highly recommended for throwing are the hammer hawk and the spiked hawk.
Hammer tomahawk
This hatchet has a hammer poll. The best model for throwing hatchet should be lightweight, durable, and precise and made of quality construction. Throwing becomes easier and quite perfect when you are using a hand-forged tomahawk instead of a machine-forged one.
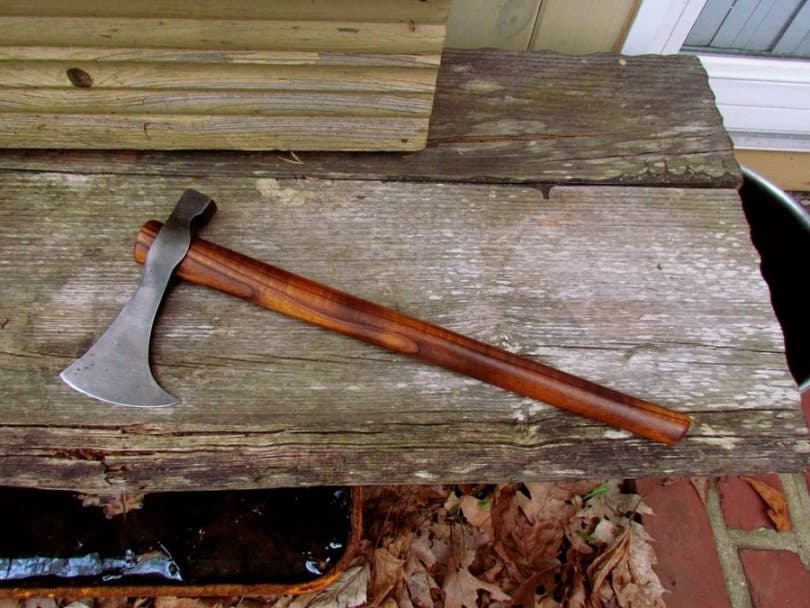
The reason why hammer hawks are so convenient is the fact that their design evolved from the original and popular tactical hatchet series. Hammer poll models usually have heavy-duty handles, which are not only comfortable, but also stable whenever you are handling them.
Spiked tomahawk
A spiked hawk has a spike section that extends from the poll. In most cases, spiked models are considered apocalypse tactical weapons. They are quite intimidating with their razor-sharp edge at the front of the head and needle-point spike at the end of the head.
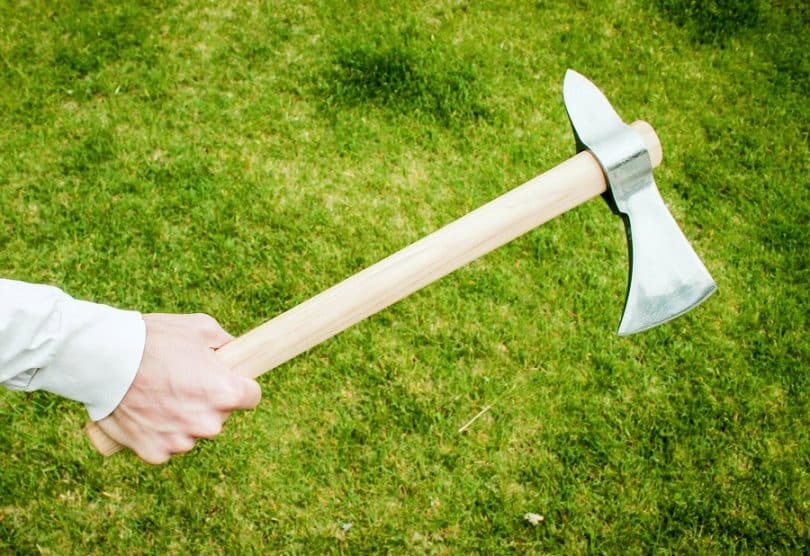
The most recommended choice for this should have a spike that is sharpened on both edges, because this makes hooking and cutting easy. As far as hatchets are concerned, this is not just a cutting tool; it is the ultimate self-defense cutting tool.
What is your ideal size?
Now that you know the anatomy and popular styles, you are ready to engage so choose your ideal hawk size for perfect throwing.
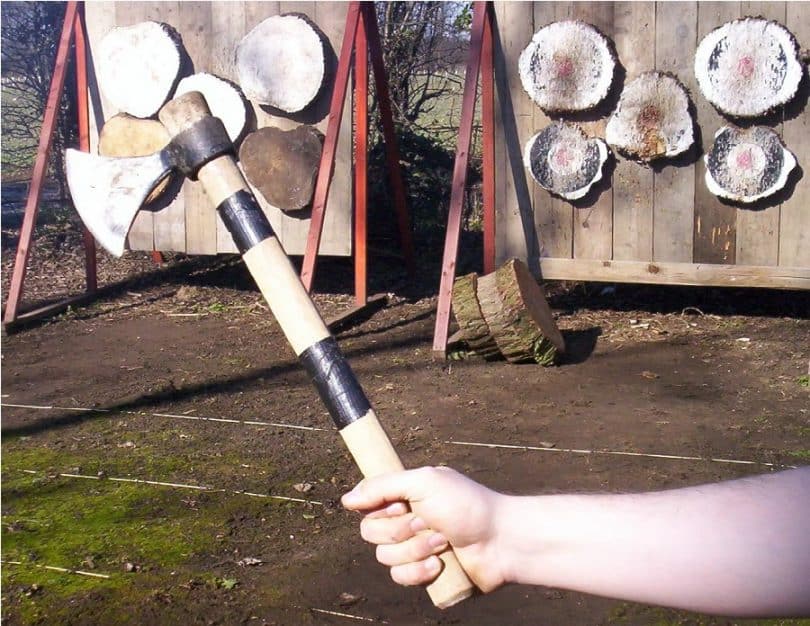
For this, follow these guidelines:
- The most recommended size for children under 12 is sixteen inches.
- The most ideal size for women and teenagers ranges between eighteen inches and nineteen inches models while the most recommended size for adult males is nineteen inches.
You need to select the most appropriate size in order to make it easier for you to throw without risking your life in process.
What you should consider
- You should use a model that has been fully inspected and well-sharpened before use.
- Make sure the handle does not have splits and splinters, because it may not be able to hold the head.
- The station spacing should be 10 feet; the target distance should be roughly 14 feet while the range front, side and back clear area should be 20, 30 and 75 feet consecutively.
- Make sure you throw by the handle and not the head and your piece should be aimed at your designated target.
- Only throw a hawk if you have manual adroitness in using your hands and physical strength needed to safely throw.
- You should have a clearly defined target and not targets; this will ensure that you have a designated target and help you circumvent aimless throws.
The perfect target
A target is one of the most important items that you must have in place in order to be able to throw a hawk. Unlike other small-bladed cutting tools, such as a knife, a cutting tool consisting of a fighting axe will require a relatively large target.
You are advised to use a large cross-section of a log as a target, since this is something that your hatchet will not tear up into pieces on a single throw. You can make a target from planks of wood or from log rounds. The ideal wood types to use are: beech hard wood, sassafras hardwood, ash hard wood, hackberry, cottonwood, tulip poplar and sycamore.
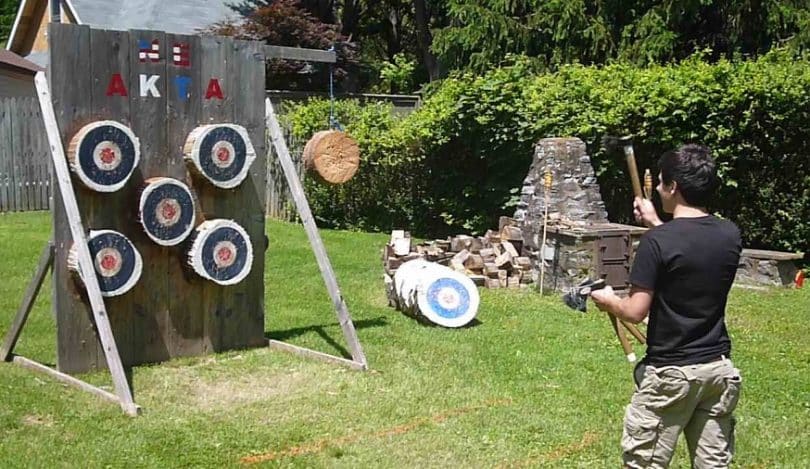
The easiest way to build a target is by using wood planks. An ideal target can measure approximately six feet in length, which requires at least 4 2×12 planks. You are advised to employ a woodsman if you do not know how to attach the planks.
In most cases, planks are recommended for novice throwers. On the other hand, log rounds are considered to be the best option. They are more stable, highly resourceful and highly versatile. You can use both sides of the log whenever one side is badly chopped. The standard diameter of a log target is sixteen inches. However, you should construct a twenty-inch diameter target.
You cannot make good throws and hit your mark if your target is not supported by a reliable stand. There are four major types of target stands that you can use, including: a basic stand/ custom stand, a portable stand and a heavy-duty stand.
The easiest stand to construct is the basic one, which requires you to nail together two legs of 2 by 4 at the back of your target and place it against a tough tree. This is an easy to build stand; however, it can easily collapse when the construction is not done correctly. On the other hand, a portable target stand is sturdier and can easily support a large target.
Unlike the basic/custom stand, this particular stand is foldable, which makes it easier for you to carry and transport. This stand needs you to be a good craftsman, because you need to have some skills to pull out the desired angles. You need to have the following if you are to construct a reliable portable stand: portable hinge, well-designed back legs, and trimmed corners.
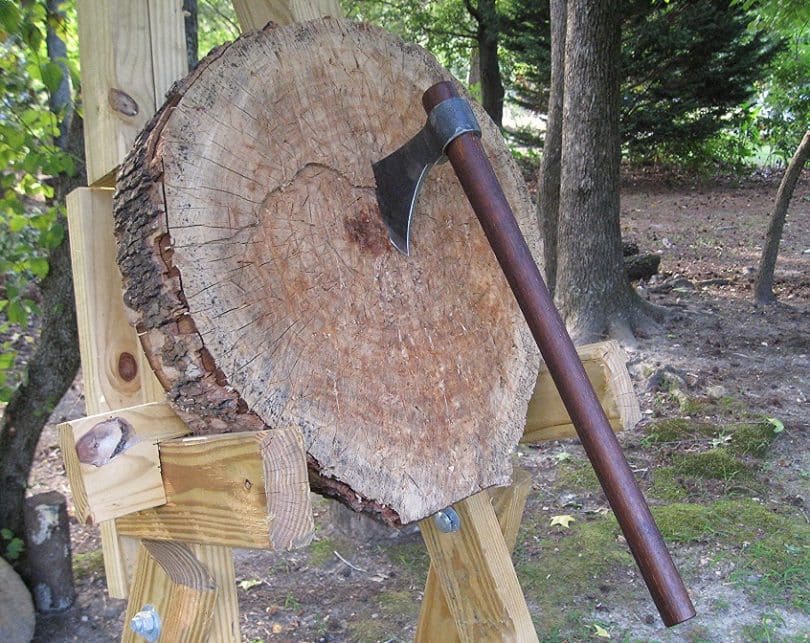
A more reliable choice for larger targets is the heavy-duty stand. It is usually constructed out of landscape timbers, which makes it not portable. This piece will cost you materials, skills and time. However, you should not consider using this stand if you do not have a pick-up truck.
As mentioned earlier, safety is a serious consideration. Therefore, in addition to a well-constructed stand you need to ensure that the range front, side and back are spacious enough. If not so, you should consider using a backstop to contain each throw that misses the target.
[the_ad_placement id=”in-text-2-type-r”]The best material to use for a backstop is either heavy plastic or heavy-duty metal garden fence. You need to ensure that the poles supporting the backstop are made of high quality material, such as bamboo. As a beginner, you must put in place a backstop to avoid unnecessary incidents.
Throwing a tomahawk
You should always remember that the design of a hawk is characteristically heavier at the end of the head. For you to be skillful you need to be acquainted with the weight as well as the size difference. Unlike any other axe-like cutting tool, the weight of the head of a hawk has a better impact force, meaning that you do not require a strong throw.
Usually, the weight of your hatchet does most of the work for you. Therefore, you are only left with the distance along with the accuracy to pay attention to for every throw you make.

You can complete full-turn throws by ensuring that the cutting edge is facing forward toward your target. Make six steps from your target and face it in order to be about 14 feet from it for a single turn. The best throw stance to use is a modified standing stance.
However, you can move your rear foot forward to the position of your forward foot as you complete the follow-through of your throw. Manage your foot placement by placing your left foot toe on the distance mark. Your throwing foot (right) should be at a relaxed distance behind but slightly to the right of your left foot.
You have to flex your knees to make it easier to shift your body weight forward during a throw. Hold your tomahawk in your right hand about your chest level and make sure that your left hand supports the throwing hand. Your elbows should be out in front of your body and placed shoulder width apart.
Your aim should pick a spot on your target and bring your hatchet to the position where your eyes, your hawk and your target are all in line with each other. Basically, this is the position you have to assume for consistent, concentration, repetition as well as adjustment of your throw.
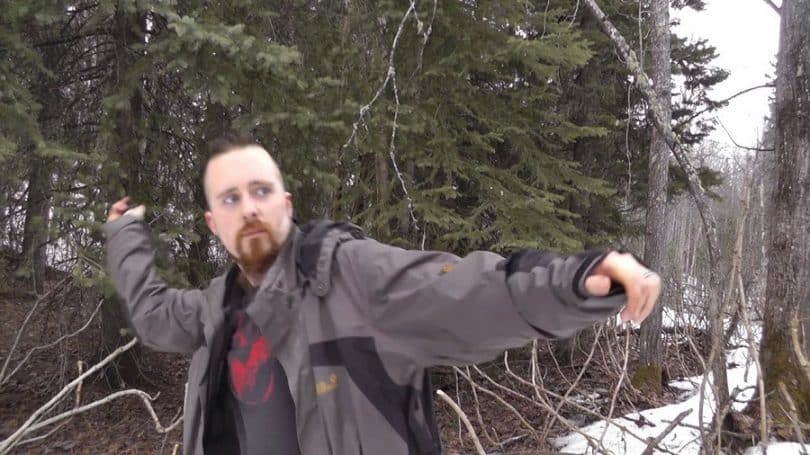
Start by bringing your throwing hand backward along your head and make sure that this hand is directly over your right shoulder. Your body should move back slightly while you extend your left arm towards your target, and allow the throwing hand to continue the back movement to a raised stance.
Thereafter, your throw will require two movements, which should involve accelerating and release of your hawk. Make a thrusting forward movement by a forward motion of your throwing arm. As you do this, your left arm should swing down while your body shifts forward.
Go ahead with the release when your throw hand is in full-forward motion. Your body weight will shift more to your left foot and your right foot may be slightly lifted off the ground. Your left arm will start to swing behind your body. You can complete the follow-through by ensuring that your left hand continues its backward motion to equipoise your forward lean. Your right foot should rest in the proximity of your left forward foot in order to regain balance.
There are various variations to throwing hatchet, including: step from, step into, feel together, lift rear foot, strong follow through and reversed footing. The step from throwing style requires you to be one step behind your distance mark with your right foot in a ready position.
Normally, you have to take a full step forward with your left foot, which places your left foot on the distance, allowing you to deliver your throw. This variation allows you to use your forward body motion to top up the speed of your throw, allowing you to produce a greater impact force.
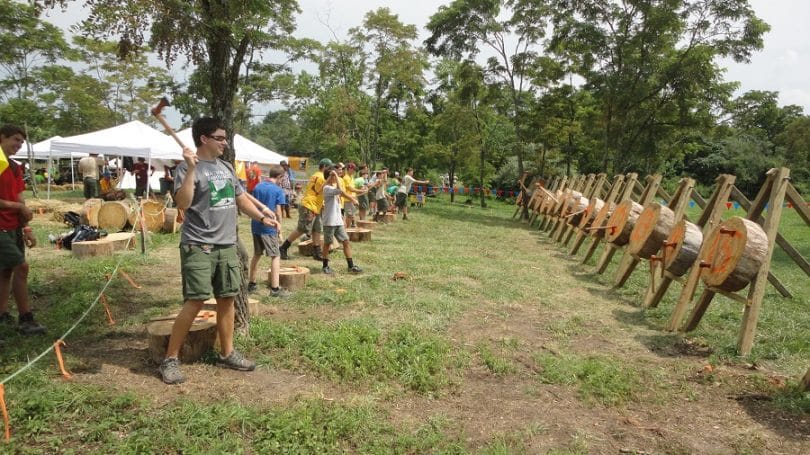
The step into throwing style needs you to be a short step behind your distance mark with your left foot positioned in a forward ready posture. To deliver your throw, you need to take a short step forward with your left foot. This will place your left foot on your distance mark as you deliver your throw.
From experts’ point of view, this can be a more comfortable motion for you if you do it right. The feet-together throwing style requires you to place both your feet on your distance mark at a relaxed distance and they should be apart in order to be able to produce a throw. However, this is not the best of styles and you should definitely not try it if you are a first time thrower.
The lift rear foot requires you to extend your follow-through to the point where your entire body weight is lifted to your forward left foot and your rear right foot will leave the ground.
You will be able to deliver your throw when you are at maximum speed as well as power. This variation allows you to use your maximum forward body motion to top up the velocity of your throw. This allows you to produce a greater impact force. As much as this variation will provide you with speed and force, you have to know that higher velocity and greater impact force are equivalent to poor accuracy. Reversed footing is not highly recommended for novice throwers because it is not only awkward but also unnatural.
Tips for tomahawk throwing
- You have to make sure that your cutting edge is not razor sharp. The idea of throwing tomahawk is for it to stick on the target as you hit your mark. This can be impossible and unsafe if the blade is too sharp. Therefore, a fairly dull blade will do.
- Your target should be placed on an open area, far away from obstacles such as bushes and small trees that may block your aim. Your position of the target should also take into consideration the safety of other people. You can avoid unnecessary accidents by placing a backstop behind your target.
- Regardless of the variation you use, make sure your release is as natural as possible. You can achieve this by ensuring that your feet are well-positioned as discussed above.
- It is a throw and not a cut you are making; therefore, you should consider holding the handle at its very top. Firm the grip by wrapping your thumb around the shaft of your hatchet as you would hammer. Remember not to place your thumb at the back of the shaft because this will interfere with the turn of your hawk.
- Before you make a turn make sure that the cutting edge is at right angles with your target. You achieve this by slightly loosening your grip.
- You can check if you are in the correct throwing stance by letting your hand fall naturally to the side.
- Use your arm and not your wrist to make an accurate throw. If you use your wrist, you will experience stress and wrist pain. Also, you should avoid bringing your blade backwards too fast since this may make you lose control.
See our earlier techniques on how to sharpen an axe to take care of your gear.
In conclusion
The trick to tomahawk throwing is to have the correct skills. It does take practice to establish the correct distance to stand away from your target for a perfect throw. Don’t forget to bring a complete first aid kit every time you practice for safety.
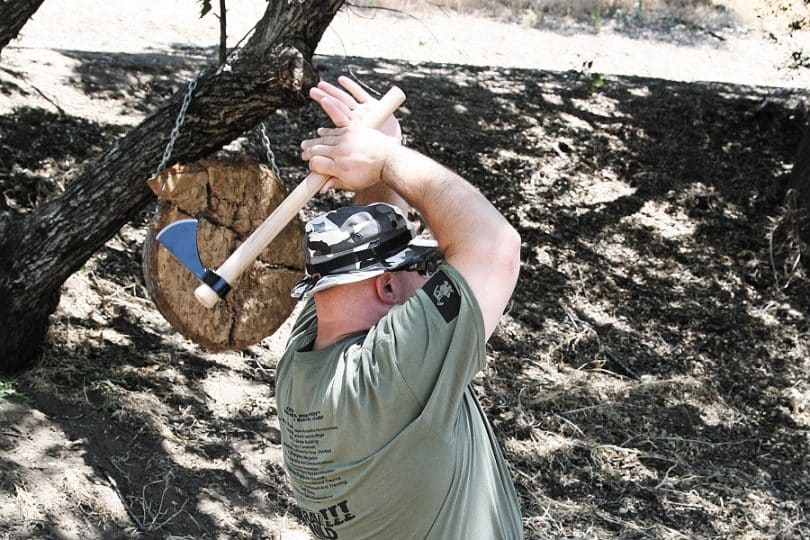
Your hawk will accurately hit the mark if you get the distance as well as the throw right.
[the_ad_placement id=”in-text-3-type-r”]Hopefully, the tips we shared today will help you learn how to throw hatchets and eventually become an expert. However, keep in mind that practice makes perfect; therefore, when you master the basic, with or without coaching, you should soon be able to make perfect throws even when using awkward variations. With that said, it is necessary and extremely important to follow the rules of safety to avoid unfortunate incidents.
Do check out our piece on how to choose the best tomahawk for your survival needs – it’s an excellent read.




Tomahawks are fine for leisure and having some fun while out, camping. Much like throwing knives.
For usability I always like a good machete or a hatchet.
Thank you Rodney for sharing your opinion with us.
Thanks for sharing such a great guide. Although, in my point of view “Practice makes a man perfect”. Be sure to take all the safety precautions and have first aid kid while practicing.
Thank you for showing interest in our community.
Tomahawks are simply great for throwing due to their lightweight and size. They tend to go longer distances with maximum damage. However, throwing a tomahawk is not an easy task, it requires tons of practice before you master it. For a beginner I would suggest, practicing plastic targets on short distances and gradually, increasing the distance and complexity as you get a hang of it.
Thank you for showing interest in our community