Building your own snowshoes is a way to help yourself survive during the winter. Whether you’re trying to walk a short distance or a long one, the right snowshoes are going to mean the difference between being able to get there and not. After all, being able to walk through the snow is definitely not as good for you as being able to walk over it. Check out our article on how to snowshoe for more information.
[the_ad_placement id=”in-text-1-type-r”]If you’re slogging through a lot of deep snow you’ll find yourself tired faster as well as getting cold and wet. But walking over the snow makes it a lot faster to get there. Of course, first you have to learn how to make snowshoes.
What are snowshoes?
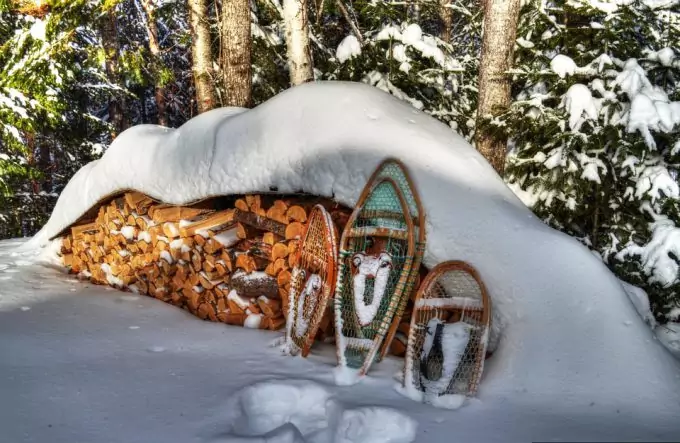
Snowshoes typically look like a tennis racket but they’re used for walking on the snow instead. Using a racket is generally not going to help you, unless you don’t have any other options when it comes to getting across the snow. Snowshoes are able to attach directly to your shoes and will help you get the balance that you need to stay on top of the snow and keep your momentum so you don’t get stuck out in the cold. You can also check out our piece on how to choose the right kinds of snowshoes for added options.
Buying your own snowshoes
Buying snowshoes can be the easiest option when it comes to this because you can walk into the store and pick up the perfect pair. You get to try them on right in the store and if they aren’t any good or they don’t seem to work for you, all you need to do is pick up another pair and see if you can get those to work instead.
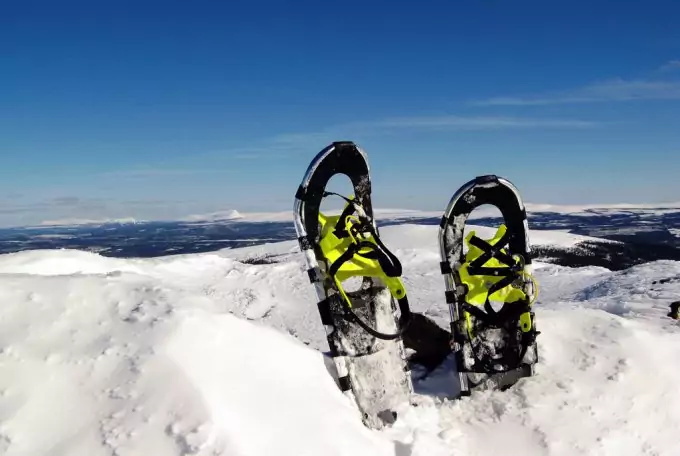
You just keep trying different sizes and different options until finally you get the right ones, ones that fit comfortably and also attach to the boots that you want to wear when you’re traveling. Unfortunately, you may not have that option but may still need snowshoes.
Considering the terrain
If you do have the option, there are a few things you should be looking for. You first need to know the type of conditions that you intend to use your shoes in. This is going to change the exact type of shoe and the build for them.
- Flat terrain shoes are what you use when you’re just walking on fields. They are simple to use, easy to adjust and they don’t have a lot of traction. They can be good for those just getting started with snowshoeing or families but not for aggressive conditions.
- Rolling terrain snowshoes are meant to help you when you’re hiking on a little bit more difficult terrain. They shouldn’t be used on anything too extensive or advanced but you can use them when the hills are a little steeper.
They have crampons and stronger bindings to help you keep moving and maintain your balance in this rougher terrain. If you’re going to be on your own in dangerous conditions these are closer to what you’re going to want because they provide a more balanced option that will get you through rougher terrain without too much added weight from the heavier duty shoes. - Mountain terrain snowshoes are what you need if you’re going to be traveling long distances where there just might be some difficult situations like mountains or icy, steep sections of your path. You’ll find a lot harsher conditions and you’ll be able to make it with these snowshoes which have climbing style crampons. They also have stronger bindings that you don’t have to worry about when you’re trying to travel through those harsher conditions. They won’t break or wear out as fast as some other bindings that aren’t made for the same conditions.
Choosing the form
When you buy snowshoes you also have to think about the type you want. When building them you’re generally going to make them out of wood because this is easier to work with. When you buy them however, you’re probably not going to find a lot of wood snowshoes unless you go to a more traditional store. If this is what you want you’ll need to seek out specialty snowshoe stores that still sell them, but you’re more likely to find aluminum and composite shoes instead.
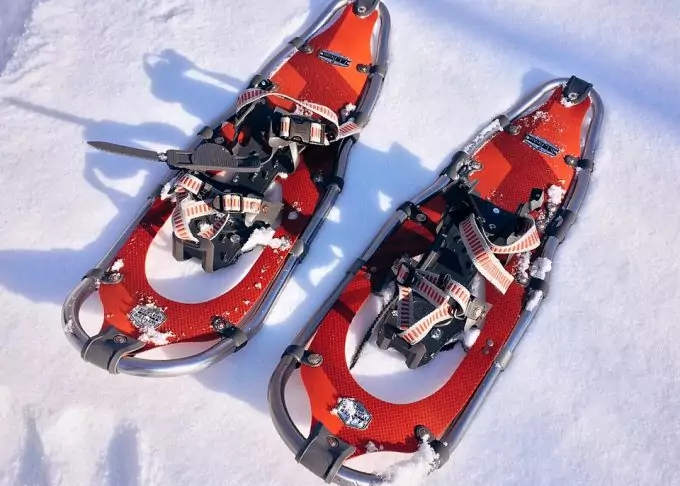
Aluminum shoes are a little more sturdy and they’re really built to last a long time, but the composite ones are going to be a little less expensive. Either option is going to have a machine built form which means they’re a little more sturdy and reliable than what you might expect from shoes you’re going to build yourself. They may not have any webbing either but will have a flat surface that covers the same area.
See also: Best Snowshoes for Beginners: 9 Amazing Products That Walk the Walk
Make sure you choose a form you’re comfortable with and also check the size requirements. The larger you are the more surface area you need for your shoes so they will balance you out. Keep in mind that the weight of whatever you’re carrying is factored into that as well.
Types of snow
If you’re going to be traveling over loose snow you’re actually going to need larger snowshoes because the powdery snow is more difficult to get balance on. If the snow is more compact, you’ll want smaller shoes, likewise if you’re going to be walking through trails and even icy terrain. The best thing to do is to get the smallest shoes you can for your weight and the weight of your pack because this is going to give you the best opportunity to get through any type of snow or situation you’re in.
How to make your own snowshoes
If you ever find yourself in a situation where knowing how to make your own snowshoes is essential, it’s important to have this skill (among many others of course). Think about this, it’s the middle of winter and the power goes out. You have a foot or more of snow outside and you need to get to shelter or get your family to a safe place. Do you want to push your entire family through a foot of snow? Or would you much rather everyone walk on top of it?
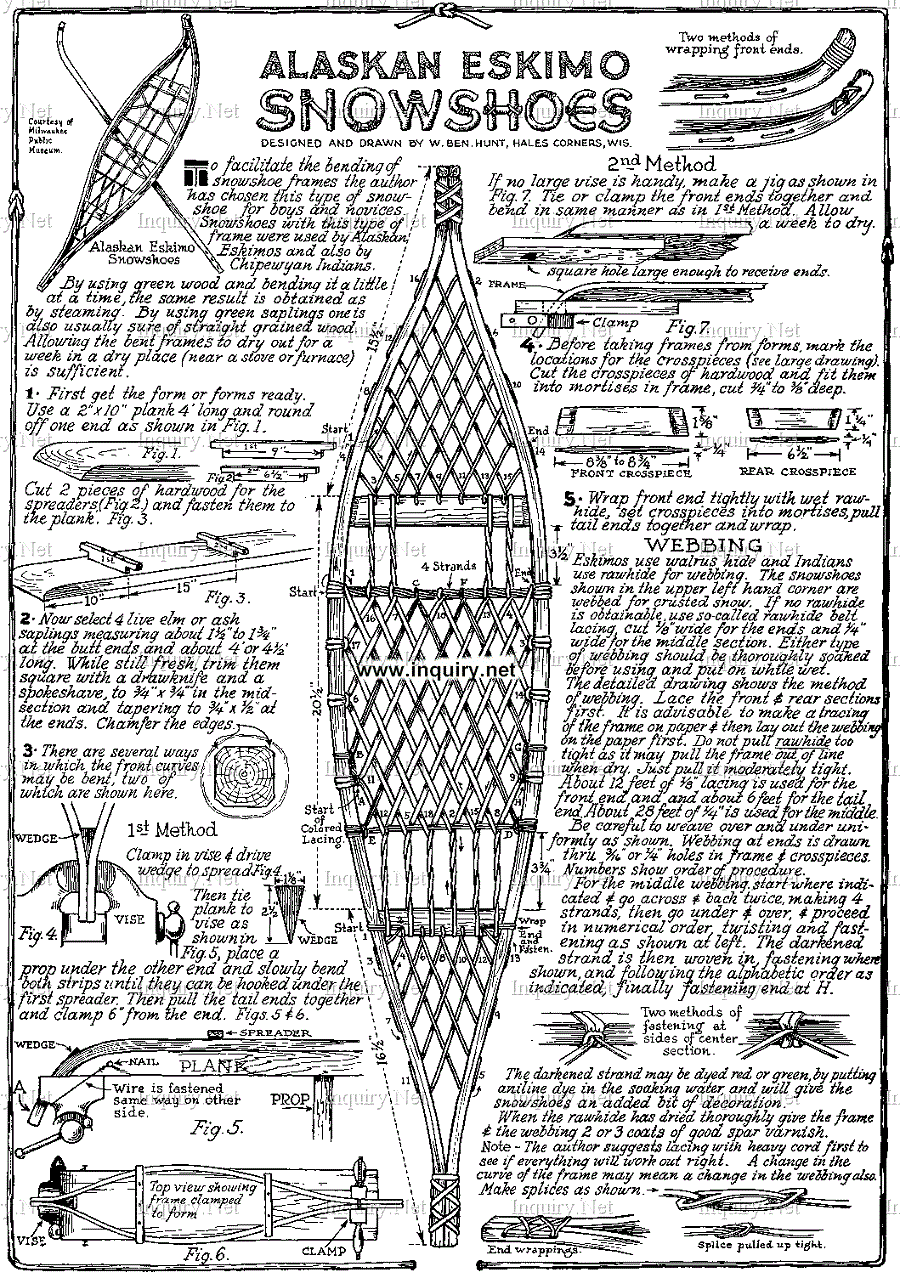
The very first thing you’re going to need is a pair of warm winter boots. The boots will be your base for your snowshoes and you’ll build them to attach somehow. Remember, when you’re in need of snowshoes it’s going to be because there is a lot of snow and that means you’re going to need something very warm to wear and just your normal shoes are not going to cut it. So pick the warmest ones you have and try to go from there.
[the_ad_placement id=”in-text-2-type-r”]The first step is to gather all of the supplies that you’re going to need. You’ll want some kind of wood that is going to bend and that means just any old tree won’t do. Ash is a good option if you have it because the wood is bendy and will also stay firm. You’ll also want some scrap pieces of wood that could be of any type and some rawhide or other material for making the webbing that’s actually going to help distribute the weight. You’ll also want a piece of large paper the size of the snowshoes you’re going to make so you can cut out a pattern.
Take your piece of paper and fold it diagonally so you have a line down the middle. Keep the paper folded but set it in front of you so the base of your triangle is to your left (or right depending on which way you write) and the point of the triangle is on the other side. This way you can draw the pattern on one side and cut all the way through so you end up with a completely symmetrical pattern and you don’t have to worry about mistakes that could make your snowshoes difficult to walk in or even not work.

Image credit: jackmtn.com
A normal snowshoe will be about 30 inches long to distribute the weight properly. So figure on that for your length and find a spot on your paper about 3/8 of this distance. Around 12 inches at the diagonal line is going to be your widest section because this is where it’s going to go around your feet. It’s called the leading edge and from here your snowshoe is only going to get smaller, tapering off at the end of your 30 inches.
To build your form, you want to take a piece of plywood and nail two ¾ inch forms onto it along with 12 wedges that are ¾ of an inch away from those forms. The Ash wood that you’re planning on using should be about 7 feet long in order to get the length of shoe you want and it should be around ¾ of an inch thick to get the stability. Make sure it doesn’t have any knots or cracks when you start and slowly bend it to fit into your wedges. If it seems like it doesn’t want to bend easily stop and steam the wood to get it to soften more. It should then dry for a few weeks to get the best possible result.
If you need a little more information about how to create that form and you’re also looking at how to get your pieces of wood a little more pliable so you can create the form you need this is the video you’re going to want. It will actually show you the entire process of making your snowshoes but with a particular emphasis on getting the boards exactly right so they’re going to create a form and help you make the base for your snowshoes before you start trying to do anything else. After all, you need to get it right all the way from the beginning, not just at the end.
The next step is to add in crossbars, which will help improve the stability of your shoes. You want them to be a little more than one inch wide and you want to have four total so your shoes will stay in the shape you’ve built for them. Drill holes into the sides of your newly formed snowshoes that the crossbars will fit into. They should fit tight but don’t crack your base when you’re putting them in. Now you can take the time to sand out your finished forms.
Adding the webbing for your shoes is actually a matter of preference. Many people like the traditional rawhide strips to create a webbing but others like to get neoprene because it’s a synthetic material that will last a lot longer. Which one you chose is entirely up to you, the important thing is making sure that you create the right pattern for your shoes, which is a diamond or cane chair pattern. These are going to provide the stability that you want overall.
If you choose rawhide you’re going to need green, hair-free rawhide which should be woven across and around the frame. Weave it by stretching across the frame points to create a diamond pattern. You’ll have to take a lot of time to do it, but the process is extremely important. Another fact to remember about rawhide is that when you walk on it you’ll get a lot of moisture inside the rawhide which will start to dry out and tighten up over time as it’s used more and more frequently. You’ll end up with an even better product as you continue using it.
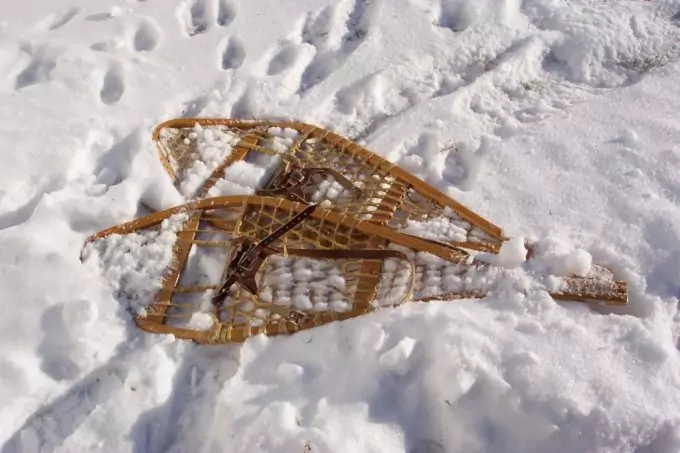
If you’re looking to start weaving your own pattern you’ll want to know exactly how to do it because there’s a lot of steps involved. Depending on how involved you want to get, here’s a video that not only shows you how to weave your own patterns, but also how to get your own material for the straps and weave them together to create long strips that will weave easily through your shoes. It’s going to show you all the steps from drilling the holes for your strips to go in to actually weaving the right pattern.
If you use neoprene you’ll have no problem with moisture or cold conditions because the shoes will continue to work exactly the same the entire time that you have them. This is because the neoprene is synthetic so it’s not going to need maintenance and you’re not going to need a lot of lacing and threading because it actually comes in the pattern that you need. You just need to fix the webbing onto the frame and you can start walking through the snow right away. There’s no process involved and no added time in trying to create the right pattern.
[the_ad_placement id=”in-text-3-type-r”]The final step to creating your snowshoes is making sure you add some straps. No matter what material you use the straps need to attach to the shoes easily so you can slip them on and off when you need to. But of course it shouldn’t be too easy to do that since you don’t want the shoes coming off while you’re walking through the snow. Make sure they are attached firmly and that you can tighten down the straps to whatever you need to ensure the shoes are not only not going to come off but also aren’t going to move around on your feet.
What you should know
If you’re looking to make your own shoes you’re going to need more than just an instruction manual on how to do it. It’s a whole lot easier if you can see someone doing it and that’s why we’ve included a few videos throughout this article to help you figure out what you need to do in order to keep yourself moving, safe and stable when you’re stuck out in the cold and the snow. It’s about making sure you and your family are safe before anything else, so make sure you’re doing what you can.
The snowshoes that you make are going to take time and they are definitely going to require you to put a lot of hard work and effort into it. You’ll need to spend your time soaking and steaming the wood as well as bending it and forming your rawhide strips (or neoprene strips) and weaving the right pattern to get where you want to go. After all, traveling on snowshoes is not always an easy feat and it’s going to require you to practice a lot as well.
Make sure you’re paying attention to each of the videos and that you’re getting the idea of how you should be carrying out each step. Improperly made snowshoes could actually be dangerous in the long run because they could fall apart and you’ll be trapped in deep snow.
Not to mention you could find yourself stuck on an icy mountain with nothing to help you stay up or even just keep walking. It’s definitely not something you want for you or your family, so learning how to make snowshoes is going to be very important.
Before you go out on the cold, see our reviews of the top snowshoes in case you don’t want to make your own pair.


I agree that the snowshoes you buy greatly depends on what you use it for. I have snow hiked with my parents before, we bought the plastic ones, but it didn’t last the whole week. I broke one pair of it on the 3rd day. Haha. We are planning to go back to the mountains this winter, so I think we’ll try making our own shoes you have recommended. :)
And oh, by the way, we’ll try the frozen lake too but this time with friends, We are now looking for the Atlas 11-series, because of the reviews that it has good traction. So many activities for winter! I am so excited!
The best snowshoes are the ones you design yourself. Just make
sure you consider the terrain: flat terrain, rolling terrain, and mountain
terrain.
I used to rent snowshoes in a little resort I went to frequently.
Knowing how to make my own snowshoes would be a great addition to my hiking collection. Is the type of wood important? I have access to a large stockpile of different materials, but am not so sure I can get the right wood to make my own snowshoes.
The article is a great source of information on the type of wood to use.