Whether you are using your knife while outdoors camping or for practicing survival skills, you probably already know that maintaining your knife properly is the answer to a long life (for the knife). That’s why learning how to sharpen a knife might be one of the most important survival skills you get. When properly sharpen and cleaned, if made of stainless steel (and we recommend you have one made of that precise material), your knife can serve you well for ages.
[the_ad_placement id=”in-text-1-type-r”]To have your knife functional at all times, we recommend you have it sharpen as soon as you notice that its performance it’s not as smooth as it should be. Of course, there are many machines for sharpening knives you can easily use for maintaining your knife, but today we are going to talk about sharpening your knife with a stone. We have compiled a list of several methods, so you can learn how to do the job regardless of what you have around. Let’s help you decide which method is right for you.
Method #1: sharpening with whetstone
Whetstones are pretty easy to use for sharpening, so even if you have never sharpened a blade in your life, you will surely be able to find your way around with sharpening a knife with the whetstone.
The only thing you should know is that the whetstone has two sides you can use: one side – smooth and fine – serves the purpose of having the edges of your knife rubbed, and the other side is meant for the actual sharpening of the blade. You will recognize this side by its coarseness.
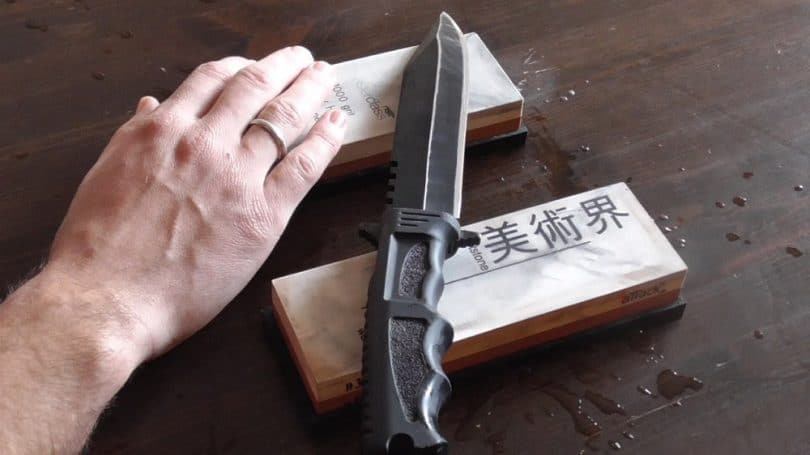
Before using the whetstone, the stone needs to be soaked in cold water for about ten minute. This can be a problem if you are in the wilderness and you need to sharpen your knife urgently, and the only water you have is the one you need for drinking. However, if there is a stream or a river, or even a lake near you, you can soak the whetstone there for ten minutes then have your knife sharpened.
With often using the whetstone, you might notice that the stone begins to corrode, which destroys its functionality over time. So you will need to replace it when you notice corrosion along the cutting lines. The positive side is that decaying due to corrosion will take years, so you will be able to use it for a long time before replacing it.
Use the coarse side for the blade, sliding the blade across the stone, moving it up and down then use the smooth side to rub the edges for finish.
Method #2: sharpening with diamond stones
If you are already more than experienced with sharpening knives and you are ready to invest more money in buying the best sharpening tool, the diamond stone is your best choice. What is great at a diamond stone is that you will get what you pay for, which is maximal quality, the best performance and reliability. So, even though it is definitely a bit pricy or at least pricier than other options like whetstone or ceramic stone, the diamond stone is a good option.
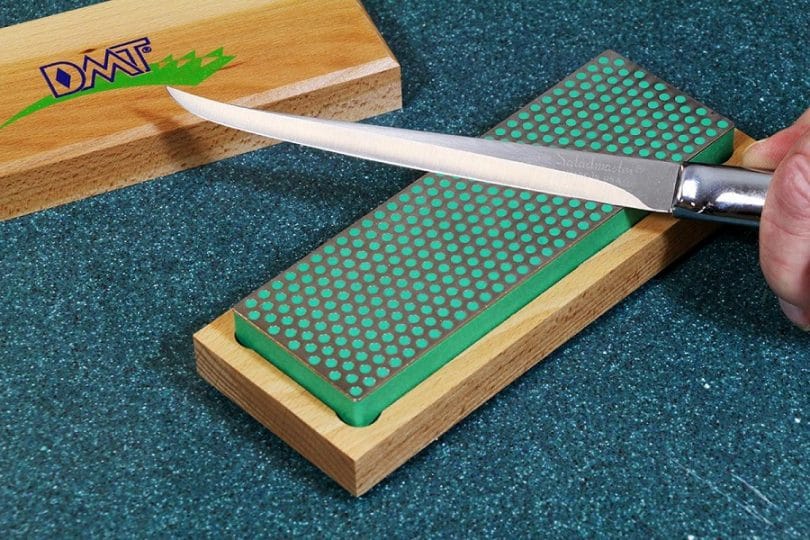
If you have little or no experience with sharpening knives, we do not recommend using this type of stone as you would need to hold your knife at an exact precise angle to make this method work.
If you decide to go for it, you will have three options to choose from: hard, fine, and super fine, depending on the type of the knife you have. Unlike the whetstone, you don’t need to soak the diamond stone before using it, which can come as very handy if you are outdoors and have no conditions for damping the stone or don’t have the luxury to wait 10 minutes.
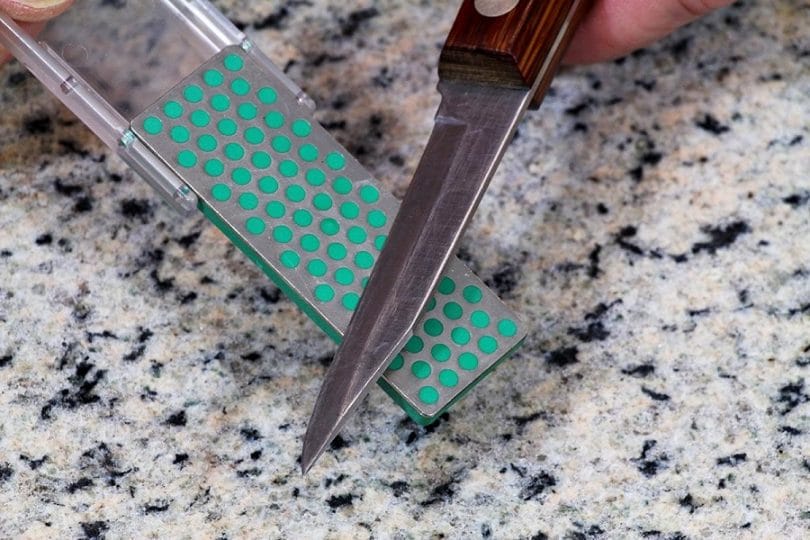
Diamond stone is usually made so that dozens of little diamond shaped bumps are covering the surface of the stone. This makes sharpening really easy and you will be able to sharpen your knife in only a couple of strokes as those little diamonds are extremely powerful.
Method #3: sharpening with ceramic stone
We could say that Ceramic stone is somewhere in between whetstone and diamond stone when it comes to discussing quality. In this case, we count in durability, resistance, functionality, and price.
Ceramic stones are more expensive than whetstone, but are also cheaper than diamond stones (a lot cheaper). Also, it lasts longer than the whetstone but less than the diamond stone.
Even though durability is increased when compared to whetstone, if you are a beginner, we would recommend the whetstone. Why? Ceramic stone sharpening, just as sharpening with diamond stone, requires you to choose the perfect angle, i.e. grind angle in order to be able to say that your knife is sharpen properly.
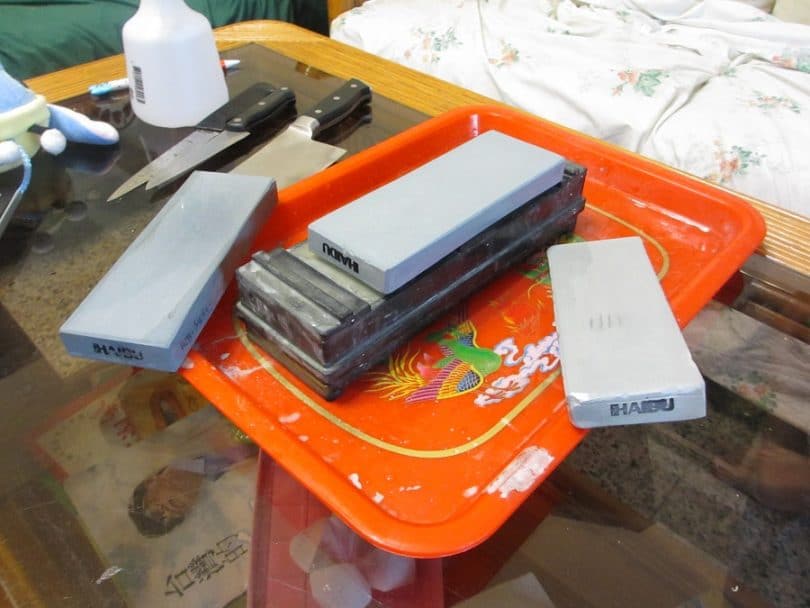
If you are looking for a sharpening stone that can put up with a lot of work as you constantly or very often use your knife, then the ceramic stone is the right choice. It will last you a long time and will not corrode in time.
What might bother you, especially if you need it for sharpening your knife outdoors, somewhere in the wilderness, is that ceramic stones are also to be soaked in water before being used, for at least several minutes. The time needed for soaking is cut in half in oppose to the time needed for soaking the whetstone, but you will still need to damp it for proper usage.
For more options, see our reviews of the best pocket knife sharpeners to keep all your blades in tip-top shape.
SOS sharpening
In SHTF scenarios, it can happen that you don’t have a sharpening stone you can use to sharpen your knife. In that case, you can use other alternatives you can find around. If you are somewhere in the wilderness, you can look up for sandstone or if there is a river around, you can sharpen your knife on a rock smoothed out by the water. You will sharpen your knife by gliding softly across the alternative sharpening surface.
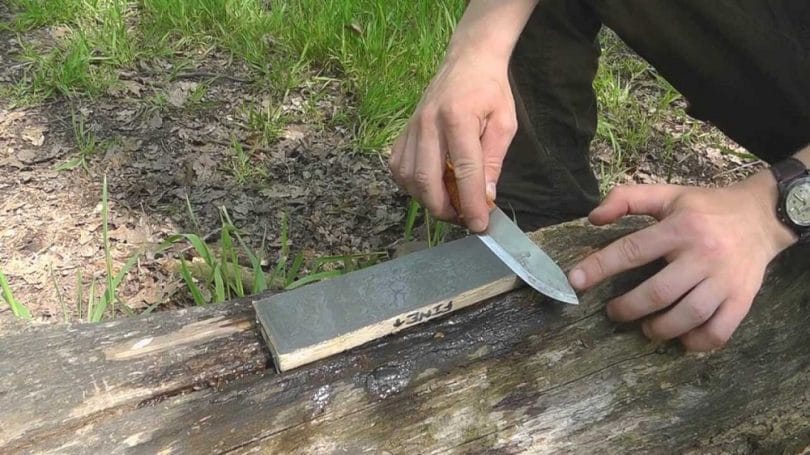
Other alternatives, if you are not in the wilderness, are brick and ceramic mugs. You can use a mug by flipping it and using the bottom for sharpening your knife by gliding across it softly. The same goes for brick – run with your knife softly across the edges to make the knife sharper.
What’s my grind angle?
As we were talking about different types of sharpening stones, you’ve probably asked yourself for at least once was on “what’s your grind angle?”. If you have, you are on the right track of learning how to take care of your knife.
Choosing the right grind angle is very important and there are two reasons for that: basically, if you choose a different angle from the one your knife should be sharpened under, it will take more time to get your knife sharpened to make the dull edges disappear. And second, your knife works the best when sharpened under the right angle, showing full capacity.
If you are not sure about your knife’s grind angle, you can ask the manufacturer as they should know these types of information. You can also take a look at the box, package or papers your knife came with – there may be some information on the correct grind angle for your knife. If you are still not sure, you can take a grind angle of 20 degrees for sharpening your knife and let the grind angle go from 20 to 30 degrees for pocket knives. The shallower the angle is, the edge will be sharper, but will also be more fragile and break quicker.
[the_ad_placement id=”in-text-2-type-r”]For best performance, we still recommend you do a little research on your knife and be prepared in advance. In case that information is not available at your manufacturer, you can use the internet to find out which angle is the best for your knife precisely instead of guessing and experimenting.
Should I use lubricant instead of soaking?
Using lubricant is a great choice as you will be able to maintain the sharpening stone more effectively, removing grim and dirt from it, also preventing corrosion and putting decaying on delay. Lubricant can also be used before sharpening the knife, so the stone becomes more resistant to knife blades. We recommend you purchase a type of lubricant you trust the most so you would make your sharpening stone more resistant and long-lasting.
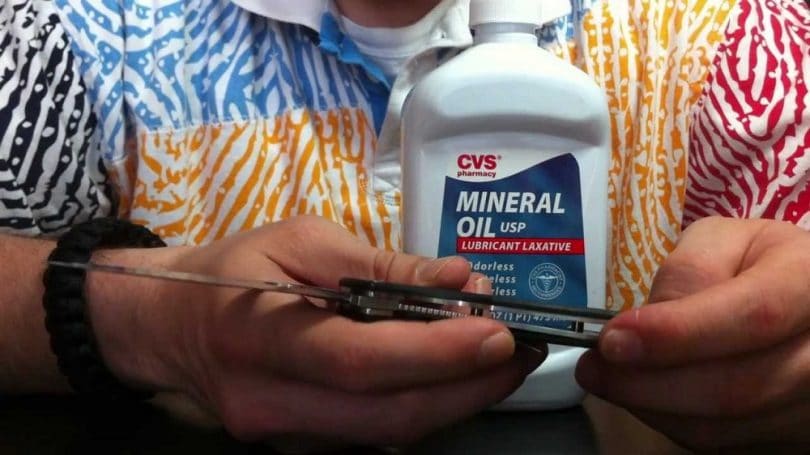
However, you can’t use lubricant to replace the water soaking treatment that whetstone and ceramic stone require every time before sharpening.
Sharpening made easy
Although sharpening knives is something you need to learn over a longer period of time and practice doing it, below is how you can learn to properly sharpen your knife in only a couple of steps.
Step #1: Gliding
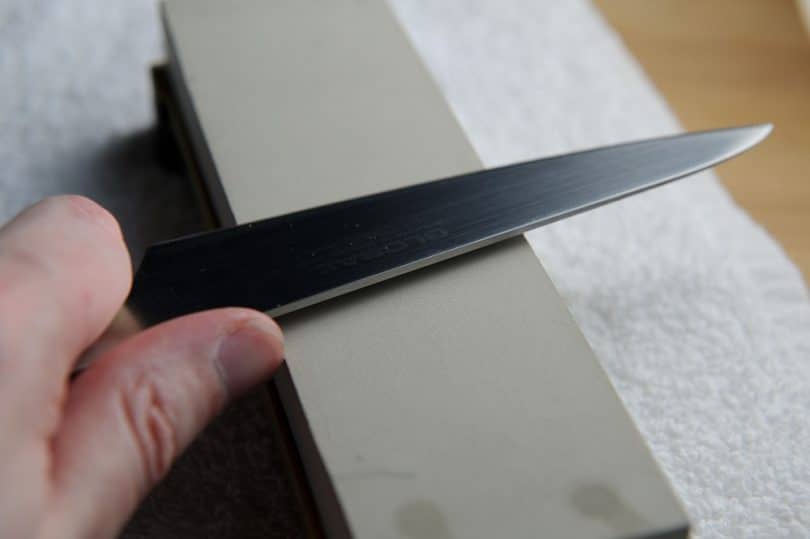
Gliding the blade across the sharpening stone is how you start with the process. You will need to repeat it for a while – for about 10 or 12 times, gliding on both sides, constantly changing sides until you complete the number of circles needed. The blade should be already sharper.
Step #2: Back edges
To extend the cutting power, sharpen the back of your knife as well. Use the technique described above. Both, back and front should be sharpened nicely. It will take about 6 to 8 circles to do it right.
Step #3: Fine Side
As we have already mentioned and as you can see on your sharpening stone, you have two different sides – so far you have been using the rough side to sharpen the knife for the previous steps, and for this step you will need to turn sides so that the fine side is turned upwards.

Now that the fine side is facing you, you will glide the knife at the right angle you have found before the sharpening process began and even out the blade to make sure there are no anomalies that could spoil a potentially great performance of the knife.
Step #4: Testing
To make sure that your knife won’t fail you when you need it; you need to test it after you have finished with sharpening. To make sure your knife is properly sharpened you can do a little experiment by taking a piece of paper and going across its middle with the knife.
If it goes smoothly then you have done a lovely job, if you notice that cutting the paper didn’t go that well, then you should definitely repeat the process and sharpen the knife again.
In conclusion
If you want your knife not to fail you in any given circumstances, you will need to make sure that knife is always well sharpened. Maintain your knife more often by checking up on its sharpness and make sure you have the right stone to do so in order to make the knife’s performance flawless. Check out our list of the top fixed blade knives for more information.
[the_ad_placement id=”in-text-3-type-r”]However, it’s not all about choosing the right stone, so you will need to find the right grind angle as well if you want to get the best out of your knife. The final point of sharpening your knife properly is, of course, practice. Follow up with instructions on how to sharpen your knife with a stone (or even without one) until you have the art of sharpening perfected and your knife ready for any SHTF situation that might strike.
Safety first! See our tips on knife safety to keep you well-protected.



Are there any small portable devices that can be used to sharpen knives? I am looking for something I can carry with me and have at all times.
You can use sharpening stones, such as whetstone or diamond stone.
Invest in a set of good whetstones (with four different grits), or two double-sided stones. Don’t waste money on cheaper stones. I sharpen my knives at around 25 degrees and they keep sharp for about four weeks. I found that knives sharpened more than 25 degrees lose their edge faster. When my knife gets dull, I only need around 25-50 strokes per side on a 6000 stone and it’s back to being razor sharp for another month. You also have to maintain the stones themselves. They need to be flattened as they will become cupped in the middle from the sharpening. Around twice a year, I use a sheet of 120 grid alum oxide paper on a flat piece of tile to sand them flat again.
Your knife can only serve you for a long time by sharpening it as required, and you should always use the correct sharpening method with respect to the blade material.