Watches are so much more than fashion accessories. While you might wear a bright, shiny piece to an elegant event, a more practical approach benefits daily and outdoor life. For many outdoor enthusiasts, their paracord watch band is an indispensable part of their camping and hiking itinerary. These types of bands offer the wearer a number of fantastic options.
[the_ad_placement id=”in-text-1-type-r”]They are also really easy to make and, once you’re done, you will see just how simple yet stylish it can be. The key is to make sure that you are properly prepared in terms of supplies and step by step instructions. You might want to buy a bit of extra paracord from Paracord Planet just in case you want to make more than one.
What is paracord?
Paracord refers to the type of cord that was used initially back in World War II. The soldiers used this cord in their parachutes. The 550 cord is so named thanks to the weight it’s able to hold. It has a breaking strength of 550 pounds which, needless to say, is more than enough when it comes to the usual demands placed on watch bands.
Soldiers also used this cord for a number of uses outdoors including building shelters, strapping items to their harnesses, and it could even be split to make string for sewing. Do read our article on the different paracord uses for survival; it’s a must-read for all.
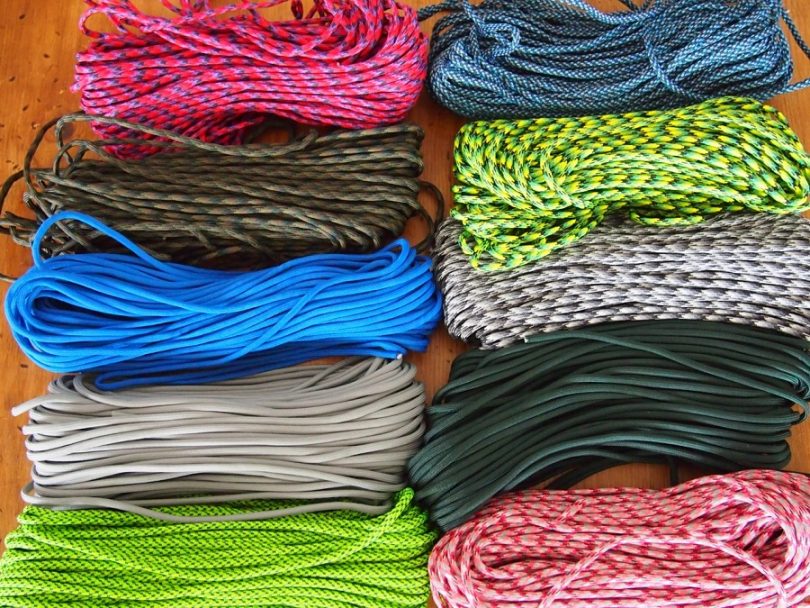
It’s important to understand that there are differences in quality when comparing commercial and military grade paracord with the latter being significantly stronger and more durable. That said, when making wrist bands for watches, you don’t necessarily need all that strength.
The original, 550 variety is only available in natural tones whereas the commercial variety comes in a number of other colors too. It’s important to understand the differences in order to make sure that you are indeed getting what you pay for! That said, when it comes to making watch bands, you don’t necessarily need that full 550-pound strength. A strong cord is great but price will also certainly factor in!
Benefits of this material
For most survival and nature enthusiasts, paracord is an essential part of their supplies. If you’re not yet completely convinced, there are a number of great benefits to keep in mind. Firstly, the strength of this cord is one of the most notable features.
As mentioned above, a genuine paracord can hold up to 550 pounds. As strong as they are, they are also really durable. If the cord can be used again and again, just think how long a watch band made from this material can be!
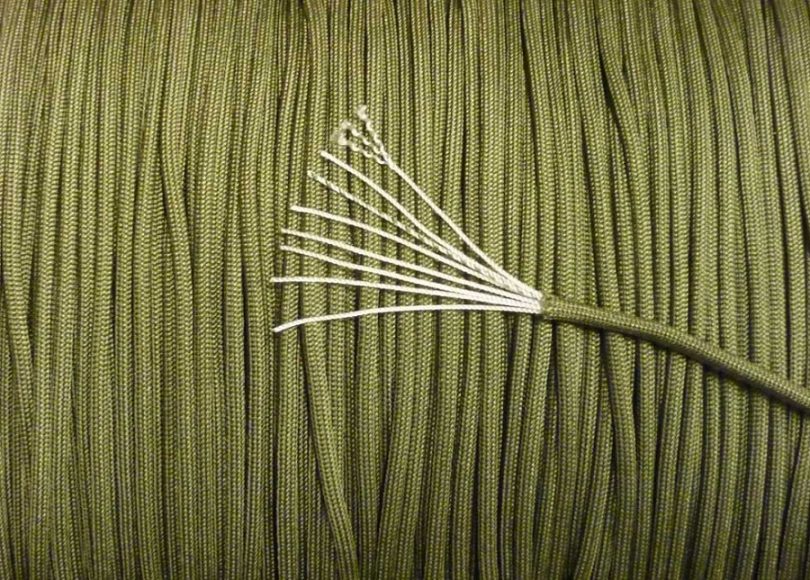
All this strength and durability is packed into a lightweight package. A full 225 feet of paracord only weighs up to one pound! Which means that your watch band will be incredibly light too. We tend to come into contact with various outdoor elements when venturing outdoors. There’s no need to worry about this watch band getting wet! It will dry fast, and you won’t need to worry about mildew. Finally, it also has plenty of other uses.
Other interesting uses
When reading instructions for making a paracord watch band, you’re bound to come across a wealth of information. The paracord itself can be used as a frame from which to build a tent or hang a tarp. It can also be used as a washing line, guy-line, to secure items to your backpack, as shoe laces, and so much more.
If you find yourself in a bit of a bind while out in the wilderness, you can loosen your watch band and use the cord for making a bow. Hunt and shoot your prey to keep yourself fed until you find your way back to camp or back home.
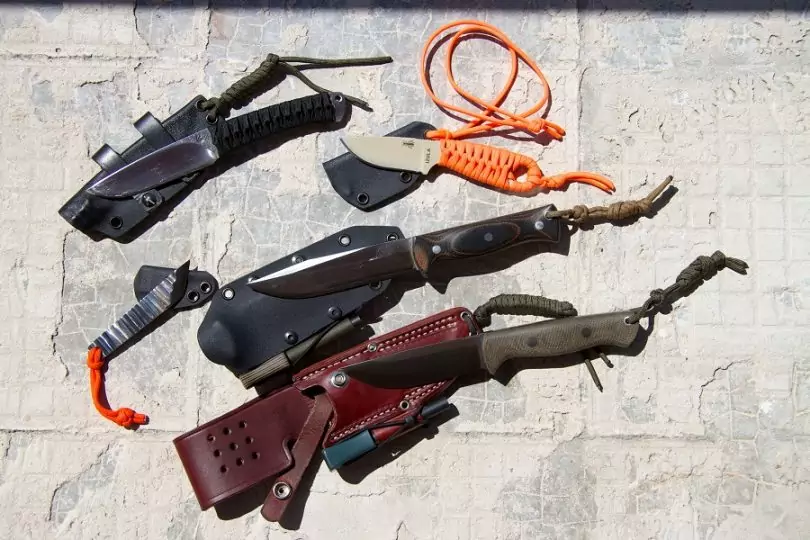
The cord also comes in handy for building traps. Use the cord to keep certain parts of the trap up or suspended and wait for your prey to come around. Because it handles water really well, you can even use this cord as a fishing line.
More than a watch band
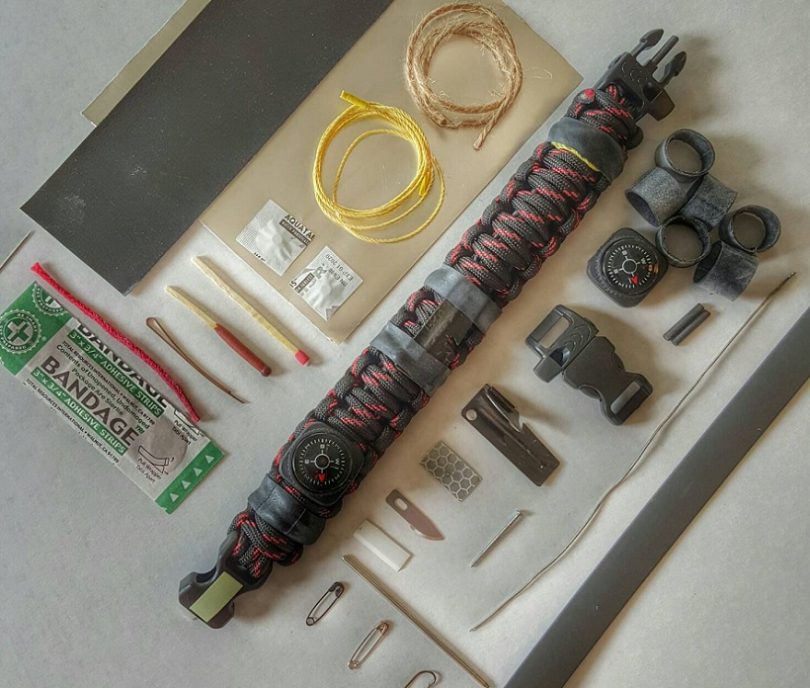
Your watch band need not be nothing more than a wrist feature. There are a number of ways of adding some amazing features to this watch. Firstly, to make it easy to put on and off, you should use plastic clips. There are a wide variety of clips to choose from, depending on your personal needs and preferences.
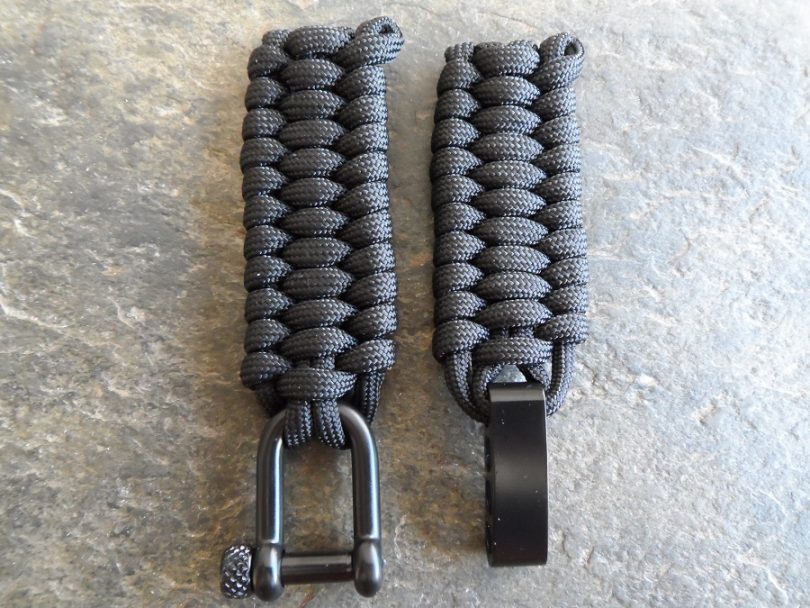
Some include a survival whistle, small serrated blade, compass, and even some flint for easy fire lighting! If you like one that does not include a compass, you can add a compass to the wrist band just as you would add the face of the watch itself.
Step by step guide
With the help of these detailed paracord watch band instructions, you will be able to make your own watch bands as well as wristbands and even other accessories if you like! As practical as they are, these designs can also help you show off your creative side!
Tools and supplies
Start by getting all of the supplies you need and make sure that your tools are all in working order before you begin. In many cases, you can even by kits that include all of the supplies and possibly even some of the tools as well.
[the_ad_placement id=”in-text-2-type-r”]You will need:
- Approximately 10 feet of paracord (may vary depending on wrist size and your tying technique)
- A pair of scissors
- A lighter
- A tape measure
- Hemostats
- Watch
- A 5/8” side release buckle
Getting ready
Start by measuring approximately 20 inches from one end of the paracord. At this point, you will loop onto the one end of your side release buckle. Once the buckle is attached, the longer section will be your working end.
The shorter end (with the buckle attached) might not look all that perfect to start with, but all the loose ends will be tucked away when you complete your design.
Adding the watch and measuring
If you are making a band for your watch, you will need to thread the strands of the paracord from the buckle loop to the watch pin. Take the strands over the watch pin, under the watch, and then over the next watch pin. Loop the cord around the buckle on the other end (do this twice). Now you will need to measure your wrist. The length should be equal to your wrist circumference since the weaving process will stretch out the length and this will make it the perfect fit (not too tight or too loose).
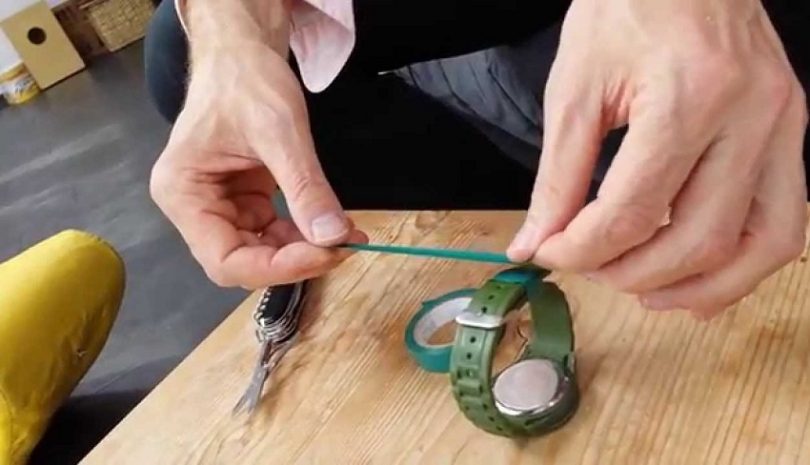
Remember not to include the prong section of the buckle in your measurements since this is the part that clips into the other half of the buckle. Thread the cords back from the back to the wrist pins, under the watch and back to the other buckle end. This sets up the foundation for weaving the rest of the cord into the final product.
Weaving
Now it’s time to start weaving. Begin on the long end of the paracord and work your way towards the shorter end. Take your cord over the outer cord, under the two center cords and over the other outer cord. Now weave it back over the two center cords and back around under them.
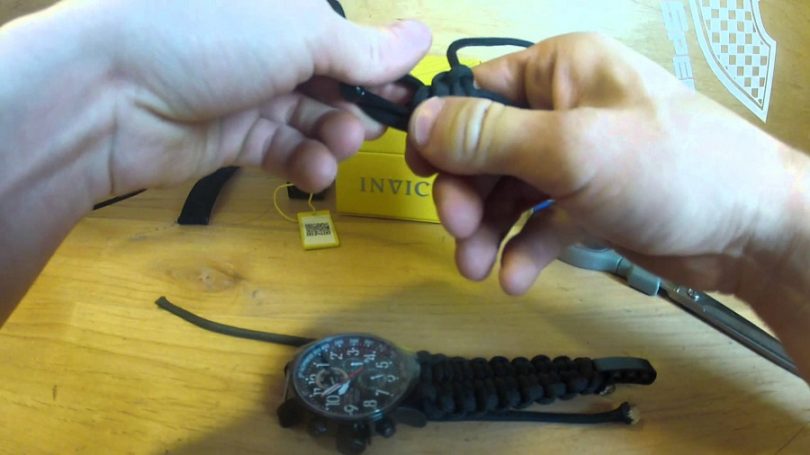
Continue in this manner all the way until you reach the watch pins. Remember that you should always keep the weave uniform and tight. Don’t leave too much slack or you won’t achieve the desired effect.
Threading the watch
Once you reach the watch, you need to make sure that it is centered. Push the watch right up against the woven cord. Now bring the end of your working strand through the pin and to the other side of the watch. If you are making a bracelet, you won’t need to worry about threading the watch. To learn how to make a simple paracord bracelet for survival, see our article on this topic.
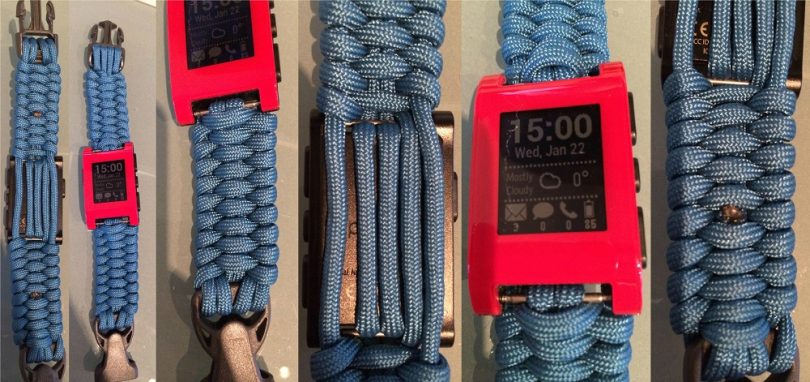
You will just continue weaving until you reach the other end.
Other side
Continue weaving along to the other clip. This time, make sure that you keep your woven work tight against the watch as you work towards the clip. When you approach the end with the buckle, you will find that pair of hemostats extremely handy! They make light work of those last few weaves.
Finishing touches
Finally, take your working strand and weave it around the one from the outer cord. The working strand will come through to the underside of the watch band. Now, you need to try it on for size. Make sure that it’s not too large or small. If need be, make it tighter or looser depending on your needs.
Now use your pair of hemostats to work three of the center weaves close to the buckle end. Use the hemostats to grip the working strand and pull it back through these center weaves.
Now use your scissors to trim the loose end and use the lighter to melt the tip. This will help prevent the end from fraying and the cord coming apart. Tuck the end under the weave and repeat these steps with the shorter end of the cord. Now you’re all set and ready to wear your new watch!
Creative options
Remember that these designs are limited only by your imagination. Commercial grade paracord is available in so many different colors. In fact, these watch bands can be made specifically for men, women, boys, and girls! There are even some types of paracord that are already multicolored (like black and yellow or red and black). You can even use two different colors and mix it up a bit yourself! The key is to always keep the interests and preferences of the wearer in mind.
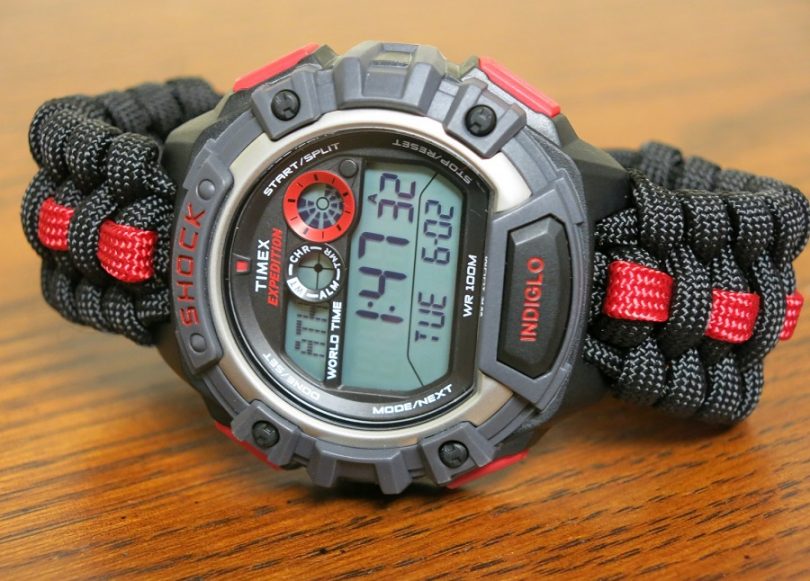
You should also consider the practicality of the colors. For example, black and brown doesn’t show dirt as much as lighter colors. If you are planning on wearing this watch during regular outdoor adventures, you might want to opt for darker shades. If you are making a fun piece for occasional use, then lighter colors aren’t all bad.
They can also be cleaned quickly and easily. Using a mild soap and an old tooth brush, that dirt doesn’t stand a chance! Just remember to let your watch band dry completely before you wear it again. This will ensure maximum comfort.
Compared to other materials
Watch bands come in a wide variety of materials, and each of them has their own list of pros and cons. Metal watch bands are usually the heaviest of all. Along with weighing your arm down, they also tend to make your quite warm and sweaty. Metal tends to scratch, and it does not hold up well against water. Rubber is really lightweight, but it can get really uncomfortable after a relatively short period of time since they really make you sweat.
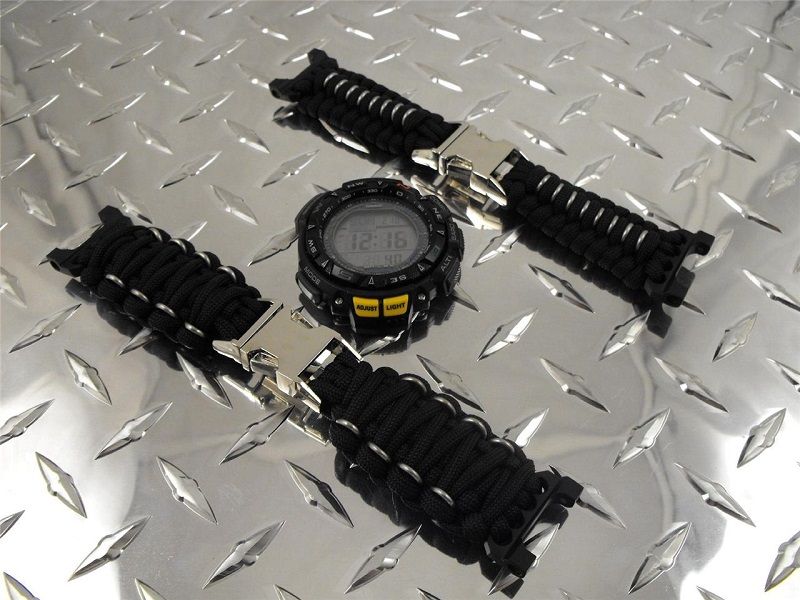
Leather is attractive and classy but doesn’t necessarily stand the test of time. It becomes worn, and it can be quite sensitive to the elements such as the sun and water. Paracord is lightweight, strong, and it holds up really well no matter how soaked it gets.
You don’t need to worry about little bits flaking off (like synthetic leather bands) or the watch and watch band becoming separated when stitching fails. This makes paracord bands that much more durable and desirable.
The perfect fit for anyone
These watch bands are suitable for anyone and everyone. You don’t have to be an outdoors kind of person to love them. In fact, you can even use more than one color in your design for a fun result. Once you’ve made your first watch band, try showing it off a little and see who shows an interest. This way, you will know who might like one as a gift!
[the_ad_placement id=”in-text-3-type-r”]They are great for all occasions and, even if you aren’t celebrating anything in particular, you can also give them to your loved ones just because! Feel free to personalize your designs by adding charms and trinkets too! Dog tags are one example of a popular accessory. You can have your name, initials, or a meaningful date on the tag before attaching it.
For tips on how to do more DIY paracord projects, see our article on this useful topic.


They look great and they are useful.
Paracord is close to ductape in its usability, it can mend things quickly and provide a lot of aid in times of need. Would you recommend a certain type of a watch to go with it?
The choice of a watch depends on your favorite model.
I am interested in making a watch band out of paracord because it’s comfortable and waterproof. I don’t like it to be bulky though, so I want to check out if there are other alternatives to the standard cobra-weave. So far, I saw a paracord watch band made of the simple cross knot that looks feminine and comfortable to wear. I want to learn how to do that.
A simple cross knot watch band is not hard to make, especially if you have done a number of Paracord projects. Find the best cross knot guidelines online.