There are a couple different ways to make a pvc bow and arrow at home and you and your family will enjoy spending time outdoors making them together. Maybe a little target practice or just some fun in the sun. You can make these pvc survival bows to suit your personal size and needs. They can be as small or as large as you want them to be. You can actually make a very powerful bow out of a pvc pipe.
[the_ad_placement id=”in-text-1-type-r”]PVC makes the perfect material for a survival bow because it is extremely flexible and will hold a lot of tension very well. The items to make it are found readily available at your local hardware stores and are fairly cheap to purchase. If you’re like most people you can’t afford one of those fancy bows sold in the store, a full size-hunting bow is just as fun and just as easy to make!
Pvc tubing comes in all different sizes but the best sizes to use for a homemade pvc survival bow is ¾ or ½ inch pvc piping. For this project you will need two different sizes but that will be listed under the items needed section. You can also add on safety precautions if you chose to.
With a light weight yet powerful pvc survival bow you won’t get tired carrying it, that’s for sure; and you can always have it ready within a moment’s notice if you need to. It shouldn’t cost more than $10.00, maybe $15.00, at most to make this at home. Compare that to the cost of those factory made bows!
For the string on the pvc survival bow there are a few things you can do. Some people use paracord, some just plain elastic and some even used nylons. But all use duct tape. Whatever material you choose to use will determine the pull on your line, so choose wisely. If you wish to purchase a ready-made one, see our article on the top compact survival bow to choose from.
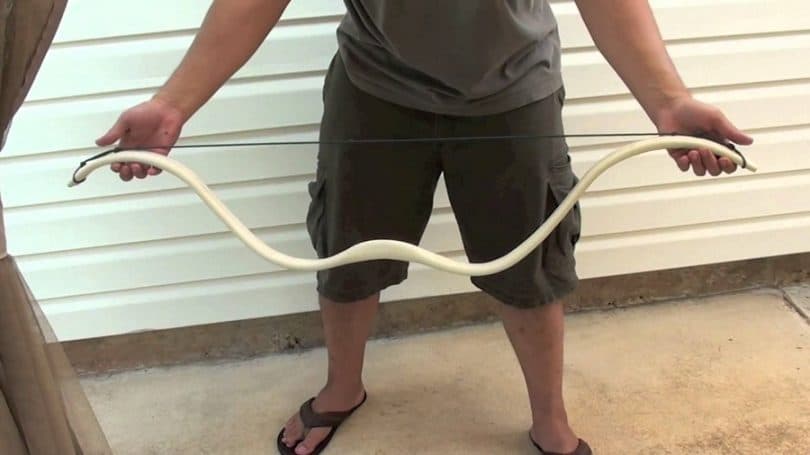
Pvc bows can be made from only a few items and they can be used for hunting or they can be made to have a little fun in the back yard with your family. If you decide to make them into toys, then of course, you wouldn’t want to give them real ammo, so you might have to get a little creative. If you’re trying to find something that is lightweight and easy to travel with, then this is one of the items you may want to keep with you gear.
These bows can be extremely dangerous if used improperly so please take every precaution. Add on a few safety features. Embellish it to suit your needs. It is highly recommended that you have a wrist guard on when shooting any of these bows.
The long pvc survival bow
One of the first hunting bows in history is a long bow. This is a bow that is usually made to the height of its user and allows for a fairly long draw. They are narrow a D shaped.
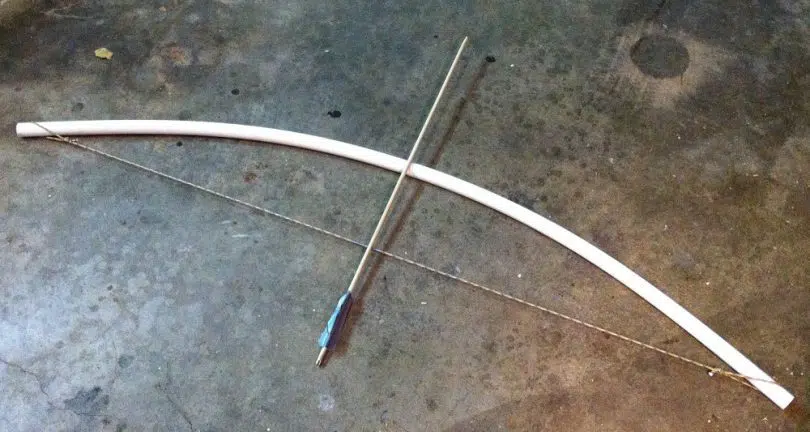
Historically they were made of wood but in today’s world pvc is the way to go. It’s easy to acquire and not very expensive.
Items you will need:
- 5 ‘ x ¾ “ pvc pipe
- 2/ 5’ fiberglass rods
- 1 roll of duct tape
- 5/8 inch heater hose
- 56 inch bowstring
- Any embellishments you wish to add
- 1 Black marker
- Scratch awl
Instructions:
- Take you 5 foot pvc pipe and cut the end at about a 38 degree angle
- Sand them down smooth with 120 to 150 grit sand paper
- Take the 2 fiberglass rods and line them up side by side on the table
- Measure 1 and 1/8 inch from the point of the fiberglass rod in
- Flip one rod so the points are at opposite ends and make sure points overhang on each side and the round parts of the rods meets
- Tape rods together with duct tape
- Insert taped rods into pvc tube
- Cut 2 pieces of the heater hose into 1/12 inch pieces
- Take a scratch awl or something that will poke a hole evenly through both side of the rubber tubbing (you may need to cut a little of the tubbing for the rod to fit)
- Slide the tips of the fiberglass rods through the holes in the tubing (this will protect you bowstring)
- Take your 56 inch bow string and place it on the bow
- Lay bow on a flat surface and find its direct center.
- Measure 1 inch from center and you should be at the arrow placement, mark it with the black marker. Be sure to mark the arrow placement on the bowstring too.
- Find you handle placement and mark it with a black marker
- Take the duct tape and wrap around the handle area and the arrow placement area.
For a homemade bow string: Using paracord, cut to 62-inch length singe edges with fire and pinch to melt together. Make an overhand sliding knot to create a secure loop on each end. Each end loop should use 3 inches of cord. Your bowstring should equal 5 foot when it is done being made. You should have a 5 ft. bow and 56 inch string.
How to create a overhand sliding knot (loop):
In the video it shows you a key ring being used, you can also use any of your fingers or toes. For simple tutorials on paracord knots, see our article on this topic.
How to make a pvc pipe survival long bow:
A simple pvc survival bow
This is a simple survival bow that is popular for hunting.
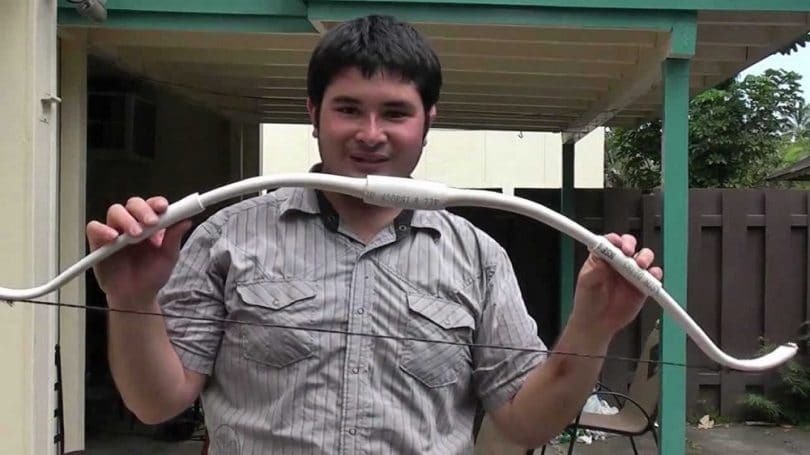
All you need is a couple bucks and a little time.
Items you will need:
- Pvc pipe 4’ long
- Duct tape
- Nylon cord
- Strapping tape
- Electrical tape
- Pipe insulation
- Saw
- Drill
- ¼ “ drill bit
- 1 black marker
Instructions:
- With the strapping tape start wrapping the pipe diagonally up then down then back up until you have 3 layers on the tube.
- At the top and bottom of the pipe make1 quarter inch whole using the drill bit and drill about 1 inch from the ends. Remember the measure twice cut once rule. Make sure the holes are even.
- Take the nylon cord and cut it to a 3 foot length
- Insert one end of the cord through one of the predrilled holes and tie a hard knot
- This is where things may become challenging. Thread the other end of the nylon through the other precut hole and tie a secure knot. The bow should stay bent at this point.
- Lay the bow on a flat surface and find the center
- Take the black marker and mark where you want your arrow to rest and you handle to be. Mark the arrow rest on the nylon part of the bow as well.
- Take a small piece of pipe insulation to create the arrow rest. Glue it down according to the manufacturer’s directions.
- If your using Para cord for the nylon and have extra then you can use it for the handle.
The simplest ways to make a pvc survival bows are also the ones least likely to stand up to the test of time and use. The fact that these bows are made out of pvc means they need extra support which is why I would recommend to long bow. The solid fiberglass rods that are inserted into the tube add the extra support that is needed. They will last for at least a few years if not more.
[the_ad_placement id=”in-text-2-type-r”]Basic pvc survival bow and arrows:
I have shown you two ways to make a pvc survival bow so how about its counterpart, the arrow. You can’t hunt without one or the other. It only seems right to explain how to make those as well.
Bamboo arrows
These aren’t the easiest that I have found but they could quite possibly the cheapest. If you look around your local area you may find most of what you need there for free. Yes, you can go to your local gardening store and by them, but why not go out on a walk and find some to cut.
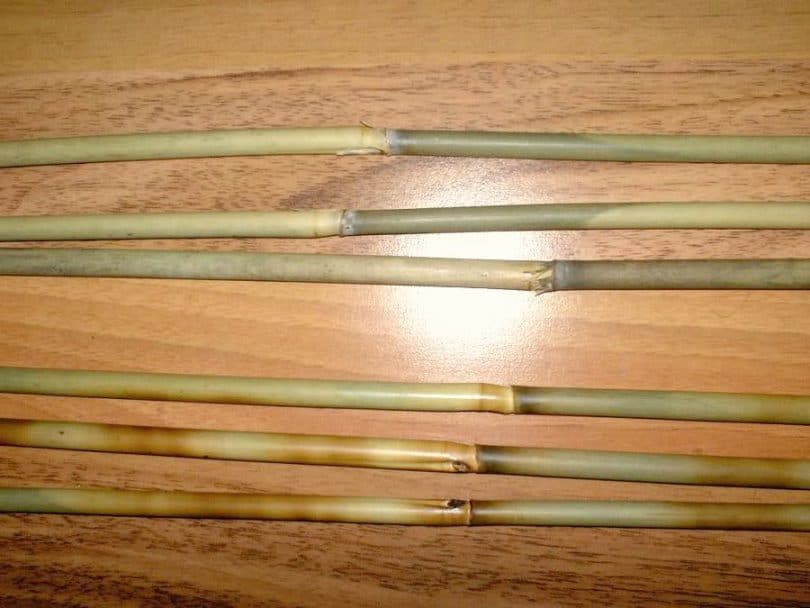
It grows all over.
Items you will need:
- Bamboo shaft about 3/8 in diameter and 4 feet long. As straight as possible.
- Fire or a heat source for straightening them
- Sand paper
- Wood glue
- Sharp knife
- Feathers
- Dental floss (un-waxed)
- Needle file
Instructions:
- Straighten the shafts by starting in the center and working your way out. Heat the bamboo until it becomes pliable and bend it in the opposite direction of the curve. As it cools it will conform to the straightening.
- Prepare the shaft lengths by measuring it to suit what you desire and cut
- Sand the ends until smooth
- Dip the top end into wood glue to fill in the pith
- Repeat straightening
- Make the notches; start at about ¾ of inch from the end. With the sharp knife make you cut, act like you sharpening a pencil. Twist the bamboo shaft as you cut. Don’t sharpen it to a point; you just want to go far enough into the shaft to meet the pith cavity. Do the same on the opposite side. Make sure they are even.
- Clean the nook with needle file or folded course grit sand paper
- Burn off any stray fibers. Be careful not to burn your arrow the inner core it will burn quick.
- Split your feathers in half down through the rachis.(center of the feather)
- Flatten the inner hard rachis smooth with a dremmel if you have one, if not use hard grit sandpaper
- Trim feather to desired length. If you want to avoid doing the feathers you can buy them premade online .You will have to fletch your feathers. Fletching comes either right wing or left wing. Do not mix them up. One will spin clock wise and the other counterclockwise; they need to be spaced 120 degrees apart. You can make a template from a compass and a piece of cardboard if you need to.
- Secure you fletching with the dental floss by lashing down the leading edge of the feathers. Continue as an open spiral up the feather, then back down and lashing down again at the notch. Finish with a clove hitch and some glue.
- Make the point by using twirling it on a belt sander.
Remember without putting a tip on these arrows more than likely every time you shoot it from you pvc bow you will have to reshape it.
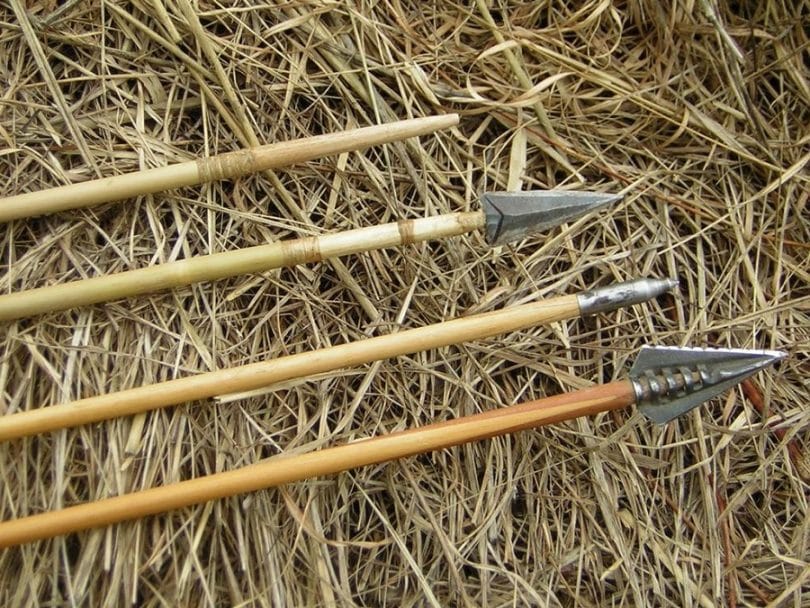
These arrows are also relatively inexpensive to create and with this one, you could possibly do a good bit of damage.
Items you will need:
- 2 Razor blades
- Duct tape
- Dowel rod
- Para cord
- Black marker
- Dremmel
- Cutter wheel
- Grinder
- Hacksaw
- Gorilla glue or epoxy
Instructions:
- Measure one of the angle sides of your razor blade. Use that measurement on the cutting edge of the blade and mark it with a dot using the black marker.
- Using the second razor blade scratch a line from the dot to the corner peak of the originally measured side
- If making 2 arrow heads do the same on the opposite side of the razor blade
- Scratch a center line on the arrowhead blade
- Cut the razor blade in half at the center line with the dremmel and its cutting blade
- Using the other razor blade mark the center of the triangle in the scratched line you created on the blade you have just cut in half.
- Scratch a box the size of your dowel rod around the center triangle line that was just marked
- Using the dremmel cut out the box shape creating an arrowhead.
- You should have to small dots from you black marker on the blade. Using the dremmel to grind 2 small notches into each side.
- Sharpen the dull side of the blade using the dremmel
- Prepare your dowel rod
- Identify how the grain is running through the wood
- Using the razor blade scratch a line into the dowel going against the grain.
- Using the hacksaw cut a notch into the dowel deep enough that it covers the amount of the arrowhead you desire.
- Taper the dowel by using a hard grit sandpaper and sanding it until it reaches a dull spear like appearance.
- Glue in you arrow head
- Reinforce you shaft by taking your para cord and separating some of the inner fibers. Once you have separated some of the inner nylon fibers take some glue and run it through the fibers. Do not use all the fibers. Only a small amount is needed.
- Wrap you glue covered nylon fibers around the notched all the way up to the bottom of the arrowhead.
- As you get to the bottom carefully wrap the corners of the arrowhead back down to dowel then back up to the arrowhead.
- Keep the nylon cord tight as you wrap the dowel.
- Fletch the arrow using the duct tape following the instructions bellow:
- Cut out 3 equal lengths of duct tape
- Fold in half leave 3/16 of an inch exposed
- Draw you fletching onto to the duct tape and cut them out, don’t get the exposed sticky part of the duct tape dirty
- Space them evenly on the back end of the dowel
- Cut out long strips and wrap the end contact points where the duct tape meets the dowel.
- Use you marker and rub the contact point of the fletching’s to make sure the glue on the duct tape sticks to the dowel
- Using a hacksaw cut you notch into the back end of the arrow. Be sure to line it up with 2 of the fletching’s
- Wrap the end with another piece of the nylon and glue to make it more stable
This one may have a lot more steps to it but I think it’s really easy to make and the fact that can use razor blades WOW! Using this with your pvc survival bow will surely help you in your hunt for food.
Check out our bow hunting tips and tricks, to keep you updated on the latest information.
[the_ad_placement id=”in-text-3-type-r”]Everyday people are looking for different way to do new things. Thinking about it these ideas aren’t really new ideas. There old ones with a new spin. The pvc survival bow can be used not only for survival but you can use it when you go hunting, or hiking and camping depending on you state laws. I can be used for target practice and it’s a great thing for parents to do with their adolescent kids.
Even if it’s something you don’t think you may be interested in don’t you think it’s something you should at least know how to create? Just in case something would happen that for some unforeseen reason you might need pvc survival bow and arrow.
See more tips on how to make a simple bow and arrow, and be amazed on how easy it is to make one.


You can also use PVC piping as an arrow, you will have to cut it into strips though but they work well in a tight spot. If you have extra PVC, you can fashion it into a spear as well for fishing, hunting or self-defense. I’m trying out some javelin designs as well.
I’m not sure about the arrow as the thinner it gets, the PVC gets a curvature that won’t help your aim. However, I agree with the spear and javelin thing.
I never considered the possibility of making a bow out of PVC. is it practical to use in nature? Did anyone have positive (or negative) experiences?
They are effective, and great beginner bows for sure.
I’ve been making PVC bows for a while now. I don’t have that much experience, but it seems to me that the string is along the center of the bow, so if I rest the arrow on the right side of the bow it goes to the right, and if I rest it on the left, it goes to the left. what would you advise me to do?
A PVC bow should not be difficult to use. You should try bamboo arrows, they will do the trick.