The 72 hour kit is simply a collection of important, basic things you need to survive for, well, at least 72 hours (or 3 days) in difficult conditions. Authorities and governments recommend people to have this type of kit in their homes, as part of their natural disaster preparedness program. It is very important to put this kit together and store it in an accessible place so you’ll have it ready when the forces of nature unleash in your area.
[the_ad_placement id=”in-text-1-type-a”]You have to be prepared for 3 days, this being the estimated medium period of panic and madness you will have to survive by your own or in a shelter until rescue teams can reach you. In case of natural disasters like hurricanes, tornados, volcanoes, extreme weather phenomenon, wild fires, or zombie apocalypse help doesn’t always get to you in the first few hours after.
If you are new in survival preparedness or if you have never been through a natural disaster all this commotion regarding the emergency kit might look like old, simple paranoia. It’s true, there are people who take preparedness to extreme but the rest of us just try to get through hell safe.
Usually when disasters strike, there are unimaginable forces at loose that turn our world upside down. In order to be calm and react accordingly when this happens, we need to prepare in advance. There are even training drills for different types of disasters where you learn what you need to put in your kit, how it should look and feel like and how to protect yourself from being hit by surprise.
We already listed a few of the most dangerous natural phenomena in the first paragraph but there are more and to be prepared means to be informed. This is why, before moving into a new area, contact the authorities and find out the main risks. Authorities can offer valuable information about preparedness and what to do to stay safe. After you know which the main risks are, try to read and find out as much as possible about surviving them.
What should be on your 72 hour kit list?
It’s always better if you make lists. When you have the list in front of your eyes, it’s easy to cross off items you already have and see what else you need to get. Don’t worry, it won’t make you seem old and starting to lose your memory, it will just show how good you are at preparing for a disastrous situation. Start working on your list in advance so you can check it from time to time and add other items. A list will help you be organized and this skill will come in handy during the madness and disorientation that dominates during a disaster.
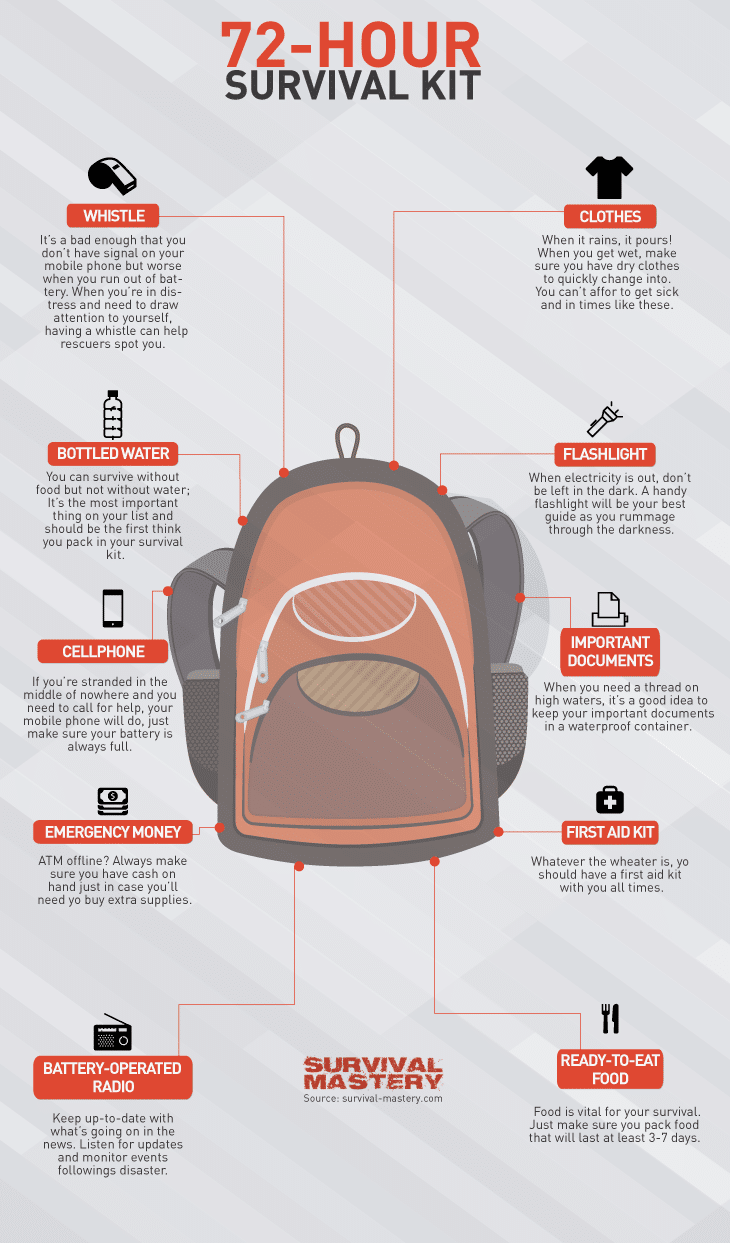
If you start reading different sources and materials regarding what your 72 hours kit should include, you might end up with a kilometric list with lots of useless items. This is why you need to approach the problem logically. The first question you need to ask yourself is: what items do I need to fulfill my basic needs for 3 days? The logical approach of this question is to group everything in categories and types of products so let’s see how our list would look like with just the categories.
You will need items from the following categories:
- Food & water supplies;
- Clothing & footwear supplies;
- Sanitary supplies;
- Personal hygiene products;
- Tools;
- Bedding;
- Equipment;
- Medication and first aid;
- Light and fuel;
- Personal documents and money;
- Entertainment;
- Pet related items;
- Other special items;
- Special backpack and containers;
- Safety related items.
The list already looks long, right? Well these are all the categories you are going to need items from in order to be safe and sound for three days by your own. Now it’s time to break down the list and see what items we need to take from each category. Be careful! When creating the final list, there are two main pitfalls you need to avoid:
- Packing too little to save space on your backpack thinking that you won’t actually need everything in there. This might be true but you don’t want to find yourself trapped in a shelter or a broken building with nothing to drink or eat waiting for the rescue teams. Preparedness always beats chance.
- Packing too much in the eventuality you are going to need this and that. If it’s not a necessary item, don’t pack it. There’s no need to put the family photos in the emergency kit, for example. You can pack those in zip lock bags and store them somewhere safe in the house.
Food and water supplies category
This is a very important category and without enough items from here you cannot survive for three days on your own. Try to look for small items with high caloric content (natural disasters are not about keeping fit and worrying about your silhouette!). Stressful situations like trying to run from a hurricane or a tornado determine your body to consume more calories than usual, which will leave you drained of powers. As an adult, your daily meal should contain about 2000 calories.
Another important aspect when choosing the food to put in the emergency kit is the shelf life. Try to choose products with at least 1 year shelf life, otherwise you will have to check and rotate products pretty often.
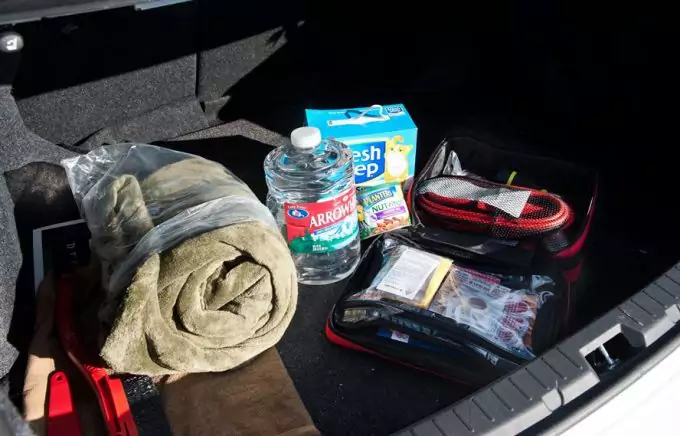
When storing the food, make sure that everything is packed up separately. Some foods have very persistent smells and they can contaminate other foods, making them very hard to eat. Also try to choose foods that everyone in your family can and will eat.
Here are a few 72 hour kit ideas for items in this category:
- canned foods like beans, fruits, vegetables, cooked meals;
- energy bars and chocolate for a boost of energy;
- nuts and seeds;
- dried fruits;
- noodles, soups and dehydrated vegetables;
- peanut butter;
- salt, sugar and other spices.
Also very important, take into consideration allergies and possible allergic reactions. As you can see, none of the foods mentioned above are in fresh state; they have either been dried, dehydrated, or canned for long term storage. The important part is that you can prepare most of them in your own home, if you have the right equipment. For instance, home canning is quite simple and doesn’t require too many items so you can start with it- we have a great article on how to get started on making your own cans of meat and vegetables. However, if you’re looking for more advanced methods of food preservation, like dehydration, you will need to take a look at our best food dehydrator reviews.
Clothing and footwear supplies plus bedding category
When you’re facing a difficult time, away from home and your personal closet you need to have extra layers with you so you can adjust the body temperature according to weather conditions. Take clothes that will keep you warm, that don’t need much storage space and are not heavy to carry. You can include here short and long sleeves shirts and pants, socks, underwear, hats, gloves, and jackets. It’s also very important to have layers so you can adapt your clothing to the environment – if you don’t really know what this means, read our piece on layers clothing to learn more.
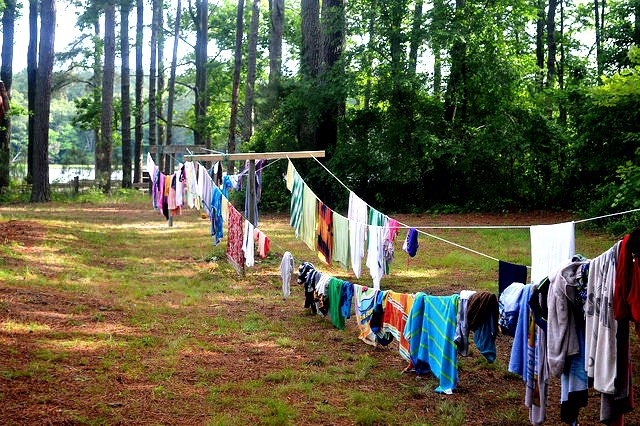
The same applies to footwear: take an extra pair of sturdy shoes that will keep you dry and will protect you from rain and fallen objects. Add in your kit a rain coat and body warmers as an extra precaution.
[the_ad_placement id=”in-text-2-type-a”]You will also need to sleep during these 72 hours which is why bringing the appropriate bedding is very important. Start with a sleeping pad, to keep you away from the cold ground or floor and continue with sleeping bags and warm blankets. You can also include a tent big enough to fit you all just in case you can’t make it to the shelter in time.
Sanitary supplies & personal hygiene products
Here you need to be careful and only choose items you are going to use. The sanitary supplies category includes items like toilet paper, hand sanitize, detergent, disinfectant, plastic garbage bag, household chlorine bleach, and so on. You are going to use these items to clean and disinfect wounds or the place you are going to sleep and eat.
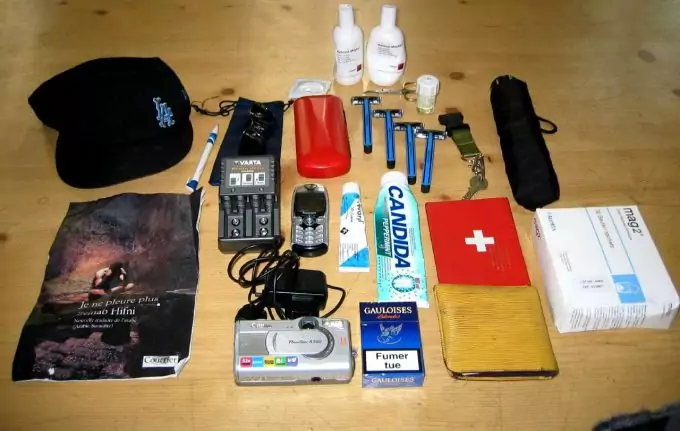
The personal hygiene products also need to be considered with an objective approach. Take only what’s strictly necessary like toothpaste, toothbrush, soap, feminine supplies, wet towels, folding brush, hair ties, and others. Items like makeup, nail polish, perfume, and other beauty products are not necessary and shouldn’t be included in your kit.
Medication and first aid kit
Items in this category are very sensible to external environmental factors, which is why they need to be stored with extra care. Include in your emergency kit any prescribed medication for your family members and pets (if any). Also add over the counter pain relievers, Ibuprofen, glasses, and other medication you consider necessary. The first aid kit should be complete and you can pick it up in any drug store but not all have the items you need. That’s why we reviewed some of the most popular products and you can read about them in our article about the best first aid kit.
Tools, equipment, light and fuel categories
These categories are also important for your survival but you need to pack them responsibly as they can make your kit pretty heavy.
From the tools and equipment categories you are going to need a folding shovel (great for digging sanitation holes and digging up stuff), pliers, a can opener, a multi-tool Swiss army knife (or any other multi-tool knife) that can be useful in countless situations, thread and needle (you never know when something tears and you need to fix it), duct tape, battery operated radio, fire extinguisher, rope, etc.
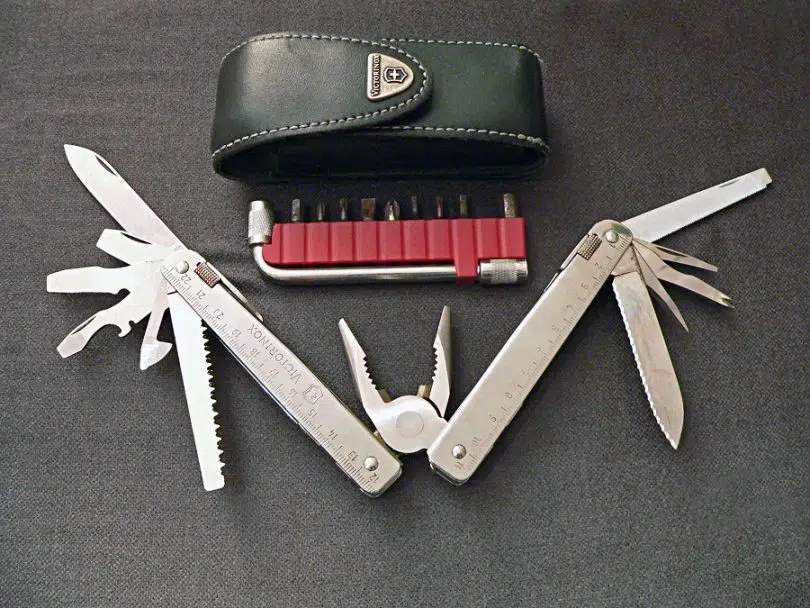
The light and fuel category has its place in the importance scale as you will need light to see where you’re going and fuel to cook and stay warm. Consider taking flashlight and extra batteries, signal flare, emergency candle and water proof matches, travel stove, and an extra tank of fuel for your car.
Safety items, personal documents and money
You always have to have your personal documents with you in case of an evacuation so authorities can identify you if there are routine checkups. Also, take important documents like house ownership proof, bank statements and others. Make sure that you have extra cash with you because credit cards won’t do you any good during a crisis period. ATM’S are usually emptied first and banks are closed.
Even if you are a pacifist and you don’t think there are people who would want to profit from a natural disaster, such specimens exists. That’s why you need to have a gun or another type of weapon that you can protect yourself and your family with. Don’t forget to include an emergency whistle in your pack. It’s very useful to let people know you are in danger or to help rescue teams find you.
Other categories
Here you can find items like stuff you need for your pets, containers and anything else. These ones you need to figure out by yourself and include them in your safety kit. Start the list early and read it multiple times before starting packing up your emergency gear. This is the only way to make sure you don’t forget anything important.
Remember, keep your backpack light and ready to go and don’t forget to include a compass and a map.
Common mistakes to avoid in the preparing process
There are a few mistakes that you can easily make when preparing the 72 hours emergency kit, especially when you are new at this. Don’t worry, there’s nothing capital but it’s better to know and avoid them.
- Footwear mistakes – make sure the shoes you include in the emergency pack are sturdy and water proof. You need them to protect your feet not to look stylish! If authorities issue a bad weather warning try to avoid wearing heals and expensive, fancy shoes wherever you go. Also, keep a pair of boots in your car and fill them with clean socks and underwear. You never know where you are going to be when the storm starts
- Clothes for the wrong season – if you don’t keep your emergency kit updated according to season you might end up wearing coats in mid-summer.
- You skip the testing phase – each item in your gear needs to be tested before packing it up. If your flashlight won’t go on or your fire starter won’t work they will do you no good.
- You lack organization when you pack the kit – don’t throw everything in a pile that you squeeze in one big bag. You won’t know where to look when you need something and you will have to unpack the entire thing. Imagine how you will do this in the middle of the storm, looking for a flashlight.
- You underestimate your water needs – even if you’re not much of a water drinker, in stressful situations your body will ask for that gallon of water per day. Make sure you have it with you or you have the means to obtain it.
What emergency kit you can buy in store?
To make things easier, there are emergency kits out there that you can buy. These come packed with most of the supplies we talked about earlier and they are very useful if you are not the DIY kind of family. Everything is already organized and all you have to do is add anything else you consider might help you.
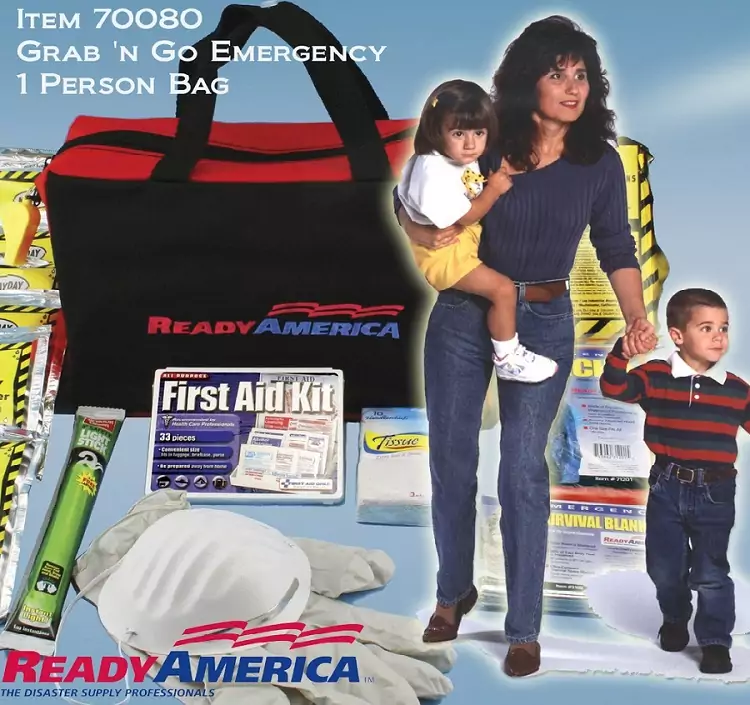
Our top three recommendations are:
- Ready America 70080 Grab-n-Go Emergency Kit, 1-Person 3-Day Bag that contains the necessary food, water and light supplies for one person. You will definitely have to add to this but the roomy backpack is very useful and easy to carry;
- Ready America 70280 Grab-‘n-Go Emergency Kit, 2-Person, 3-Day Backpack that comes packed with food, water and blankets for 2 people, one complete first aid kit and two safety light sticks. The kit is not expensive and you can find it on Amazon.
- 4 Person Perfect Survival Kit Deluxe for Earthquake, Evacuation, Emergency Disaster Preparedness 72 Hour Kits for Home, Work or Auto – perfect for families with two children. The Deluxe model is one of the most complete kits on the market and you can actually grab it and go without adding anything else. You can find this model and others on Amazon.
As you can see, there are many 72 hour kit ideas you can go with, making preparedness for a natural disaster easier and less scary.
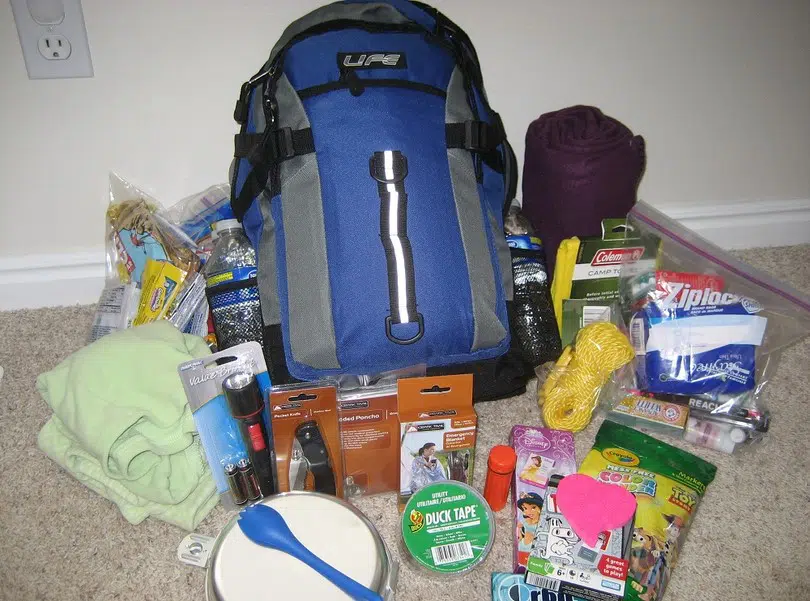
At first the list with items to include in the emergency kit may seem long and voluminous but with a bit of patience and some organizational skills you will definitely manage to pack your ready-to-grab backpack. The secret is to know how to pack every item individually and how to find small spaces for each one of them. You can practice packing your emergency kit a few times before you get it just right.
[the_ad_placement id=”in-text-3-type-a”]Don’t forget that you need to check the kit every six months and rotate objects that are not useful anymore like expired foods, bottled water and out of season clothes.
There are no excuses if you decide to ignore the possibility of a disaster and skip the preparedness step. As a responsible adult you need to take into consideration this possibility and prepare accordingly. Investing in an emergency kit now may not seem so important but you will learn to appreciate its value when the time comes. Just think how hard it would be to clean your hands without soap or hand sanitizer.
When you have to evacuate and you are by your own there is no way to get the objects you need. It is going to be extremely hard to resist without food or water for a few hours and close to impossible to resist for days.




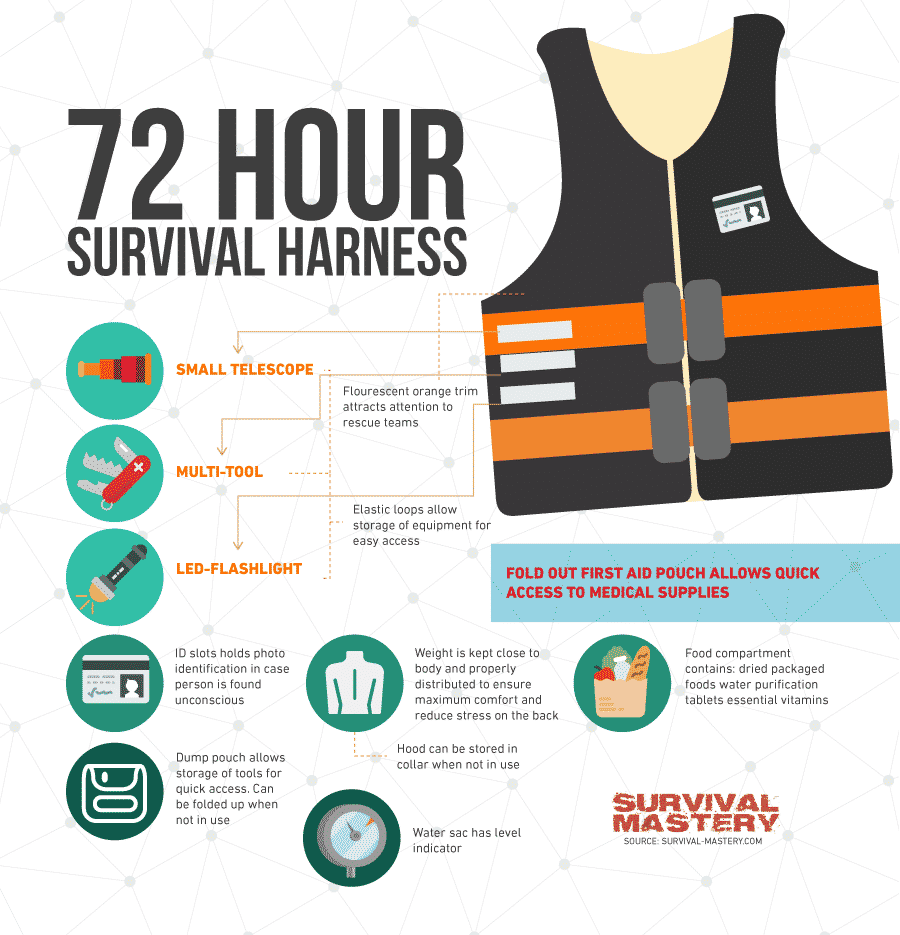
Does the pictured vest exist, or is it merely a concept design?
If it exists, what of the price range?
Hello John,
I am going to assume you are referring to the 72 hours survival harness depicted in the picture. Sadly, I didn’t came across something like that, but there are many survival harnesses in specialized stores that allow you to carry the emergency kit on you. The price varies on the brand and capacity.
72-hour kits are usually EDCs. I keep one in my car and another in my closet so I’m always ready, though I haven’t thought of disaster-friendly footwear nor updating the clothes I store based on the season so this has given me some re-evaluation. However, there are personal documents I tend to access every now and then so I keep them in a water-resistant string tie envelope and place them on an organizer near the bedroom door so I don’t forget. Aftermaths of disasters will be stressful enough so saving important documents should be highly considered.
You should always know that the 72 hours kit is not all about survival items, you need to include your documents as well; that’s great thinking, Sandra.
One thing that could help is to make digital copies for important documents and have them safe stored in “Cloud” file sharing format. Google Documents is a great place and it is accessible regardless of what happens to your kit. It is recommended to use same approach when traveling in case you and your belongings and important documentation somehow end up getting separated.
Well said, Djani. Documents are usually hard to replace when they get lost or damaged. Therefore, scanning and storing copies in Cloud is such a good idea.
I am thinking of making my own first aid kit so that I can better cater to my personal needs instead of buying generic first aid kits. Do you think this is a good idea? Another thing is that when packing bandages, is it better to pack different sizes or just buy a big one and cut it small during emergencies?
I am looking at the Ready America Kit 70280 but upon looking at the package, the bag seems poorly made. I am afraid that the bag may break up and pose more of a nuisance during situations. Can you recommend that I buy a kit and just transfer the contents to another bag or just make up a kit of my own?
When making your own first aid kit, you should ask yourself the following questions:
What do I need in a first aid kit?
How will I use my first aid kit?
The aforementioned questions will help you come up with a complete first aid kit.
The kit’s contents can sustain two people for 72 hours, thus it is a highly resourceful kit. You can choose to use a different backpack if the one that comes with the complete kit is unsatisfactory.