Learning of ways on how to tie fishing knots is one of the best skills to possess if you are into fishing because tying knots is what can make your professional fishing, sport or hobby more rewarding. A knot, as you know, can contribute to the strength and weakness of your fishing line and such will depend on how you tie your knot or how one is made. Whether you are fishing for a hobby, profession or sport, you should learn how to tie an effective, reliable and strong knot to ensure a successful fishing activity.
There are many categories and types of fishing knots available, although you don’t have to memorize and learn all of them before fishing. We know that it can be quite overwhelming to study and learn all of them at the same time, so don’t pressure yourself. Eventually, you will learn the different types of knots as you meet a specific situation and as you go along and become an expert in fishing.
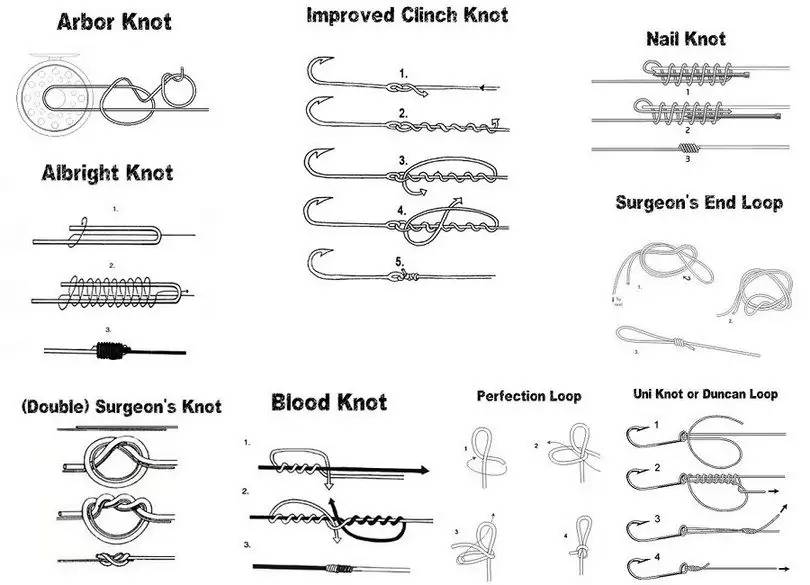
Because there is a wide range of knots available and used in many situations, knowing how and when to use them will make you a successful angler. And learning of them can become your arsenal of knowledge to help you use a particular knot when the situation is calling for it.
This guide is created for you, whether you are fishing for competition, relaxation and leisure, as we will tell you the basic principles and ways on how to tie a fishing knot.
Palomar knot
This is one of the most popular knots for many anglers as well as to those who make use of braided lines. It serves as the simplest knot even for beginners who have just little knowledge of fishing. It works well for both braided lines and mono-filament lines, but it works better for use in braided lines (a fishing line which makes it hard for fishermen to make a knot with).
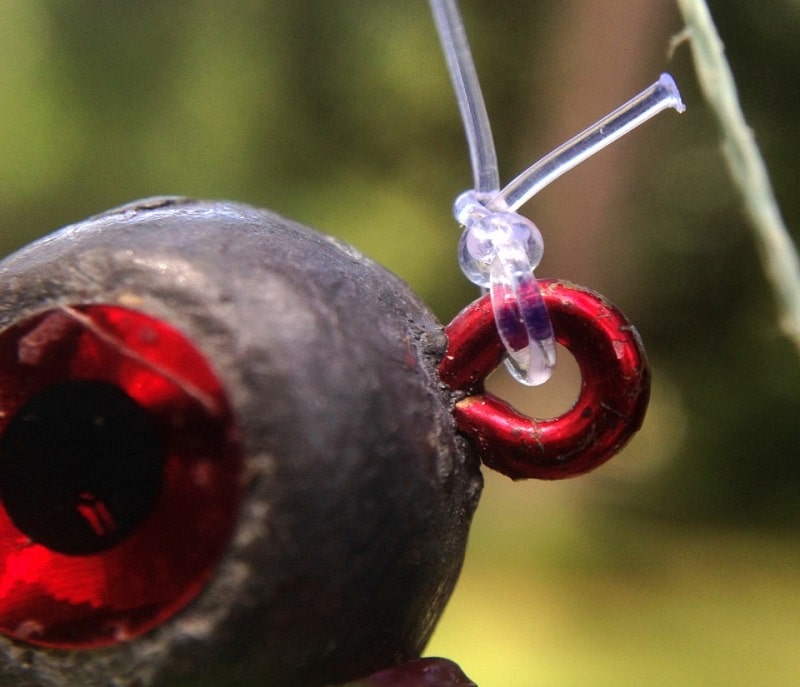
First to do is threading your line using the eye of the piece of tackle you are connecting or attaching and then threading it through the eye again to come up with a doubled line of up to four to six inches in length. Then, you have to do an overhand knot in this doubled line and then allow your hook to hang loose, but do not let the line twist or tighten it too much during this stage. After, you have to pull the line’s loop over your tackle and then tighten the knot through pulling the tag end and holding the static line. Finally, clip the tag.
Blood knot
A knot commonly used when tying two pieces of fishing lines together, the blood knot is another way of tying the knot. Do not make the mistake of using this knot when trying to tie a leader into a fly line when a nail knot would be serving this purpose better. In short, the blood knot is to be used only with lines of exact or similar diameter.
To proceed, you will have to lay out two lines that face in opposite directions of each other, while ensuring they are of similar diameter of monofilament line. You will have to pick a line and then you can start wrapping it around the other line between three to four times. Then, you should thread the line’s end using the ‘V’ that is created by the two lines. Repeat the same steps.
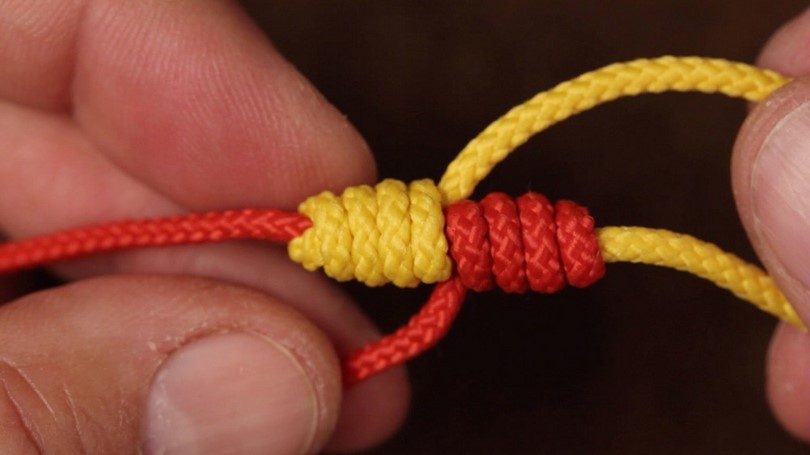
When you are threading the second end through the ‘V,’ see that it is pointing in the opposite direction of your first line. Next, you will have to pull the standing lines gently until your knot comes together, but be sure to place it in your mouth so that you can lubricate it before tightening it completely, making your fishing knot stronger. Lastly, cut the tag ends.
Rapala knot
It is another essential knot to learn because it relieves the stress in the area where the standing line is entering the rest of the knot. In this case, there is also a line passing through the overhand knot three times to cushion the standing line.
To do it, you will have to tie an overhand knot of six inches above your line’s tag end, and then thread the tag end using the lure eyelet and then through your overhand knot. Then, you will have to make three wraps around your standing line, and then start passing the tag end through the overhand knot’s back. After, you can begin running the tag end through your new loop formed, and then start lubricating before tightening through pulling the tag end, lure and mainline.
Improved clinch knot
Another relatively easy and useful knot tying technique, the improved clinch knot is a good way of tying the tackle at your line’s end. Fishing experts suggest that you can lubricate the fishing line by having the knot in your mouth before you start pulling it tight to make it stronger.
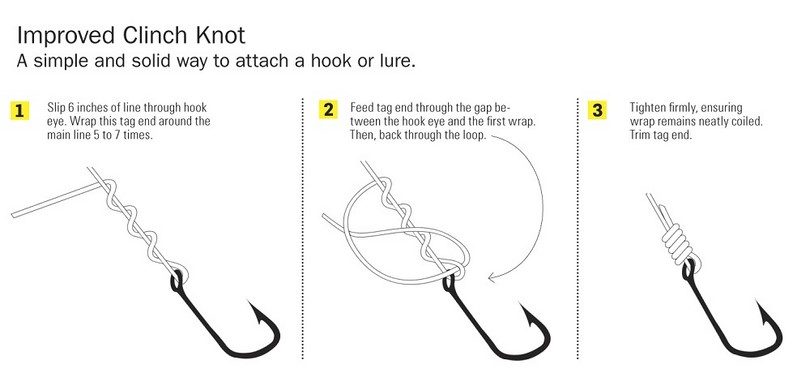
You can also insert the end of your fishing line through the hook’s eye, and then double back on your standing line, making five loops around it. When done creating the loops, you can start bringing the line back to your initial loop and then threading the line through it from behind your hook’s eye. After, you can thread the line’s end through the large hoop and then pulling the line’s end slightly in order for the coils to tighten well. Next, you will have to pull on your standing lines in order for the coils to draw neatly and tightly together. Finally, you will have to cut the excess end line.
Terminal knot
Start threading the line through the hook eye and double that back up to 10 inches, and then start wrapping the tag end over itself and then the standing line six times to move closer to the hook. After, start passing the tag end via the first open loop found at the hook eye, and then thread the tag end with the open loop you can find at the knot’s top.
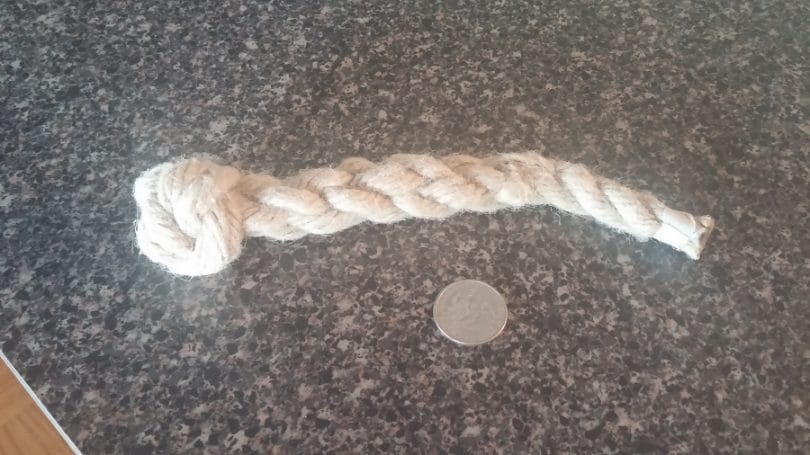
Next is lubricating the knot and tightening it through pulling the standing line and the tag end to ensure that your coils will stay spiral and will not overlap.
Albright knot
For learning of ways on how to tie a knot, the Albright should not be skipped to include in your collection. To start, you can form a loop found in one line, which is the gold and thicker if unequal, and then start passing the end of the other line, which is the blue and thinner line through the loop and then start wrapping it around itself and to the loop ten times. After, you have to pass the end back using the loop next to itself, and then, you will have to lubricate it before pulling the knot tightly. Finally, trim the knot’s ends.

This type of knot is both flexible and useful because of its wide range of uses and it is not hard to tie so it is suitable to joining different kinds of fishing lines, including braided to wired or monofilament to braided lines. It also works for connecting monofilaments with different diameters and commonly used in joining the fly line to a backing line. Nonetheless, it can be used to join two similar or different fishing lines together.
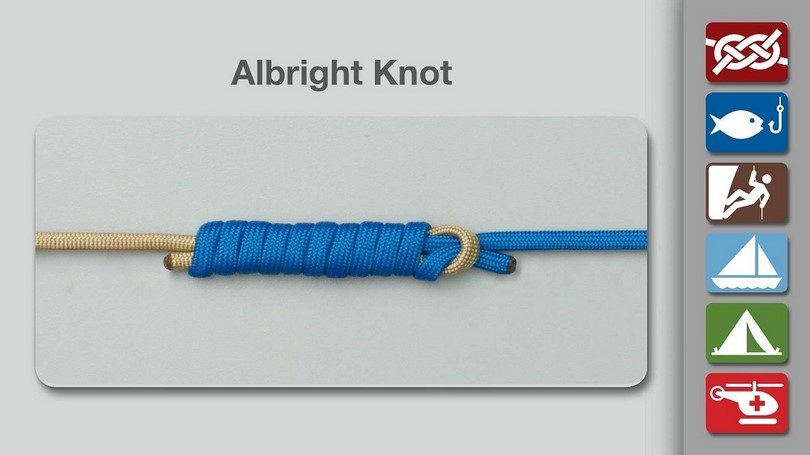
Remember though that its initial loop is made in the larger line and that it is needed to wind your loops round the loop. It will also help holding your loops under your fingers when you are winding the line on. This knot is great for sliding readily through the guides when a fish is pulling out enough line in reaching the backing. However, there are some anglers who coat the knot using rubber-based cement in order to make it smoother and more secured.
San Diego jam knot
Sometimes confused with another fishing knot—the uni knot, due to its covering or wrapping characteristic around two lines, but they are actually different. The uni knot is wrapped inside the loop through doubling the line back as well as it is wrapped upward, but the San Diego is wrapped around outside down two lines.
To do it, you will have to pass the line onto the eyelet and then running your tag end in line or parallel to your mainline. Then, you will have to loop it prior to starting to wrap the tag end on itself and then the mainline is back down to the direction of the eyelet up to seven times. After, you will have to get your tag end before running it back up using the loop made at your knot’s top.
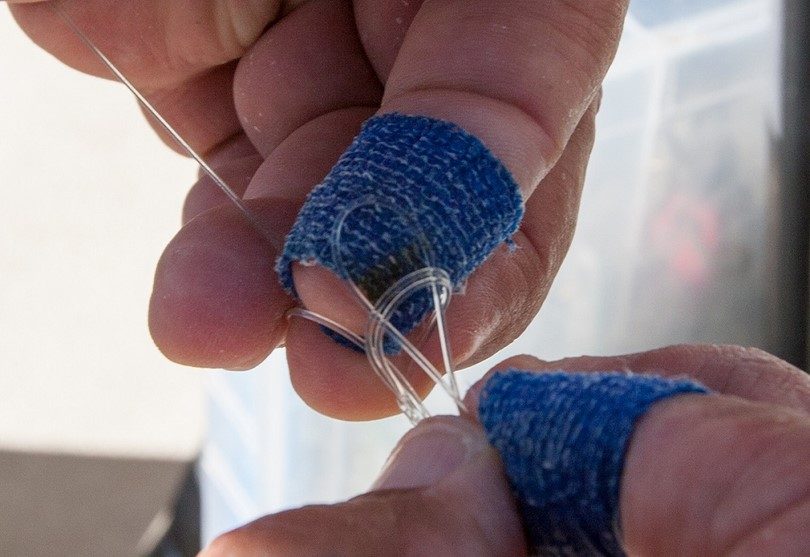
Finally, you will have to lubricate the knot before pulling it tightly and then pulling the tag end. After, pull the mainline and the tag together, and lastly the mainline all by itself.
Start working to tighten the knot through pulling the mainline and tag end together before separating and focusing to keep the wraps snug and in line all the time.
Canadian jam knot
Also called the Arbor knot, this knot is passing the fishing line round the arbor. To start with, tie an overhand knot around your line, and then start tying the second overhand knot with the free end for a stronger stopper. Lastly, you will have to slide the knots tightly down against the arbor.
This type of knot is useful for attaching the fishing line to the spool center or the arbor and is based on a noose knot so pulling can tighten it. This is the same knot for Bushcraft known as the Canadian jam knot, wherein a paracord or a light rope is commonly used for compressing a load, including a sleeping bag. It is also used as the main step in making a lashing.
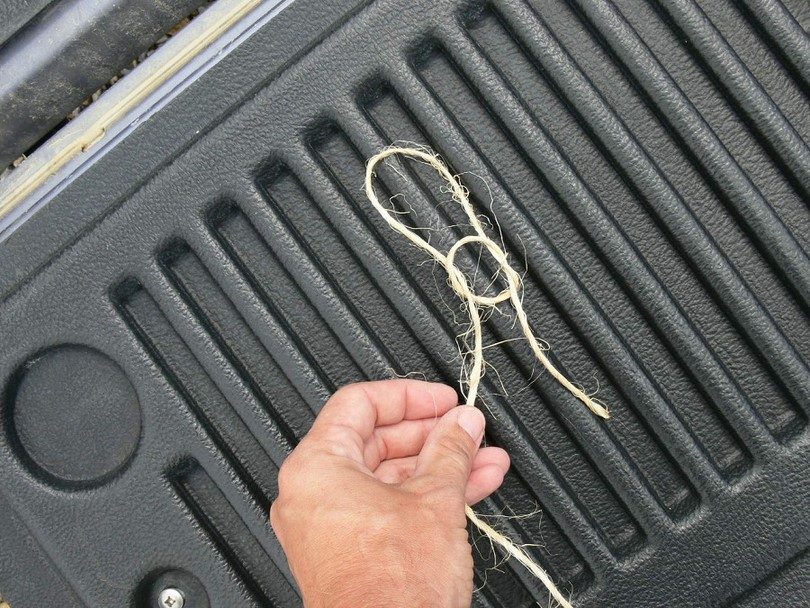
To create the knot, you will have to make a noose, and then start dropping it on the arbor before pulling and tightening it. If you made a slip knot mistakenly, you will have to first pass the free end around the load or the arbor before using the free end in tying the first overhand knot around the line.
For the second overhand knot, this extra knot in your tag end is tied near the first knot, so it is very important to know that as your knot is tightening, it will be snugging down against your arbor.
For some fishermen, what they do is winding the loop at least twice or three times around the arbor, and then they start making the first half hitch, increasing the friction that may prove useful when used on a polished reel. However, take note that the directions of the turns is essential, and that they should be wrapped as if you are using a tensionless knot wherein rotating the reel to tighten the wraps. Finally, know that this type of knot is very easy, effective and simple to learn.
Uni slip knot
This is a useful yet overlooked knot tie in bass fishing and is a staple knot for most saltwater anglers. It is used by professional anglers who find the Palomar knot to be ineffective.
To start, you can start passing the line through the eye and then effectively run it parallel to your main line before looping back down to the eye once more to make a loop. Then, you can start covering the tag end upward on the inside of the loop you have made at least five times and at most seven times. After, you will have the pull the tag end in order to secure the knot tightly on the line.
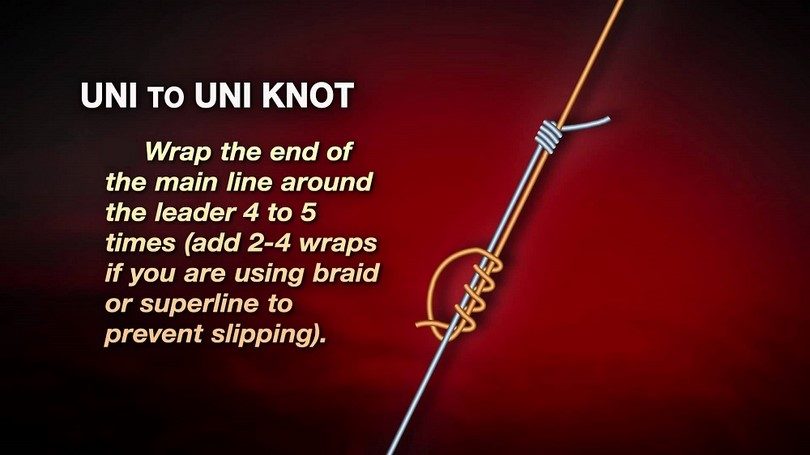
And then, you will have to pull the tag end as well as the main line before pulling the mainline alone in order to work your knot down the eyelet. In this case, you will, again, have to wet your line before finally pulling it hard on the mainline and the hook or the lure to snug the knot down tightly. Finally, you will have to trim your tag and that’s it.
This fishing knot is versatile and useful and that it allows modification or changing to connect two lines or double in order to create a stronger knot. You can also use it with the hook shank when snelling knot towards a hook for flipping.
Trilene knot
A knot closely similar to the improved clinch knot except it has one variation, the trilene knot is also a commonly used fishing knot. In order to tie it, you can start to pass the tag end via the hook’s eye and then making a very tiny loop and then passing it through once more. After, you can start to wrap or cover the tag end from five to seven times, and then passing the tag end onto the double-loop made at the knot’s beginning.
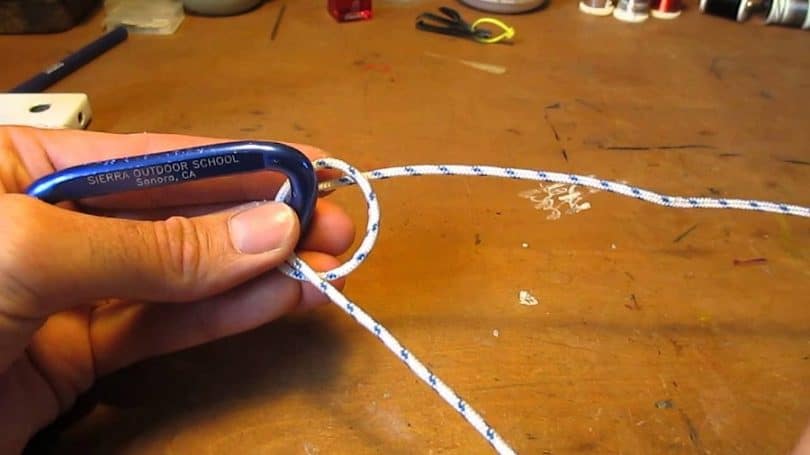
Next is to pull your tag end tightly on the moistened line in order to achieve a double wrap that will be around the eye for getting better snugness and wear. Take note that this type of knot takes some time to practice, especially in looping it on the eyelet two times and getting the tag end again through there once you have made your wraps.
Tips for knot tying and a better fishing experience
Maintaining tangle-free fishing lines
Keep your fishing lines in order and tangle-free. And to take care of them, the first thing you have to remember is to ensure you are tying knots as effectively and as strongly. You should know that poorly maintained ones will make them prone to ruptures and splits when fishing. You should also keep these lines tangle-free because the friction that is created by the rubbing of lines will scratch or peel them off, causing them to become thinner and weaker. You should also avoid crossing the lines when you are wrapping the pole guides to prevent them from breaking. Don’t forget to learn more about custom fishing rods to help you out.
Choosing high quality fishing lines
Additionally, choose high quality fishing lines when buying by checking for their optimum performance. Avoid selecting second-rate types although they may be cheaper. Perhaps, you might have to replace them often as compared to high quality ones.
Many fishing knots include tag ends to be passed using a loop, slipped or jammed. It is important that you preserve the fishing line’s strength so that they stay durable.
Keeping your lines moist
Then you also have to keep your lines moist during actual use because dry ones can be vulnerable to splits and scratches and they are more brittle than moist lines. If the lines are kept wet, you can be sure that they are better in gliding and sliding smoothly against one another and any materials they will get in contact with.
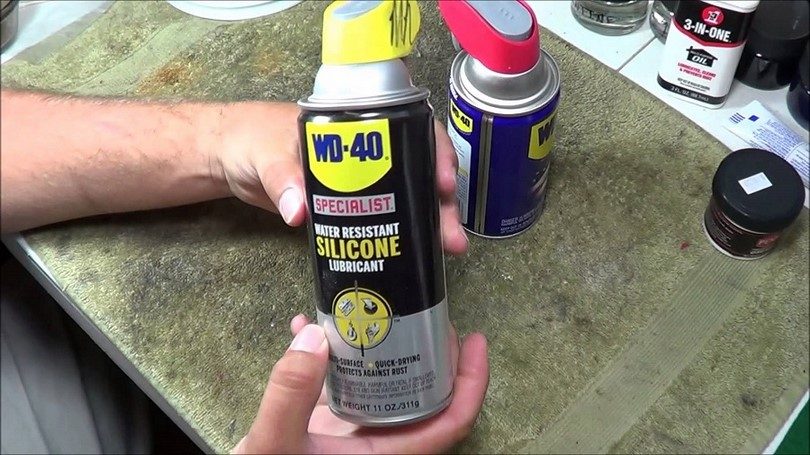
There are some fishermen who use lubricating materials in order to make sure that their fishing lines are slippery and wet. While it may be comfortable making a knot using a dry line, it is not durable but can be easily breakable.
For beginners, however, tying a wet line is very challenging because it takes patience and proficiency to get the hang of, but don’t worry. You can master it as you gain fishing experience. Perhaps, everybody has been in your situation when they first started. You will eventually learn adapting with the strokes and the textures used in knot tying, which will make you an expert in time.
Pulling carefully and slowly when tightening knots
Do not overdraw or over pull the lines and knot, tightening them too much, as doing so will break them. They may also become too rigid and thin. Remember, over pulling can also make the knot sharper and that it can make a weak link to lead to line splitting. You should also avoid pulling too tightly because it causes line crossing and friction. Therefore, you will have to slide while ensuring that lines slide off effectively and not crossing each other when you are fixing a knot.
Avoid friction and crossing wraps by working your wraps down the line carefully until all of them are lined up next to each other properly before applying pressure and cinching the knot while pulling both the mainline and tag end together until your knot feels snug.
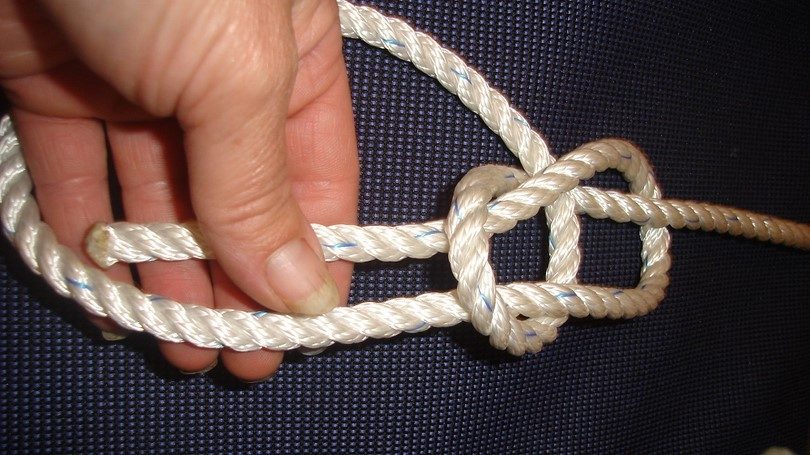
Although the most avid anglers can tie a knot in seconds, do not hurry but slow down on the cinching and tightening steps to ensure the knot is properly secured and neat to the bait or hook’s eye.
If you are a beginner, you should not rush into tying a fishing knot, but what you have to deal with is making an effective knot that won’t break. You don’t have to hurry up making a certain knot, but you have to concentrate on quality than quantity or speed.
Checking if the knot is secured
Do not throw the knot into the water without checking it for security. You can start grabbing both areas of your fishing line located at the sides of your fishing knot by making some hard tugs to check that your knot is snug to operate. Make it a habit doing this inspection before rigging.
All in all, remember that the most basic fishing element is your great connection with what you want to fool the bass into biting in order to hook a fish and then to fight him with your fishing rod and reel to catch him eventually. See how this article can help you by making you are aware of the best fishing times.
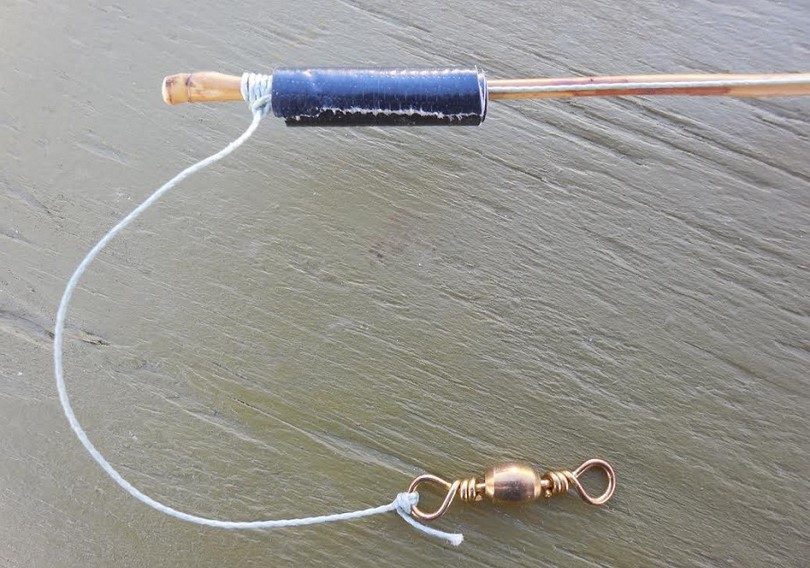
Whether you are choosing to fish for bass using artificial bass lures or live bait, you have to learn the most important fishing knots to help you in succeeding in this activity. Remember that a weak knot will reduce any chances that you can catch and land bass.
Therefore, it is very essential that you don’t only know the fundamentals or basics of tying fishing knots, but you also have to learn of a series of great knots to use in specific situations and for better serving a purpose.
A knot should be able to secure the hook or bait into your line in a way that it can keep up with the abuse, not only of the surrounding fishing environment (thick grass, metal, wood and rocks…) but also of the fish.
Finally, feel free going over our tips on how to tie some of the most useful fishing knots and share this article guide to friends and fellow hobbyists or professionals who might need it.
Check out our article on how to fish to learn more techniques and tips.


For me, tying a strong fishing knot was a hard skill to learn, but once I got the knack of it, it became easier and easier. They’re not perfect, but they rarely untie.
Tying a fishing knot is an important and essential skill of fishing. Make sure you get all useful knots right so as you can enjoy the activity.
My father taught me the Clinch when I was like 8. I used it for 20 years until I recently learned the Palomar. I have to say that I don’t use the Clinch as much anymore. The Palomar is done and in the water before I am even finished counting the twists on the Clinch. It’s also almost impossible to unravel on its own as well.
Ahmad, We all have our favorites knows when fishing and it’s really up to you which ones you would use. The Palomar really is an easy knot to tie than the clinch which saves us time in the long run.
Andrew