
Learning to navigate without relying on modern technology is a very useful skill. In fact, you can ask just about any outdoorsman or survivalist and they will likely agree that there is no replacement for good old-fashioned navigational skill. And while this is an important skill for outdoorsmen, it’s an even bigger skill required if you’re into sailing.
One of the important pillars of your navigational skill land based or nautical is going to be your ability to pinpoint true north. And here’s where it gets tricky. The red point on your compass isn’t true north, it’s magnetic north.
True north is close to it, but the distance between the two could screw up your navigation. So to be able to handle this you will want to know how to adjust compass declination.

Understanding the concept and science behind this will take some doing. So we’re going to go through the differences between magnetic and true north as well as the process in which we can compensate for the difference.
Magnetic North vs True North
As we’ve mentioned earlier magnetic north refers to where your compass is pointing when checking it for a reading. True north, on the other hand, refers to the actual north pole.
What is Magnetic North Works?
Your compass always gives a north reading. Unless there is magnetic interference nearby the red portion will always point towards magnetic north.
To understand how this works, just think of your compass as a magnet. And if you recall your primary school science lessons, positive charges are attracted to negative charges and vice versa, while similar charges will repel each other. Imagine the earth as a gigantic magnet.
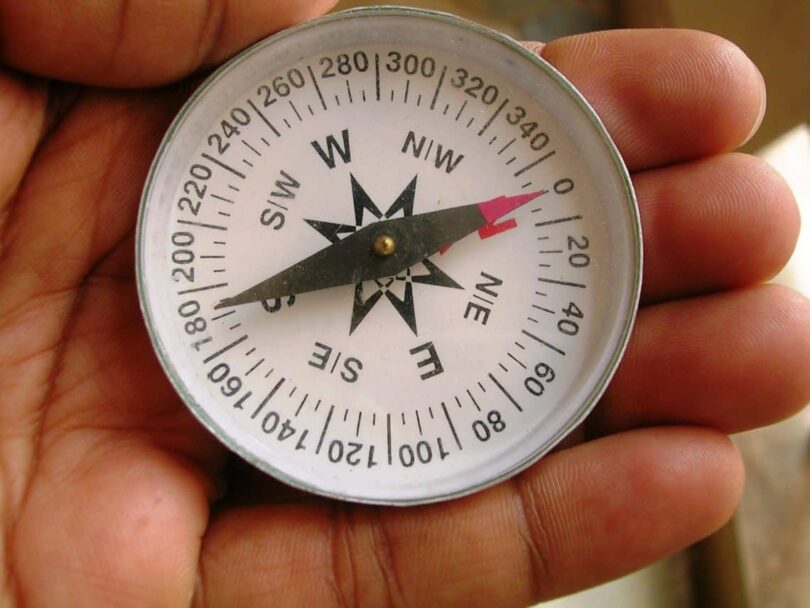
The north pole (or more precisely magnetic north) is negatively charged, while the south pole is positively charged. Compasses’ red portion maintains a positive charge and hence is attracted to magnetic north.
The Nature of Magnetic North
Magnetic north is not static, it moves. It can be several degrees to the west or east of the actual geographic north pole. And its position changes with time. 1700-3100 miles beneath our planet’s surface, a complex current of molten fluids of cobalt, iron, nickel and other metals flow around the outer core of the earth.
This movement generates the earth’s magnetic field. This constant change in the earth’s magnetic field is known as secular variation. Due to the fact that this movement is constant, magnetic north moves and doesn’t coincide with the earth’s axis.
Other factors that can affect the position of north on your compass can be the presence of an area’s topographical features such as ledges and mountains, and seamounts. Certain ore deposits, faults and lava beds and faults can also make a difference.
What is Magnetic Declination?
Magnetic declination refers to the angle difference between true north and magnetic north. Now it’s worth noting that this angle changes depending on where you are in the world because the earth’s magnetic field isn’t uniform.

It ebbs, flows, undulates and dips depending on a variety of factors including the flow of metals in the earth’s core as well as the geographic features of a particular area and your current position relative to the magnetic north point.
Can I afford not to adjust for declination?
According to the United States Search and Rescue Website, the failure to account for declination can put you off course quite a bit. Here are some potential scenarios”
| Declination Degrees Off Course | Distance from 10-mile target destination |
| 1 degree | 920 feet |
| 5 degrees | 4600 feet = .87 miles |
| 10 degrees | 9170 feet = 1.7 miles |
So if you’re lucky and magnetic declination isn’t that far off from true north at your current location then you’re lucky. If it isn’t and you fail to adjust for it, you could be adding a sizable distance to your hike. This can be problematic especially if you’re on a tight schedule.
Compensating for Declination
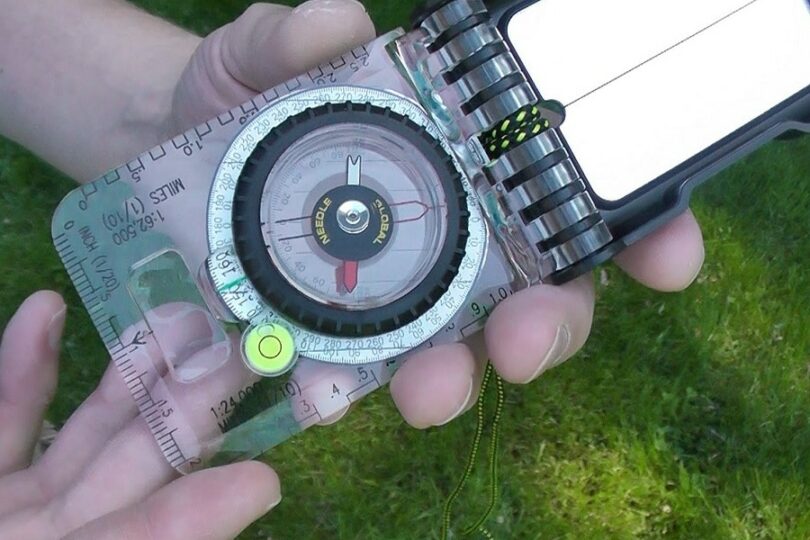
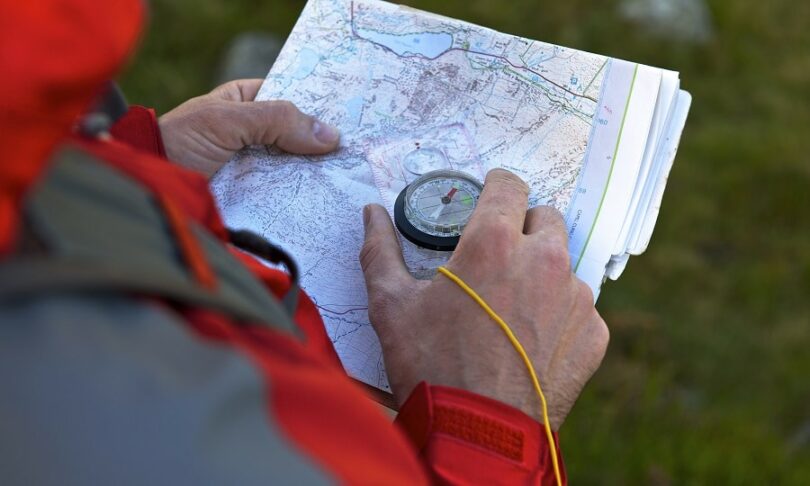
There are a few ways you can use your map alongside a compass to properly find your bearings and assess which way true north is.
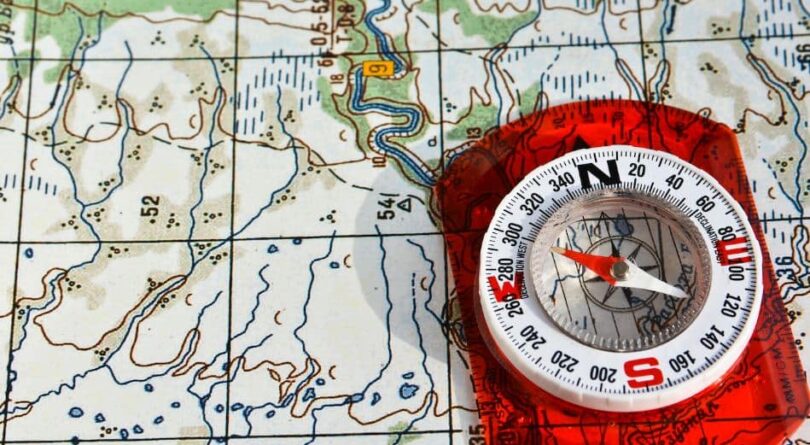
Using a Compass not Adjusted for Declination
Some compasses (especially older ones) will not be adjusted for declination. If this is your situation you will need to do the following:
Acquire the declination in the general area that you are checking on the map. If you’re using a map by the United States Geological Survey, you will be able to see a diagram which differentiates grid north(GN) and true north (represented by a star) as well as magnetic north (MN).
You can find magnetic declination by the difference in degrees between magnetic north and true north. It’s pretty safe to say you will want to get new maps from time to time as magnetic north isn’t a fixed point. It regularly moves. SO if you’ve had that map for a decade, then chances are your readings aren’t going to be accurate anymore.
You have to take note of the following:
- When magnetic north can be found to the east of true north, then it can be surmised that local declination should be positive.
- When magnetic north can be found towards the west of true north then local declination will have a negative value.
Now we’ll discuss a couple of methods you can use to help get you an accurate idea of your destination.
1st Method
- Make a line starting from your point of origin to your destination. (This serves as your bearing) Extend this line all the way straight to the map’s border.
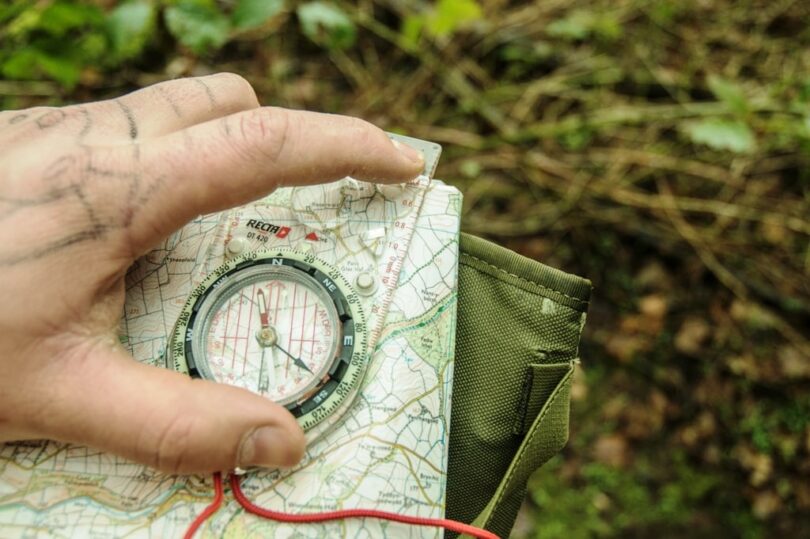
- Put your compass on top of your map. Make sure that the needle’s pivot is right on top of the intersection of your bearing and the map’s borderline. (Be sure to keep any metallic objects away from your compass at this point so as to avoid any influences on the reading)
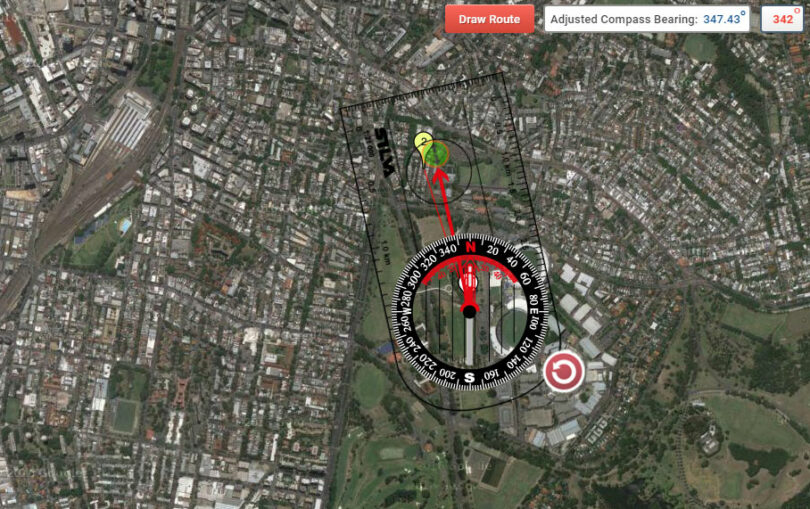
- Rotate your dial. Stop when the compass’ north aligns with the map’s north. Check whether this new bearing (from your compass dial) agrees with the direction that you’re traveling. If your intent is to make for east, your bearing is going to be 90 degrees, not 270.
- This next step must be done mentally. So resist the temptation to fiddle with your compass. If the declination you got earlier is positive, subtract the declination figure from the bearing you acquired. In the event that the declination value is negative then you will want to add that figure to your bearing.
- Rotate the compass’ dial up to the point where you reach the figure that you arrived at in the previous step. Do this until it aligns with your index line.
- Lift your compass off your map. Now, your direction of travel should be pointing away from you, rotate your body along with the compass while maintaining its orientation in one motion. When the red portion of the needle overlaps with the orienting arrow. Spot landmarks along the way and redo the steps as you reach these landmarks. Redo until you reach your end point.
2nd Method
- Make a line connecting your start point and your destination. Again, this serves as your bearing.
- Again, be sure to distance your compass from any metallic object, car keys, belt buckles, mobile phones, etc.
- Take your compass and place it so that the baseplate is aligned with the bearing line you just drew. Check to see that the travel direction is directed towards your destination.
- Rotate your compass’ dial until the point where ring north aligns with map north. Don’t rotate your compass, just the dial.
- Lift your compass off of the map. Be sure that the travel direction arrow is oriented directly opposite from you. In one motion, rotate your body and compass in one motion. Do this until the magnetic needle overlaps with your orienting arrow.
- Now, depending on the declination, you will be adjusting your dial. If the area’s declination is a positive value, you will have to subtract the declination value. (Turn your dial in a clockwise motion by the value). If the value is negative, you must add the declination amount. (Turn your dial in a counter clockwise motion by the value).
- Once again, with your direction of travel arrow pointing away from you, rotate your body and your compass up until such point that the magnetic needle’s red arrow is right on top of the orienting arrow. Identify several landmarks from your start point to your destination. Repeat the steps every time you reach one of the landmarks.
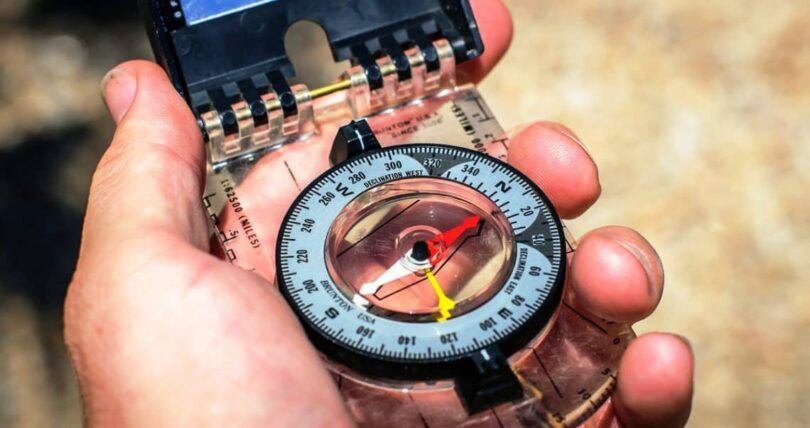
Using an adjustable declination compass
There are compasses available on the market that can adjust for declination. This actually makes things easier. This will allow you to orient change the direction of your orienting arrow without regard for your compass’ dial. This type of compass will allow you to estimate your map bearing without adding or subtracting the value of the area’s declination.
Before going on your trip, you’re going to want to calibrate that compass for declination. To do this, rotate the compass’ liquid capsule or rotate that screw with a key until you reach the point where you’re the orienting arrow reaches a point where it deviate from your compass ring’s north indicator by the amount and direction of local magnetic declination (so it’s still important to know this information beforehand).
Here is an example, if the declination provided by the authorities for the area is 10 degrees to the east of map north, rotate the compass’ inner liquid capsule until your orienteering arrow points 10 degrees to the east of true north.
Now to be able to get an accurate reading, be sure to have compass ring north (Not your orienting arrow) is aligned with map north (as with step 3)
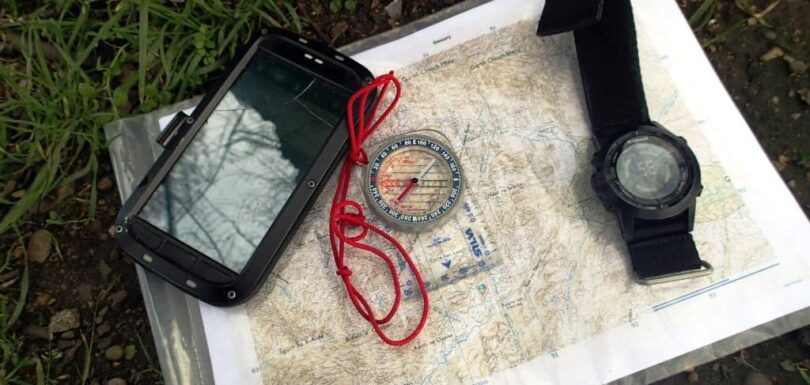
How to use my GPS and Compass to adjust for declination
If you already know how to go at it with only a map and compass, then great. But if you’ve got a GPS as well as a compass, this will make your life a bit easier.
We’re going to go over a hypothetical situation again. Assuming the local magnetic declination is 10 degrees to the east of true north. Your target destination or waypoint is directly north of your current position.
Compass without Adjustable Declination
If you have a compass without the adjustment to declination functionality, then you will first have to set your GPS to magnetic north. The GPS should indicate a bearing that is 350 degrees that you should take to reach the destination. From there, dial in the 350 degrees on your compass.
Now, with the direction of travel pointing away from you, turn your body and your compass with one motion. When the magnetic needle is overlayed over the orienting arrow you will be facing the right path. Spot a landmark along that path and once you reach it, redo the process. You will be traveling directly to the north toward your destination.
Now, if you’ve got a compass with a declination adjustment functionality, you should start with setting your GPS to true north. The GPS then provides you with a bearing which should be 0 degrees which has to be followed to the indicated waypoint. From there, you make adjustments to the declination on the compass. Check out our review of the best compass watch to guide your direction.
The orienting arrow should be pointing towards 10 degrees east. Then, dial in zero degrees on that compass. Your arrow supposedly indicating the direction of travel should be pointing opposite of your position. Turn your compass along with your body in a single motion.
You know you’ve got the right position when the red portion of your needle aligns with your orienting arrow. Identify several landmarks that line up with that bearing. Follow that line and you will reach your end point by traveling directly to the north.
Considering Slope
Everything that’s been discussed so far would be great if you’re traveling on a plane. However, chances are you aren’t going to be spending your time trekking on flat ground. You will have to compensate for the slope that you’re traveling on.
So to determine the percent of the slope, you must divide the value of elevation change with the horizontal distance that is covered (quite simply known as “rise over run”) the result is then multiplied by 100. Your “run” figure should be based on the assumption that you are traveling on a flat surface rather than an inclined one.
See also: How to Use A Compass: Fundamentals of Orienteering
On the other hand, determining the angle of slope will require you to figure out the angle created by the run (distance assuming the surface is flat) as well as the climb or descent’s angular deviation from that zero angle or flat surface. For you to acquire this, you divide rise over run, then you must acquire the inverse tangent of whatever value you come up with.
What to do if you wind up getting lost
Even the most experienced hikers will occasionally lose their way. In order to deal with this problem, your best bet is to use a method called triangulation.
In order to triangulate your position, you will need to identify at least two conspicuous landmarks on your map that is visible to you at your current location. It can be a mountain, a bridge, lakeshore, footpath, or whatever is visible to you at that particular moment. You have to be able to spot both on your map and in your environment.
First, you will need to properly orient your map. From there, identify the landmarks you’ve spotted from your location. Mark these landmarks on your map. Ideally, the landmarks are at 90 degrees apart. Identify the bearing of one of your landmarks. Position your compass onto your map such that one side of its base plate points towards your landmark.
While your base plate’s edge is on the symbol, rotate your compass on your map until your orienting arrow is aligned with the magnetic needle pointing north. Make a line on your map along the base plate’s edge. When it intersects with the symbol of the prominent landmark, your position will be somewhere along the line.
Repeat the process for a second landmark and your position should roughly be where the two lines intersect. If you do it for a third landmark then your current location will be within the small triangle that is formed by the lines of those three landmarks.
Now, if you’re located on a prominent landmark or feature on your map, such as a road or stream, you will probably only need one calculation to pinpoint your location.
Find your way
Those are only some tips on adjusting for declination and dealing with getting lost. Your ability to navigate in unfriendly, unfamiliar territory is definitely an important skill. You can’t go wrong with learning and working on it.
If going on a hike, be sure to acquire relevant data on the current magnetic north from local authorities, couple that with your knowledge and some practice and you’re definitely going to be fine on your next outdoor sojourn.
Before heading out the door, do read on our top outdoor survival gear to keep you safe and prepared for anything.


One of the necessities of a hiker is to know how to navigate a compass. Because of this, I have been reading more about it. I have been introduced to declination: what it is and how it works. However, the more I read about it leads to confusion. One of the articles I read mentioned about “bubble over bubble” which I do not understand. Though there is an explanation given, I guess I still need a clear understanding of it.
There have been a lot of articles and blog posts that talk about compasses and declination. In addition, this article is one of the beneficial articles I read. At this moment, I am in search of a new one, since the compass in my possession is faulty; it is quite poorly made. Preferably, I like to have a compass with adjustable declination and clinometer. Do you have any suggestion?
There are many compasses with the correct calibrations, but you can consider the SS-1002 Ritchie, Suunto Tandem-360PC/360R, God is My Guide compass, or the Brunton TruArc 3 Base Plate compass.
Reading the concept without practice won’t be helpful. So, you may want to read and implement the skills at the same time. This will help you master the skills faster.