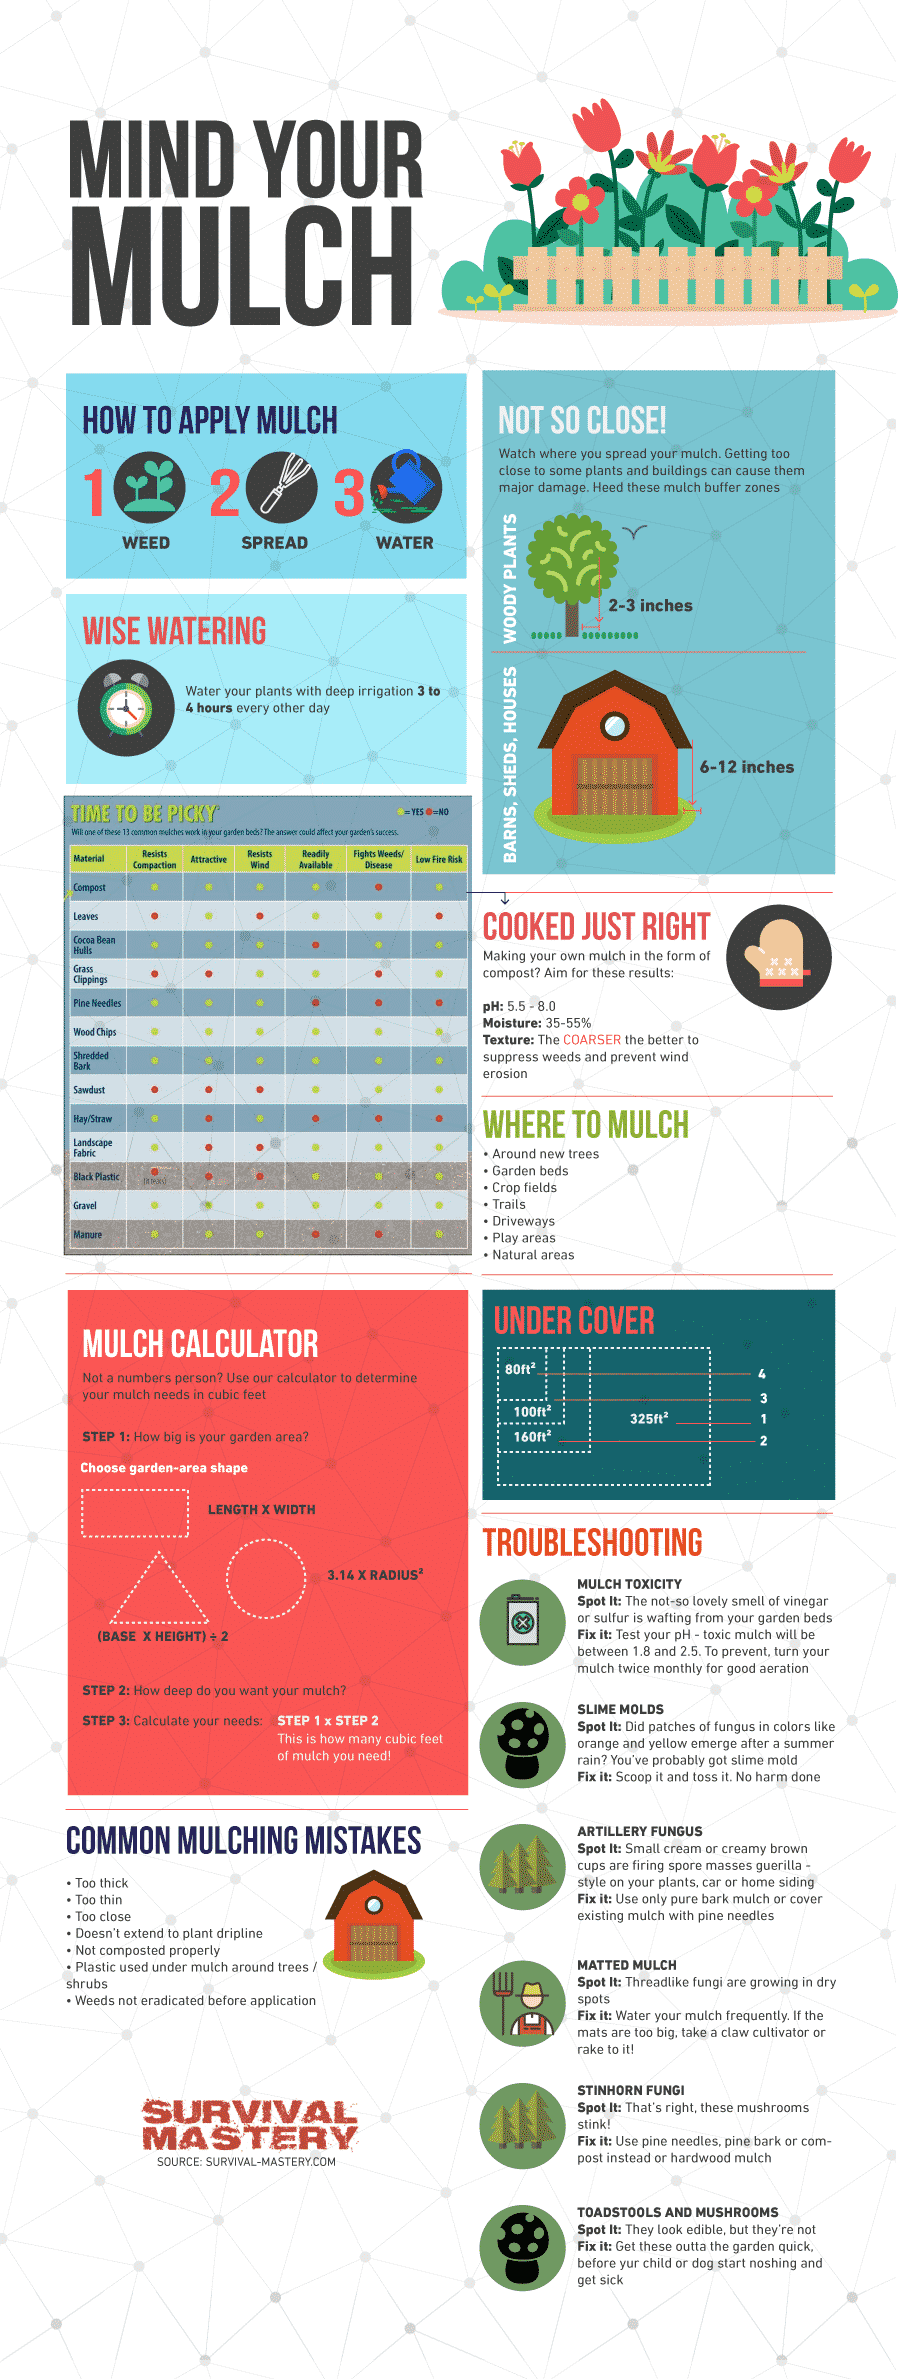
Surviving lies in preparedness and sustainability and one clear sign of being sustainable and self-sufficient is to have your own SHTF “secret” garden. For this, you will have to learn how to make mulch in order to feed your plants. What is mulch exactly and why is it good for your garden? Well, the best way of making sure your crops have everything they need to fully grow and feed you and your family is to “feed” your crops as well. Now, the thing you will feed it with is called mulch.
[the_ad_placement id=”in-text-1-type-r”]First of all, you have probably noticed that organic counts as the best choice possible, whether we are talking about food or garden fertilizers – that is perfectly normal as all you need is organic mulch in order to make your garden healthy and fertile. To make things better, making your own mulch will probably cost you nothing or very little.
See also: How to Build A Greenhouse: Grow Your Own Vegetables at Home
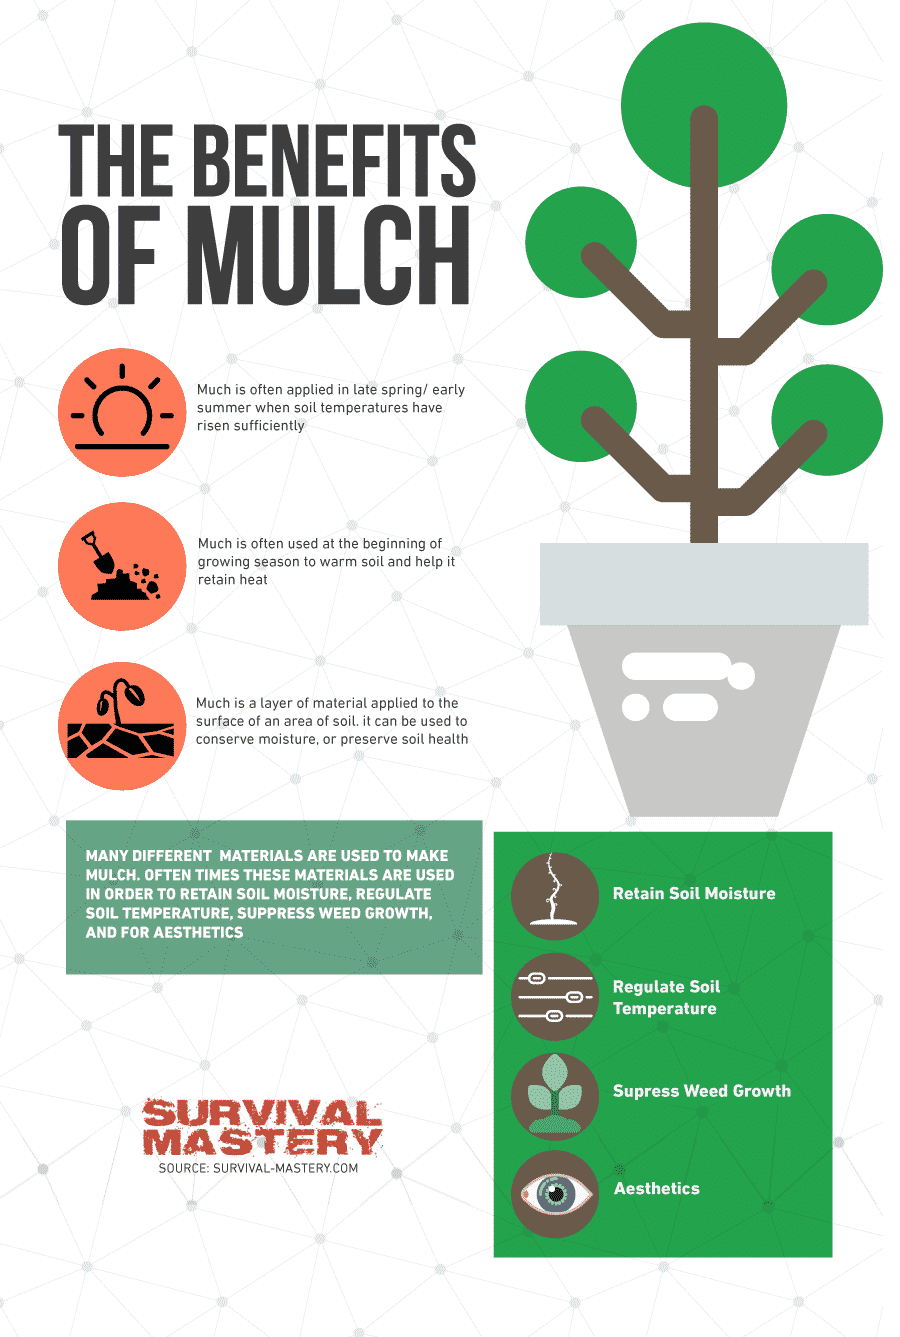
Mulch is a type of organic mixture used to “feed” your plants by being spread over the flower bed and soil. It serves the purpose of adding moist to the soil and helping the soil retain and obtain the moist needed for production of crops. It will also work great for your garden by keeping the plants warm during the winter, also keeping them pleasantly cool during hot summer days. It works as a completely organic healthy, pesticide-free fertilizer, so there is every possible good reason for choosing to use mulch.
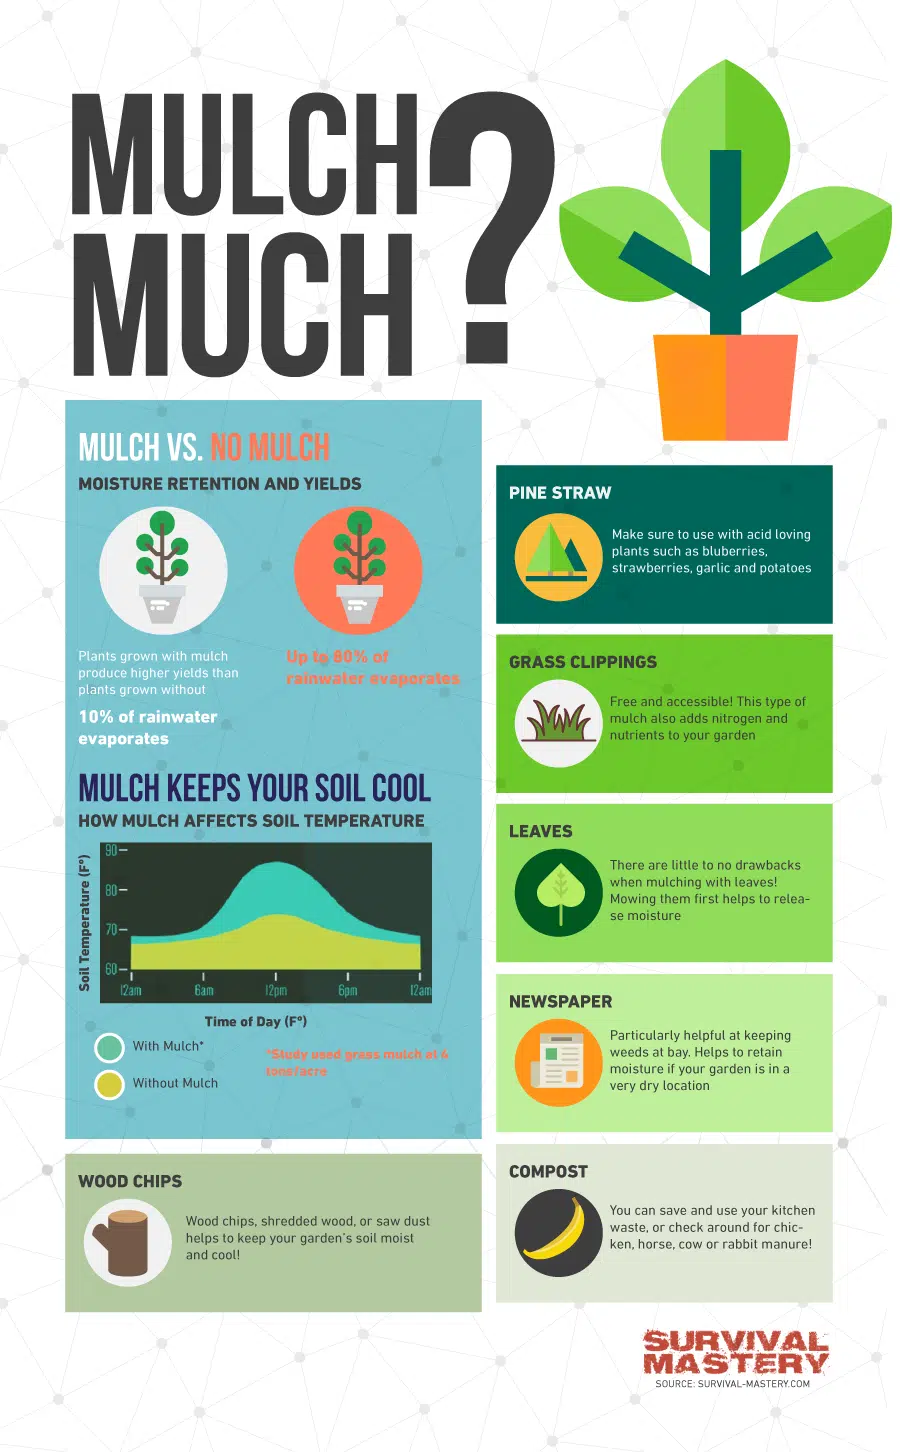
That is why we will discuss the subject of making mulch, so you can use your own compost whenever needed instead of buying pesticides and/or expensive fertilizers. Let’s start with some gardening by first learning how to make some good old healthy mulch to keep your crops healthy and your garden rich!
Step #1: Find the right spot
The first step would be finding the right spot in your garden. The right spot would be the spot you don’t normally use for anything – a clear patch of your backyard where nothing is planted or is planning to be planted. The spot you choose needs to be completely clear of leaves, plants and grass – only dirt, nothing else. You will mark that spot and have it chosen to be completely flat. This is the spot where you will make your mulch. If there is grass under the thick layer of mulch you will, be making, the grass will die out underneath and around.
Step #2: Collecting
Mulch is made out of organic material – all the material needed thus can be collected from all around. You can start with collecting leaves in the fall. Whatever other type of organic material you are planning on using, leaves will surely make a great base for your mulch.
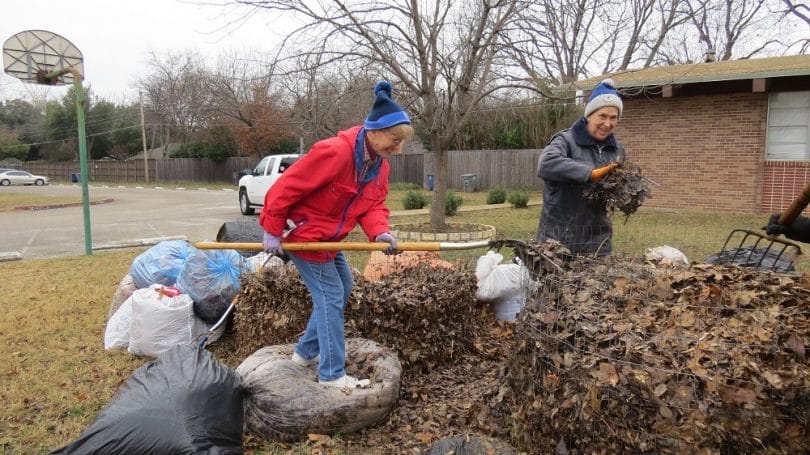
As you are cleaning your garden every day as the leaves are falling, collect the leaves and place them in a barrel or in a wheelbarrow until you fill the whole thing up. Collect as many leaves as you can as you can make more mulch piles at the same time. Here is what the other mulch pile can serve you for:
Mulch as compost
To motivate your plants to grow better and faster, you have to feed them with minerals and everything they need for proper growth. That’s why you can use mulch as compost as well. The process of making mulch will be the same.
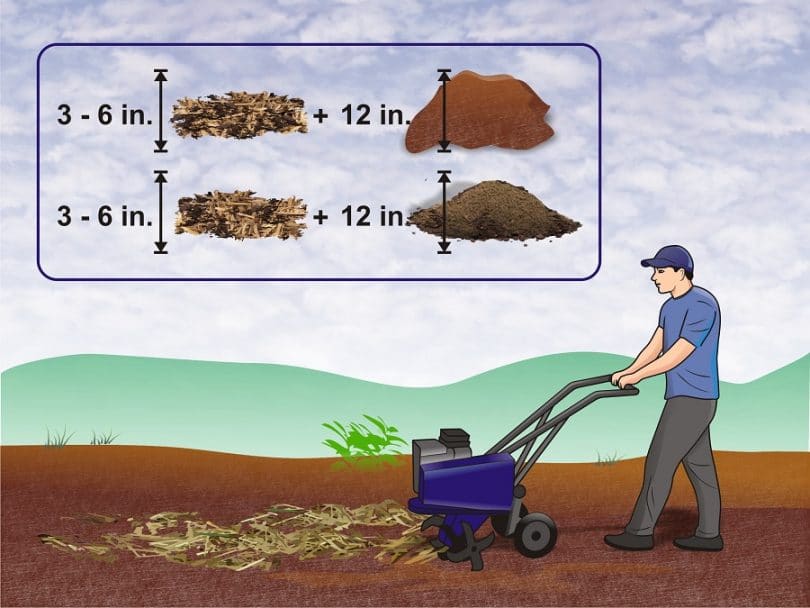
The only difference is that you will have the mulch you have made rest longer with all the “ingredients” resting longer than the actual mulch. That way all organic material you used for making mulch will have more time to decompose, changing chemical content and acting differently when in touch with soil and plants, making the soil more fertile. You can mix compost with mulch, combining two layers, one of each, to apply on the soil in your garden.
Step #3: Shredding
The collected leaves for your mulch should be shredded well before being placed on the spot you have picked as the spot to keep your mulch at. There are several techniques you can use for shredding the leaves: you can have them shredded by using a shovel or you can have the leaves ready to become mulch by using a lawn mower.
If you are using a lawn mower you just need to place the leaves on the place you’ve previously picked for this purpose and just run over the leaves with a mower. However, the easiest way of taking care of shredding is to use the actual shredder. You can have the shredder placed just beside the mulch spot so all the shredded leaves would go directly where they are supposed to.
If you don’t have a shredder and you are planning on making mulch more than once, you should probably consider buying one for your personal use just to make all the work around shredding a lot easier than it would be if you would choose to work with a shovel or a mower.
Step #4: Sticks and wooden chips
Besides from collecting leaves, you should also collect other organic materials you can find around your backyard, including sticks, twigs and wooden chips. You can also use remains of mowed grass, which you wouldn’t have to shred as it will decompose easier than wooden organic matter.
[the_ad_placement id=”in-text-2-type-r”]For shredding wooden organic material, we recommend using an electric wood chipper in order to have all the material shredded properly and ready to add to the shredded leaves.
The wooden material should be then added to the leaves by spreading the wooden chips across and on top of the leaves to rest.
Step #5: Let it rest
The mulch you have made should rest the entire winter, so that would mean that you should have it decomposing for more than 3 months. During the fall, you can collect any organic material that crosses your mind, shredding or mashing it for this purpose – if you want to make compost out of mulch, you can add collected fruits that cannot be eaten but can have a great purpose when it comes to helping your crops grow better. If you are making compost, then you should let the mulch rest a while longer and use it in the summer or in the late spring.
Step #6: Applying
When your mulch is ready to be used, you should be careful with how you apply it considering the amount you are using for your garden or flower beds.
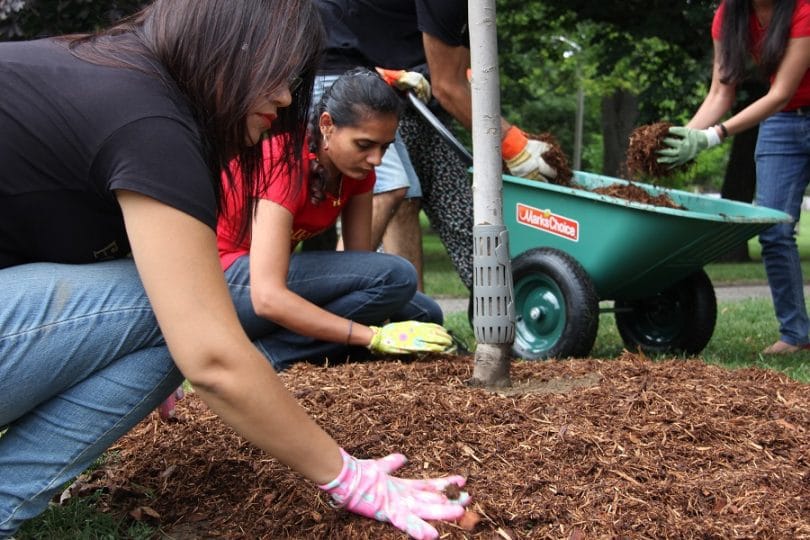
Use the mulch in the early spring by applying it with a rake, evenly spreading it across the surface where your crops are planted. The layer of mulch should be about 5 cm thick. Whenever the layer gets thinner, you should add more mulch and renew the layer to be 5 cm thick again.
During the fall, you should still be adding the mulch to protect your plants from freezing as mulch will do a great job protecting the seeds from cold weather. During the summer, you can use mulch to prevent the plants overheating during great heats. Check out our tips on how to stock a survival garden for more information.
Benefits of using organic mulch
The best thing about having organic mulch made is that you can make it all by yourself so you know what type of material you are using for your plants. That way you know that there is nothing that can harm you or the well being of your plants added to the mulch solution – you know that your mulch is completely pesticide and toxic-free.
Second, you can make as much mulch as you want and whenever you want. You can make several piles of mulch and use it as compost. This way your plants will grow better as the compost acts as fertilizer, expanding every chance for successful growth and prosperous gardening.
If you are having troubles with controlling the growth of weed in your garden and you still don’t want to use pesticides to get rid of the grass, having mulch spread across your garden is the right choice. You will have a pesticide-free way of getting rid of all the weeds. The mulch is preventing the weeds from growing and, the in case you have troubles with stubborn weed, mulch will prevent it from collecting all the useful minerals that would do well to your plants.
When talking about all the benefits organic pesticide-free homemade mulch has, we have to stress out the importance of having your plants protected from great heats and vicious cold on chill winter days.
By using mulch, you will keep your plants warm during the winter. This is supposed to be nature’s job: the snow falls and covers up soil, warming the plants up, but if there is no snow when days are the coldest, only the “stubborn” plants like weeds will survive the winter. If you don’t want to test your luck and have your chances with hoping your plants will survive, you can act promptly by applying mulch to protect your plants.
During the summer, soil gets drier and the amount of water used for watering grows proportionally with heat, along the way your water bills grow accordingly. To try and keep the moist in the soil which will benefit your plants, you can have mulch spread across your garden, using a 5 cm layer. It will also prevent the plants from overheating and dying due to extreme heat which could happen in case temperatures are above the normal.
Properly applying mulch
Before applying that 5 cm layer of mulch and spreading it across the soil, you first need to make sure that the area is completely free of weeds.
You will need to pull all the weeds out of the soil before applying the mulch otherwise the weeds might grow through the mulch. If you pull it out of the soil before applying the mulch, the mulch solution will prevent it from growing back, keeping all useful minerals only for the plants you are growing instead of having wild weeds using all the benefits of much needed minerals.
Not all the parts of your garden are equally affected by direct sunlight – some spots are probably under a shade. The shady spots in your garden should have less mulch applied. For example, shady parts should have from 2.5 to 5 cm of mulch applied and in accordance with this rule, the garden spots under direct sunlight should have that number doubled.
What you need to know is that you should never apply too much mulch, which means the maximal thickness of the mulch layer applied should not go over 10 cm. This is the case because you need to allow the plants to breathe.
At last, if you want to prevent the mulch from decomposing completely turning into compost, you should put a plastic sheet underneath – this will prevent organic materials you used for making mulch from completely decomposing, keeping the mulch fresh.
[the_ad_placement id=”in-text-3-type-r”]Having your own garden and being able to take care of it all by yourself in the spirit of sustainability is very important for any SHTF scenario that might occur. By learning how to make mulch, you are being taught a new way of being sustainable so you would be able to get the most out of your crops and keep the soil healthy for years.
Along the way, you will be able to save money as ingredients for mulch will cost you nothing or very little. The only thing you should consider investing in is buying an electric leaf shredder to make shredding a lot easier. Electric wood chipper can be rented so you can use it for shredding wood chips and twigs, but if you are planning on making mulch on long term basis, we also recommend you invest in buying one for your personal use. In case electricity is a problem, see our review of the best solar panels to take care of your energy needs.
Having a garden of your own is a true blessing and a real benefit when it comes to surviving, and now that you know how to make and use mulch, gardening can only get easier.
Have you prepared for the future? Check out our guide on how to survive societal collapse to help you.




One thing I learned as a beginner gardener is if the smell of mulch disturbs you or it smells rotten, it’s a sign that it got wet and anaerobic. You can remedy this by mixing it to add air. You need to rake through the pile and fluff it to add air. This will encourage aerobic microorganisms to grow instead of the anaerobic micro-organism and the smell will go back to being just earthy and not rotten.
Another tip on making mulch is to lay down thick layers of wet newspaper below the mulch bed to prevent the weeds from growing. There are gardeners that use plastic mulch on the bottom of the organic mulch for this purpose but I prefer using newspapers because when they decay, they end up mixing with the mulch.
You can make as much mulch as you want and whenever you want, as long as you get the entire process right.
Just remember to use all the mulch or else it will eventually turn to compost.