Surprisingly, before the 1990s you would not have heard much about hydration bladders at all, never mind considering looking for the best hydration bladder money can buy. It was in the early 1990s that these convenient hydration units were made available on a commercial level.
[the_ad_placement id=”in-text-1-type-a”]The conveniences that a hydration bladder provides are myriad, and this is why they are coveted by cyclists, hikers, and other athletes who spend a lot of time outdoors. Of course, the chief convenience of the hydration bladder is the fact that they offer hands-free access to necessary water and fluids. Thus the athlete, cyclist, runner, or hiker can use the hydration bladder at any given time, even while working out without having to stop to do so.
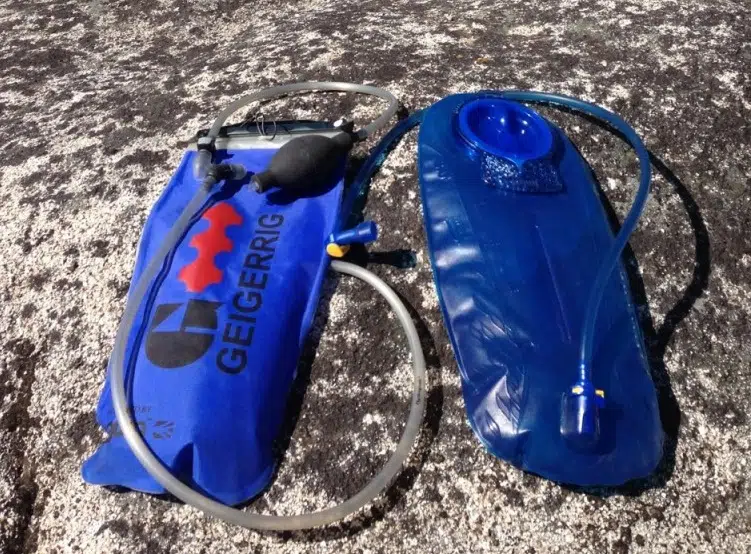
The manufacturers of hydration bladders have continued to improve the features of these units with each passing year, and so there are a lot of options for those seeking to invest in a quality unit.
Backpack compatibility considerations
When you are exercising outdoors, it is vital that you remain hydrated and that you consume the right amount of water. If you are in normal weather conditions and you are an average sized athlete, you will need about 20 to 25 ounces of water per hour.
See also: Water Poisoning: How to Detect Hyponatremia + Treatments List
If the outdoor conditions are cooler and you are a lighter athlete, you will require only 16 to 18 ounces of water and hour. Finally, in hot weather, heavier athletes require as much as 28 ounces of water an hour.
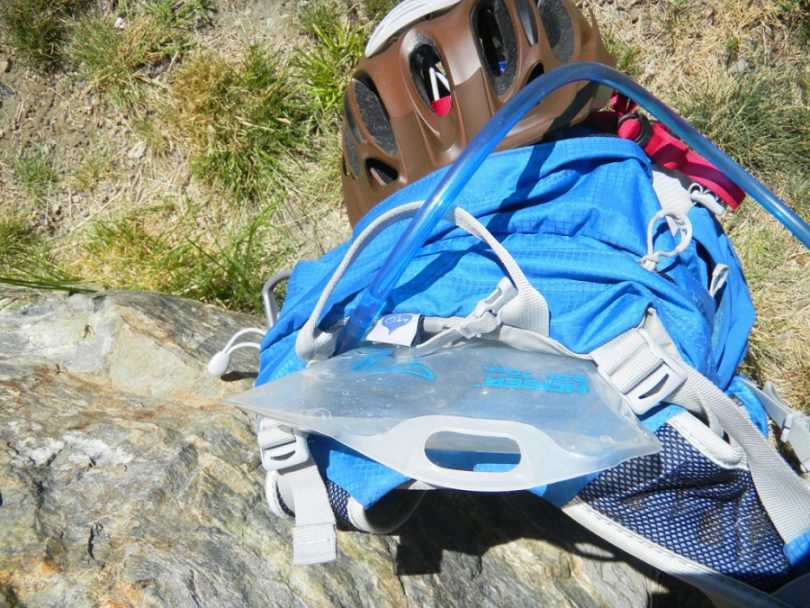
Initially, before you can invest in a hydration bladder you will have to know what size you require and what bladder will be compatible with your existing backpack. Keep in mind that hydration bladders are, in general, similar in terms of their shape, but their size may vary and even with a similar shape you will sometimes note a few variations. Design differences are highly dependent on the manufacturer. The common sizes you can get hydration bladders and include all of the following:
- 1-Liter or 33.8 ounces
- 2-Liter or 67.63 ounces
- 3-Liter or 101.44 ounces
If you want to get the most bang for your buck, it is best to invest in the largest hydration bladder possible. When you buy the 3-Liter bladder you will pay about the same price you would for a smaller bladder and you will be able to get almost as much as three times the fluid you would get with a 1-Liter unit and almost 50% more fluid than you get from the 2-Liter option.
Just keep in mind you should only invest in a 3-Liter unit if it will actually fit into your backpack. Otherwise you will have a very tight fit in the backpack or you will be buying a newer backpack to go along with the unit: This means additional cost when making your initial investment.
Hydration bladder styles
Typically, there are two different styles of hydration bladders that you can choose from when you are looking for an exceptional hydration unit. The option to have before you include the zip top and screw cap hydration units.
The screw cap hydration bladder, of course, allows the user to screw the cap onto the bladder once it is filled with water. In contrast, the zip top unit looks a lot like zip lock storage bags with units featuring additional closure reinforcements.
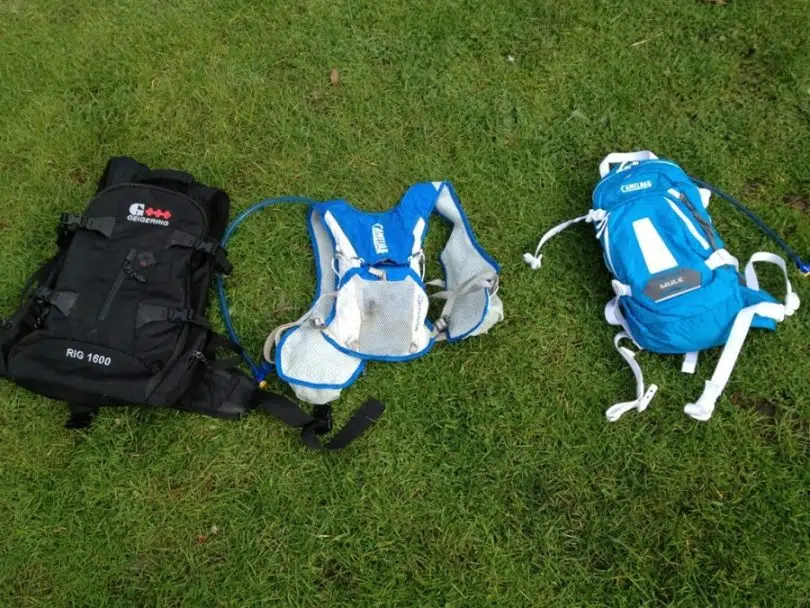
With either selection, you will find the bladder quite easy to open and fill. If you will be filling the unit from a drinking fountain or a sink with a shallow basin, you will want the screw cap bladder unit because you can hold the unit diagonally or horizontally when filling it to capacity.
If you think you might be filling in the hydration bladder outdoors where you can access fresh spring water, a bit of trickling water or slow-moving or near still stream, zip lock hydration caps are a better idea.
The main advantage the screw cap bladder has over its counterpart is the fact that the user is capable of filling the unit to capacity. With the zip lock bladders, there is an area remaining for air to prevent spillage when closing it.
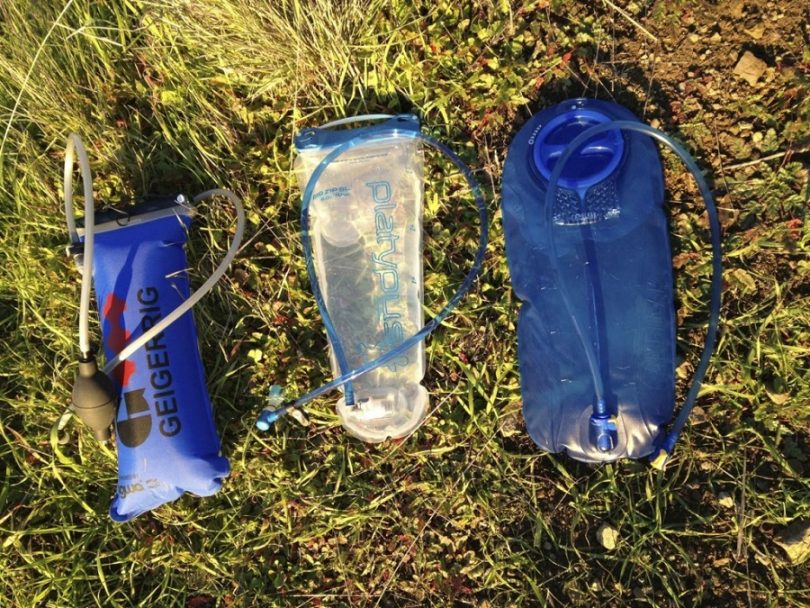
When first introduced, hydration bladders were actually hydration packs. Once consumer demand made it obvious that these packs were popular, backpack designers started making bags with compartments for the hydration bladder.
There are many different bags now allowing you to install a hydration bladder. The different designs determine how you insert the straw or configure the shoulder straps and drinking tube.
Cargo space and pack size
Hiking: Just as it is important to give consideration to the capacity of the bladder you intend by, it is equally important to think about the capacity of the cargo space in the backpack you will be using with the bladder. The biggest backpacks compatible with hydration units have 2,500 cubic inches of cargo space: This is equivalent to about 41 Liters.
The latter type of bag is ideal for overnight excursions. As an alternative, you can combine climbing packs with a bladder while still leaving 1,800 cubic inches of space inside the bag to carry your gear and personal items: This is equivalent to 29-Liters of gear-storing space.
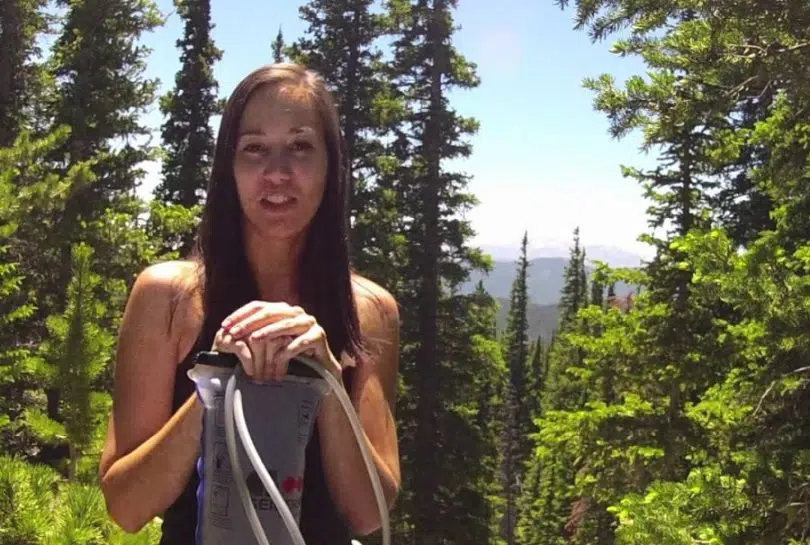
Mountain biking: These types of packs give you a couple of options. You can opt for a light backpack with 100 cubic inches of space compatible with a 3-Liter unit or if you want something larger, there are options all the way up to 23 Liters or 1400 cubic inches of space.
In contrast, trail runner waist packs and road bike packs are small and light enough to ensure that wind resistance is minimal and the pack is going to be carried on the user’s back.
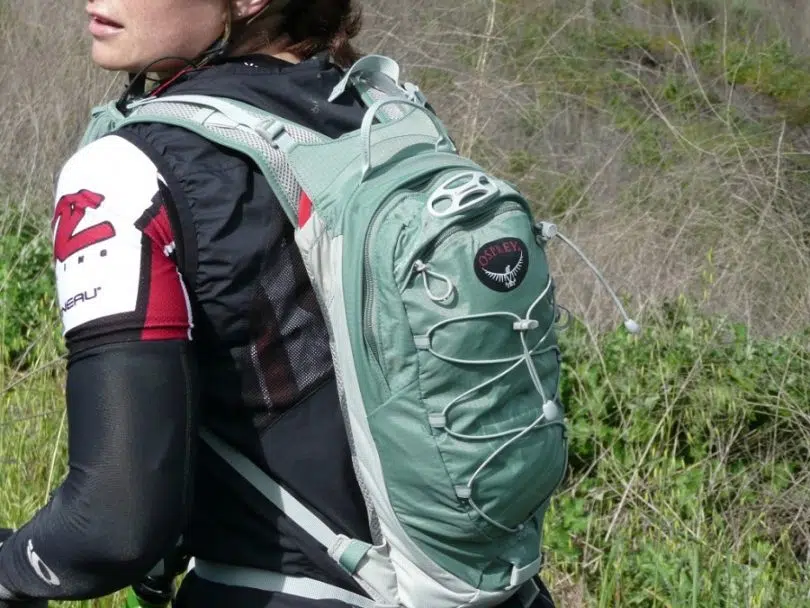
If you are a skier or you are into snowboarding, you will definitely want to have additional clothing with you whenever you are outdoors enjoying your favorite sport: If so, you can opt for the larger hydration packs coupled with the equally large cargo areas. Or, if you prefer, you can opt for a light bag in a small hydration pack.
For natural body heat will help in keeping the water from freezing so you can drink it.
Recommend volumes for reservoirs
The different reservoir options when it comes to hydration bladders are really ideal for specific situations. If you follow the guidelines presented here, you can ensure the bladder you select meets your hydration needs. Choosing the correct reservoir size will ensure you are carrying only the load you need to and that you will have all the water you need during your exercise/play sessions.
| Reservoir size | Recommended uses |
| 1-1.5 Liter Hydration Bladders
34-50 ounces |
Bike riding (recreational and/or short distances.) The lighter bladder and bag will ensure ease of transport and less wind resistance.
Keeping children hydrated while they are enjoying outdoor activities. Perfect for the minimalist who wants to deal with as little gear as possible. |
| 2-Liter Hydration Bladders
|
Hiking: Will work for an overnight excursion or a day hike.
Jogging/Running: The right size to not prove burdensome during exercise. Short distance cycling: Little to no wind resistance. Speed walking/Walking: Providing sufficient hydration for your walk session.
|
| 3-Liter Hydration Bladders
102 ounces |
Ideal in hot conditions of if you are a heavier athlete
A must have in a region where water might otherwise be limited Not recommended for someone in need of a light backpack unless you only fill the bladder part way when you need less water. |
No matter what reservoir option you ultimately choose, you must know in advance that you want to use only water in your hydration bladder. Juices and sodas can clog up the hose of the unit in a hurry and are next to impossible to clean. You will also want to refrain from using milk through the sip tube because, again, it causes an issue with cleaning the unit. For more tips on how to clean a camelbak, see our article on this topic for more information.
Bite valves & sip tubes
When it comes to drinking the water in the hydration bladder, there are two means for doing so: via the Sip tubes or bite valves.
With the bit valve you have a small tube protruding from the bladder that acts as a mini-straw of sorts. The valve is made of polyurethane materials or silicone. If the bite valve is manufactured out of polyurethane materials, then it is likely the valve may produce a slight plastic taste when you are drinking the water – this is especially true the newer the bladder.
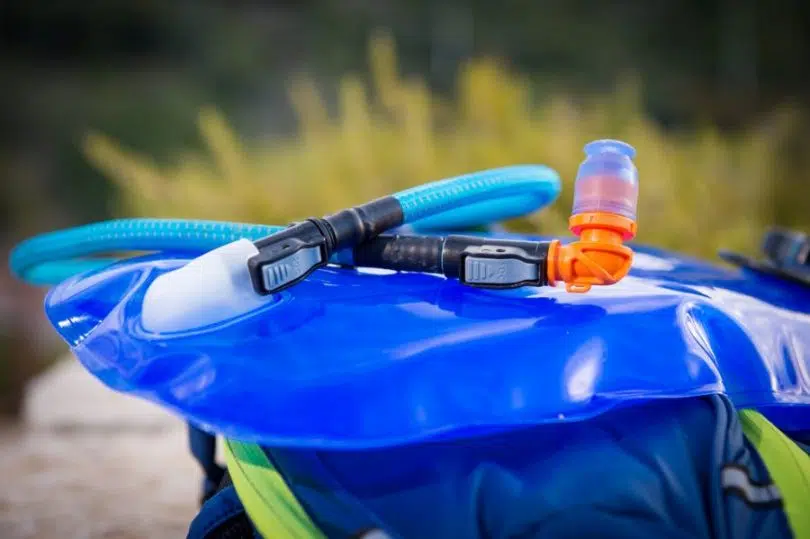
If you invest in the bladders fitted with twist on and off bite valves, you will find that these units are far less likely to leak. You can also expect to have to replace the bite valve as a few times over the lifetime of hydration bladder ownership. Experts recommend that you allow the interior of the bite valve to dry out or remove the bite valve and dry it out manually by shaking it.
A short stint in the sunlight can also help. To maintain the longevity of a bite valve, make sure you do not bite down on it too hard when using the unit.
Some bladders have hoses featuring a quick release for speedier cleaning of the units. The tubes are long enough to wrap up and around the body so the hose opening is near the face and mouth during exercise. Slits are available for positioning the hose so it can rest on either of the shoulders.
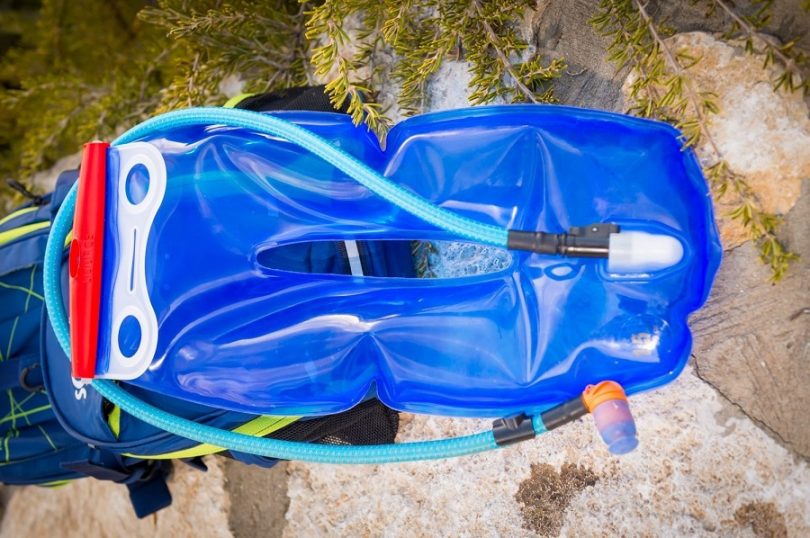
There may be a clip that will help in holding the hose in position as well. Finally, you might also find a number of winterization features such as bite cover valves, reservoir covers, insulated reservoirs, and insulated sip tubes are among the special accessories that accompany some hydration bladders.
About hydration bladder pressure
Some of the hydration bladders on the market today are pressurized and others are not. If the unit is pressurized it features two chambers in the bladder. You will use one chamber as a hand pump and the other for air. With a pressurized bladder, you can get water to come out of it without having to suck on the sip tube.
Bear in mind that hydration bladders do not need to be pressurized in order to be simple enough to use. With that said, the benefit of pressurized water while you are outdoors is myriad. Pressurized water makes it easier to clean things with greater efficiency.
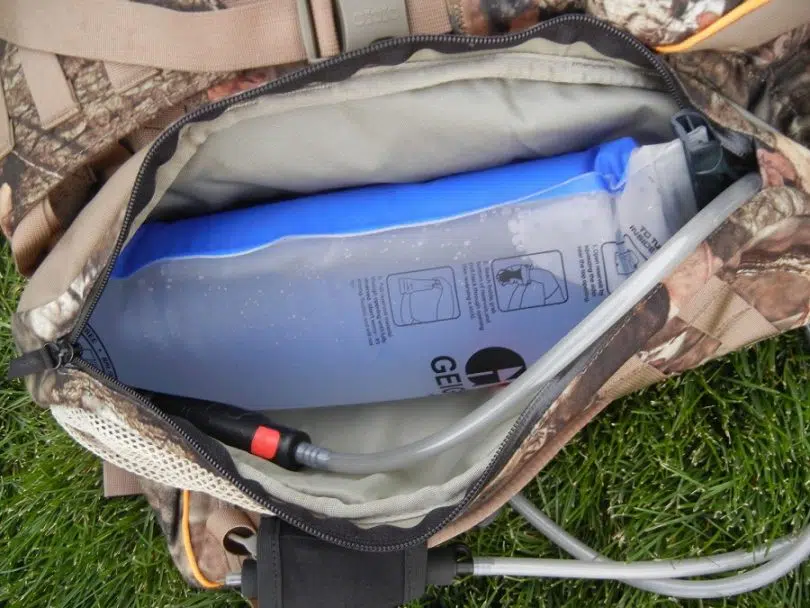
Additional advantages that accompany the pressurized system include the fact that it is easier to keep the tube clean and free of debris: This, of course, does not mean you can forgo avoiding putting fluids in the bladder that are not recommended for the unit. If a manufacturer suggests that you refrain from putting soda, juice, milk, or any other beverage in the bladder it is best to listen lest you run the risk of voiding the product warranty. For the advantages you get with a pressurized hydration bladder, you will pay in a higher initial cost.
[the_ad_placement id=”in-text-2-type-a”]The system is also weightier than the non-pressurized counterpart is. The downside to pressurized systems is they are heavier, more complex and more expensive. So make sure that you really find the bonus uses worth it.
Top products on the market – reviews
Baen Sendi Hydration Bladder
The Baen Sendi Hydration Bladder is available on a two or three liter unit. The three liter unit is a bit more in price, but you end up getting all that additional space at a considerable value. The bladder costs between $12.74 and $39.99, depending on where and when you buy it.
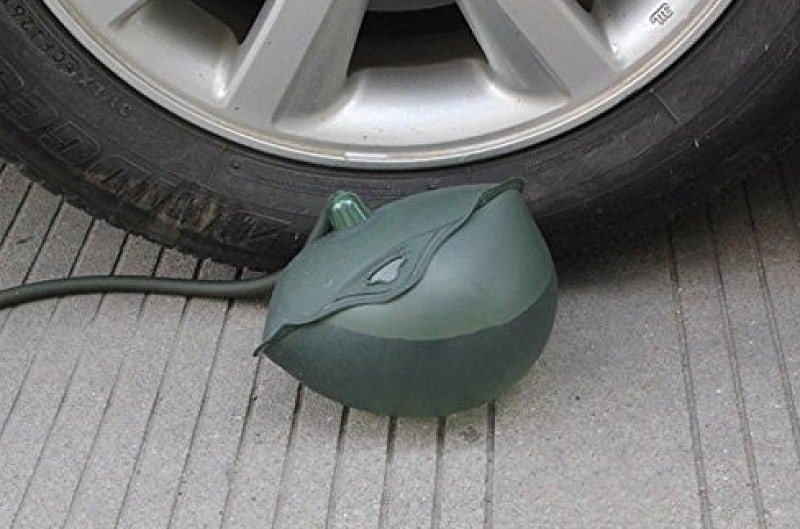
The exterior of the hydration unit is an Army Green color. The bladder is approved by the Food and Drug Administration (FDA) as being manufactured out of food grade high-quality materials and as having anti-bacterial attributes. Ideal for all outdoor sports enthusiasts and for use while running, hiking, camping, and cycling. Additional features include:
- A pressure resistant design
- A wear-proof construction
- Large openings measuring just over 3.5 inches for ease of cleaning the unit. The larger openings make it easier for the user to put ice inside the bladder.
- Manufactured out of (Bisphenol A) BPA-Free, tasteless, odorless, (Thermoplastic Polyurethane) TPU, environmentally friendly materials.
- Capable of withstanding water between -20 and 50 degree Celsius or –4 degrees Fahrenheit to 122 degrees Fahrenheit.
- The unit is durable and elastic
- A dust cover comes with the high flowing bite valve
- The bite valve is fitted with a leak prevention valve switch
- Guaranteed for the lifetime of the unit
- Measures roughly 0.39 x 7.4 x 21.2 inches
If you like this product you can find and purchase it on Amazon.
ErgaLogik Gravity Hydration Bladder
This unit, the Ergalogik Gravity, is available as a 2 Liter bladder and is perfect for use while cycling, skiing, hiking, and running. It is reasonably priced at $14.95, and is sold in blue or gray colors. This bladder has actually been designed by outdoor enthusiasts. The hydration bladder comes with a two year guarantee so you can rest assured in knowing you are buying a risk free unit.
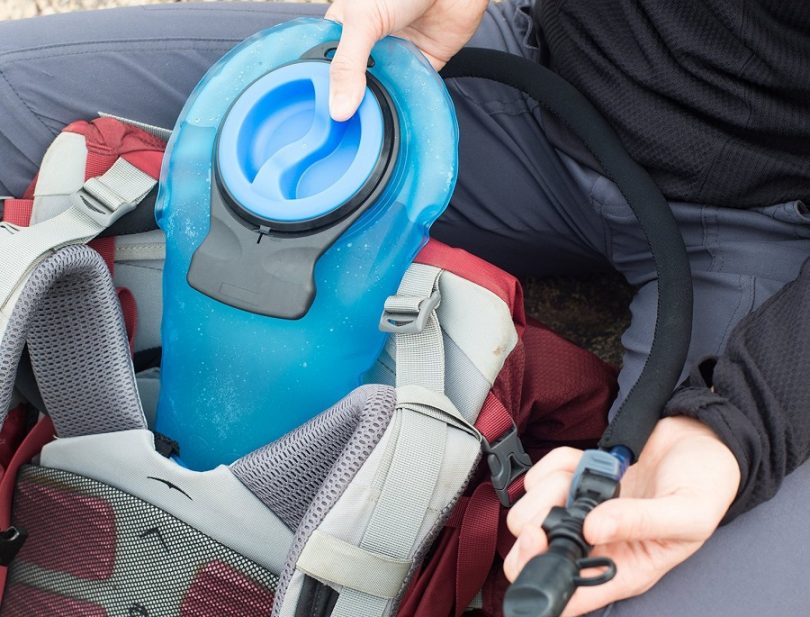
Additional features include:
- A shut off valve on the mouthpiece for leak prevention
- Valve system fitted with an auto locking mechanism – allowing tube disconnection even if the bladder still contains fluid
- A unit made of FDA approved plastic material and one that is free of BPA.
- Eco friendly design
- Insulated tubing that is removable for cleaning purposes. Will prevent overheating and freezing of the liquid inside the tube.
- Measures 0.79 x 4.72 x 11.81 inches
- Weighs just under 0.45 ounces
Like this amazing product? Then you can check its price here.
WACOOL 2 Liter Hydration Pack Bladder
The WACOOL 2 Liter Hydration Bladder is also available in a 100 ounce size. The unit costs about $13.99 to $29.99 depending on where and when you buy the unit. This hydration unit is approved by the FDA and is free of BPA.
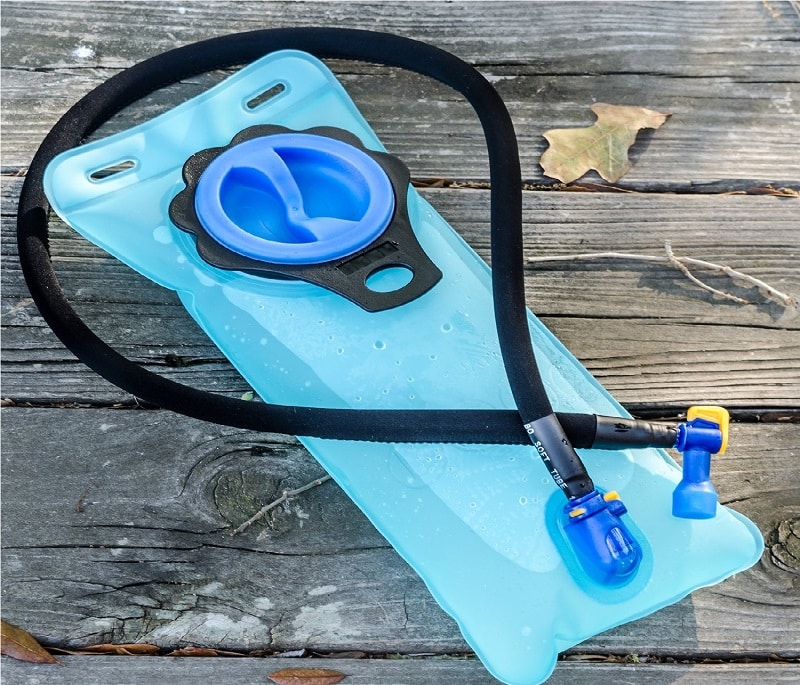
The unit is available in gray, light blue, and green. It measures about 13.4 inches by 7 inches. The inlet for allowing water into the bladder is about 3.5 inches. The tubing for drinking water on the go is about 39 inches long by 0.4 inches in diameter. Additional features include:
- Leakproof structure
- On/off switch
- Quick release
- Odorless and Tasteless
- TPU materials
- Lightweight at 250 grams
- Available in a 3 Liter version as well
- 100 percent satisfaction guarantee
- Compatible with the CamelBak
If you like this product you can find and check its price on Amazon.
Conclusion
An investment in one of the best hydration bladders on the market is definitely a smart investment. You get a lot of conveniences out of a hydration bladder. First, you do not have to interrupt your hike, workout, or cycling to hydrate yourself.
[the_ad_placement id=”in-text-3-type-a”]Second, with water so accessible to you, it is more likely that you will consume the recommended amount of water you require every day. For relatively small expense, you can get a hydration bladder that can serve you well while you are using it for camping, hiking, cycling, jogging, running, or other sporty endeavors. Check out our article on how to avoid dehydration to stay safe.



The WACOOL 2Liter 70oz BPA Free Running Cycling Hiking Hydration Bladder performed well on a hiking trip with my family. It’s a better alternative than carrying several water bottles for each family member during the hike. I like the fact that it had a cover for the mouthpiece to keep it clean. The large opening also made it easy to add ice from the cooler.
The fit of the ErgaLogik Gravity hydration bladder is excellent and very comfortable. The materials used for the pack are great because even when I wore it without a shirt, I didn’t get any chafing around my arms and shoulders. It’s comparable to the more expensive hydration bladder brands. This hydration bladder is also easy to clean and dry out.
In general, hydration bladders are by far the best way of carrying water when compared to water bottles.
You can best stay hydrated by using hydration bladders, and it is beyond any reasonable doubt that the WACOOL 2Liter 70oz BPA Free running/cycling/hiking hydration bladder is among the best.