
People have been making alcohol at home for thousands of years through a simple process that involves a small amount of time and a little bit of Sugar. Yet, we know manufacturing plants will shut down when preparing for life after a collapse.
This means the supply of alcohol on store shelves will eventually be depleted, and you will want to make it for yourself. Alcohol is not just a beverage to be enjoyed, but it is also a disinfectant and painkiller.
Alcohol is also likely to be a hot commodity after a disaster or a collapse. However, you don’t necessarily have to drink all you make, as it will make an excellent bartering item.
The ability to make alcohol is a skill that every survivalist should have.

See also: How to Make Rum: Brew and Distil in Under 2 Weeks
Table of contents
Overview – Alcohol Recipes
Learning the alcohol-making process now will allow you to hone your skills and perfect your recipes while you have time. Alcohol could be the very thing that makes you wealthy in a post-collapse world.
There are many ways to make alcohol, but we’ll focus on three essential recipes. These recipes don’t require fancy equipment or hard-to-find ingredients since this article is about making alcohol after the world has been turned upside down, the faster and more basic the process, the better.
Sugar Wine or Kilju: Alcohol Made from Table Sugar

Kilju combines ordinary table sugar and yeast to create basic alcohol. It will not taste great, but it can be used as fuel or sterilizing medical equipment. Technically, it can be consumed, but it will not taste like alcohol you drank before the end of civilization.
Kilju is a famous poor man’s drink in Finland. It’s consumed solely to get a person drunk and is not meant to be sipped for its fine taste.
When you say the name out loud, you will hear “killed you.” The title will seem appropriate as you suffer through a hangover the next day. When there is no other alcohol, though, kilju will have its place.
#1: Gather Your Supplies
- 2-liter bottle, bucket with a lid or glass jar
- 1 cup table sugar
- 2 teaspoons baker’s yeast (you can use wine yeast if you prefer)
- 4 cups of warm water, around 85 degrees—not hotter or it will kill the yeast
#2: Mix and Wait

Pour the ingredients into a clean, sterile plastic bottle. Give the bottle a gentle shake and swirl the ingredients thoroughly. Place the lid on the bottle, but do not tighten it.
The fermentation process will produce gas, and if the gas cannot escape, the bottle will explode. The escaping gas can smell pretty bad, so place the bottle near a window or outside if you can.
The fermentation process will take about a week. Then, when there is no more bubbling, the fermentation process is over, and your kilju is ready for the next step.
#3: Strain and Drink
Kilju will be very grainy immediately after fermentation, which is why you need to strain it before you drink it. You can filter the Kilju by running it through old pantyhose or a coffee filter.
After straining the kilju, it is ready to drink. Kilju will have anywhere from 16 to 20 percent alcohol content, which is a good little kick. In proof terms, this means your kilju is about 40 proof.
Kilju will not taste very good, but you can add fresh mint leaves or fruit juice to the alcohol to make it a little easier to drink. Kilju should be stored in a bottle with a lid for up to 7 days maximum.
Locating ingredients may be tricky, so check out our Guidelines and Techniques on How to Make Sugar.
Alcohol from Fruit Juice – Wine

If you prefer a fruity drink instead of pure alcohol, you can head to the grocery store and pick up some fruit juice to make your spirits at home. The process is simple and does not require a lot of fancy equipment.
This recipe is quick and easy to follow. The fruit juice adds flavor to the alcohol and can be served with dinner or enjoyed with friends.
#1: Gather the Supplies
You only need a few supplies, which you can buy online or at a brewer’s store. In addition, you can buy the yeast in bulk, which is a good option if you plan on making more than a single batch.
- 1 gallon of 100 percent fruit juice – no sugar added
- 1 air-lock bubbler
- 1 bottle stopper
- ½ cup cane sugar
- ¼ teaspoon wine yeast
#2: Mixing the Drink

Pour a half cup of the juice into a glass. Add the Sugar and yeast, tighten the lid and give the liquid a good shake. Shake the juice until the yeast and Sugar have dissolved.
Pour the juice back into the bottle. Make sure you leave 2 inches of headspace. Place the cap loosely back on the bottle and set the bottle on a plate or inside a baking dish. This will catch any juice that bubbles out.
Leave the bottle sitting for two days.
#3 Two Day Shakes
After two days, tighten the lid on the bottle. Give the bottle a good shake and put the bottle back on the dish, and loosen the top. Allow the bottle to sit for two more days.
After two more days have gone by, repeat the process. The juice may look funky as it goes through this process. Don’t worry; it will look better when you are ready to drink.
#4 Add the Air Lock
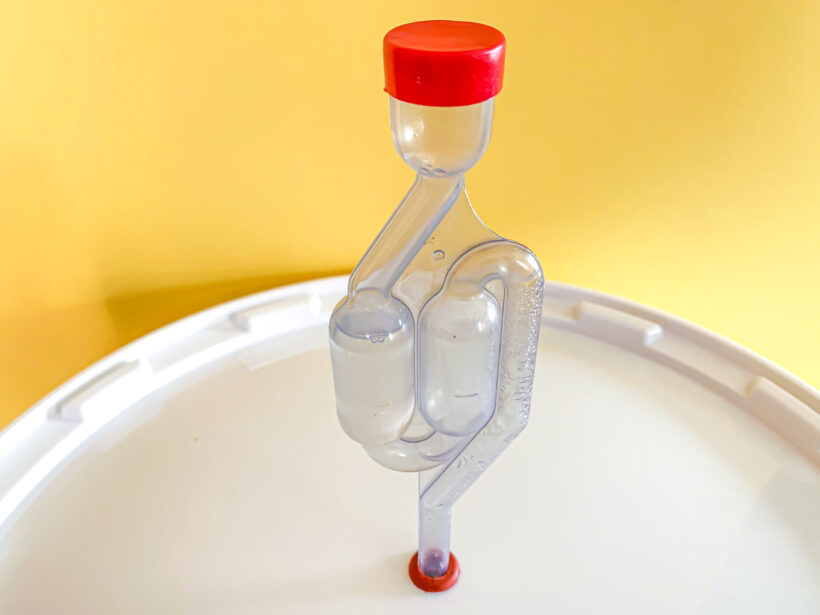
After six days of shaking and waiting, it is time to add the airlock. Fill the airlock halfway with water. Push the stopper into the bottle and then add the airlock. The stopper should be nice and snug.
A fermentation lock or airlock is used when making wine or beer. It allows carbon dioxide to be released during fermentation while not allowing air to enter the fermenter and avoiding oxidation.
#5 More Waiting
The fermentation process will take anywhere from four to six weeks. Check the airlock every few days to ensure it is still half-filled with water. The water keeps out insects that may be interested in sampling your wine while allowing the gas being produced during the process to escape.

When the bubbling stops, and you don’t see anything happening in the airlock or the bottle, the process is finished, and it is time to drink! Pour your wine into a clean glass bottle and cork it for later use or drink it right away.
Moonshine a.k.a “Corn Whiskey”
One of the oldest forms of homemade alcohol is moonshine. While there are pros out there that make hundreds of gallons of moonshine at a time, this tutorial is for the average person who wants to make a little whiskey in the garage.
There are hundreds of variations to these recipes. As you get more familiar with the process, you can tweak the method to suit your tastes. There is a lot of trial and error as you experiment, but every failure is a learning opportunity.

Moonshine is a little more technical than the two methods that we covered earlier.
#1 Gather the Supplies
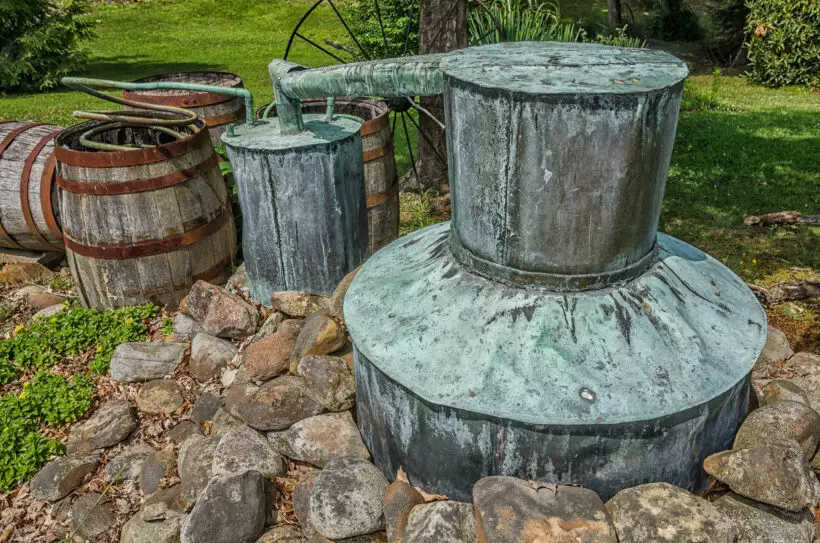
Moonshine is distilled, which means you will need a Still. This can be homemade, or you can buy one at the store. It is easier to buy one, and it is not that expensive, primarily if you use it often.
The first step is going to involve making a mash. The mash will be fermented and ultimately distilled to make the moonshine. The mash is where you get creative once you get the process down. Mash can be tweaked to change the flavor of the moonshine.
Mash Ingredients
- cornmeal
- distiller’s yeast
- water
- sugar
Equipment
- Still
- airlock
- fermenting container – a 5-gallon water jug is a good option if you can’t buy one
- large metal pot
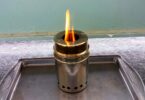
- heat source
- thermometer
#2 Preparing the Mash

This recipe is super easy; the ingredients are all equal. You can start with a small batch. It will always be a 1:1 ratio, which is easy to remember. You will need:
- 5 gallons of water
- 5 pounds of sugar
- 5 pounds of cornmeal
Heat the water to 90 degrees. Pour in the cornmeal and stir. Continue to stir to prevent the cornmeal from scalding. Add in the Sugar and keep going. You can turn off the heat at this point.
Stir the mixture until the Sugar has dissolved. If you don’t have a big enough pot for the whole batch, you can split the recipe and make two batches of mash. Then, it will all be poured together – no need to make a huge mess if you don’t have to.
#3 Making Mash Into Alcohol
Pour the mash into the five-gallon cooler or container of the appropriate size. We recommend using a bucket fermenter, this is generally easier, and you don’t have to worry about fitting an airlock into it. The bucket already comes with the hole, and in many cases, it includes the airlock.
Once you have the mash in the bucket, it is time to add the yeast. You need 2.5 teaspoons of distiller’s yeast to make your moonshine with the 5-gallon recipe. First, use a wooden spoon to mix the yeast or swirl the bucket to mix it in well. Next, place the stopper and airlock into the designated hole on your fermenting bucket.
#4: The Waiting Game
Now, it is all about waiting. First, you must wait for the fermentation process to be completed, and this usually takes about two weeks. Once the fermentation process is over, the process is complete. No more alcohol will be produced if you let it sit another week.
Use a hydrometer to determine whether or not there is still fermentation activity. If you don’t have one, you can usually tell by the amount of bubbling and fizzing happening in the bucket. If there is still some minor fizzing, leave it another day or two and recheck it.
#5: Distillation

Once the fermenting is over, it is time to distill the mash into alcohol. The alcohol percentage will be anywhere from 8 to 20 percent. The distillation process will pull the alcohol out of the mash and provide excellent, clear moonshine.
If you have not bought a Still construct one with the help of somebody who knows how. This is a crucial step in the process, and you don’t want to waste your mash with a Still that doesn’t work correctly.
Distillation Steps
- Pour the mash into the still. While you are pouring, do what you can to leave the sediment in the fermenting bucket. You can run the mash through a coffee filter as you pour it into the still to keep out as much of the fine particles of yeast as possible. Old nylons or a fine strainer will also work.
- Seal the lid onto the still. It has to be tight. There will be a lot of pressure inside the still, and you don’t want the lid blowing off.
- Place a bucket of ice under the condenser. You want it to stay nice and cold and not get heated up during the distillation process.
- Turn on the heat for the still. You want the temperature to be around 185 degrees and no higher than 200 degrees.
- As the still heats up, the first bit of moonshine will be produced. Don’t drink this stuff. If you have made a five-gallon batch, you want to toss out the first 7 ounces or so. This is going to be laden with methanol, and we all know that is pretty toxic.
- Once the bad stuff has been tossed, you can leave the still alone to do its thing. Monitor the temperature to make sure it is not too hot or too cold.
- When the liquid stops dripping out of the pipe, you are finished!
Moonshine Recipes
There are many variations of moonshine recipes. It is impossible to list them all. Great moonshiners have been refining their recipes for centuries to create unique flavors.
The following is a list of variations you can try to change up your moonshine.
- Feed corn instead of cornmeal
- Strawberries instead of cornmeal
- Use blueberries
- Apple cider/apples in place of sugar
- Rye in place of cornmeal
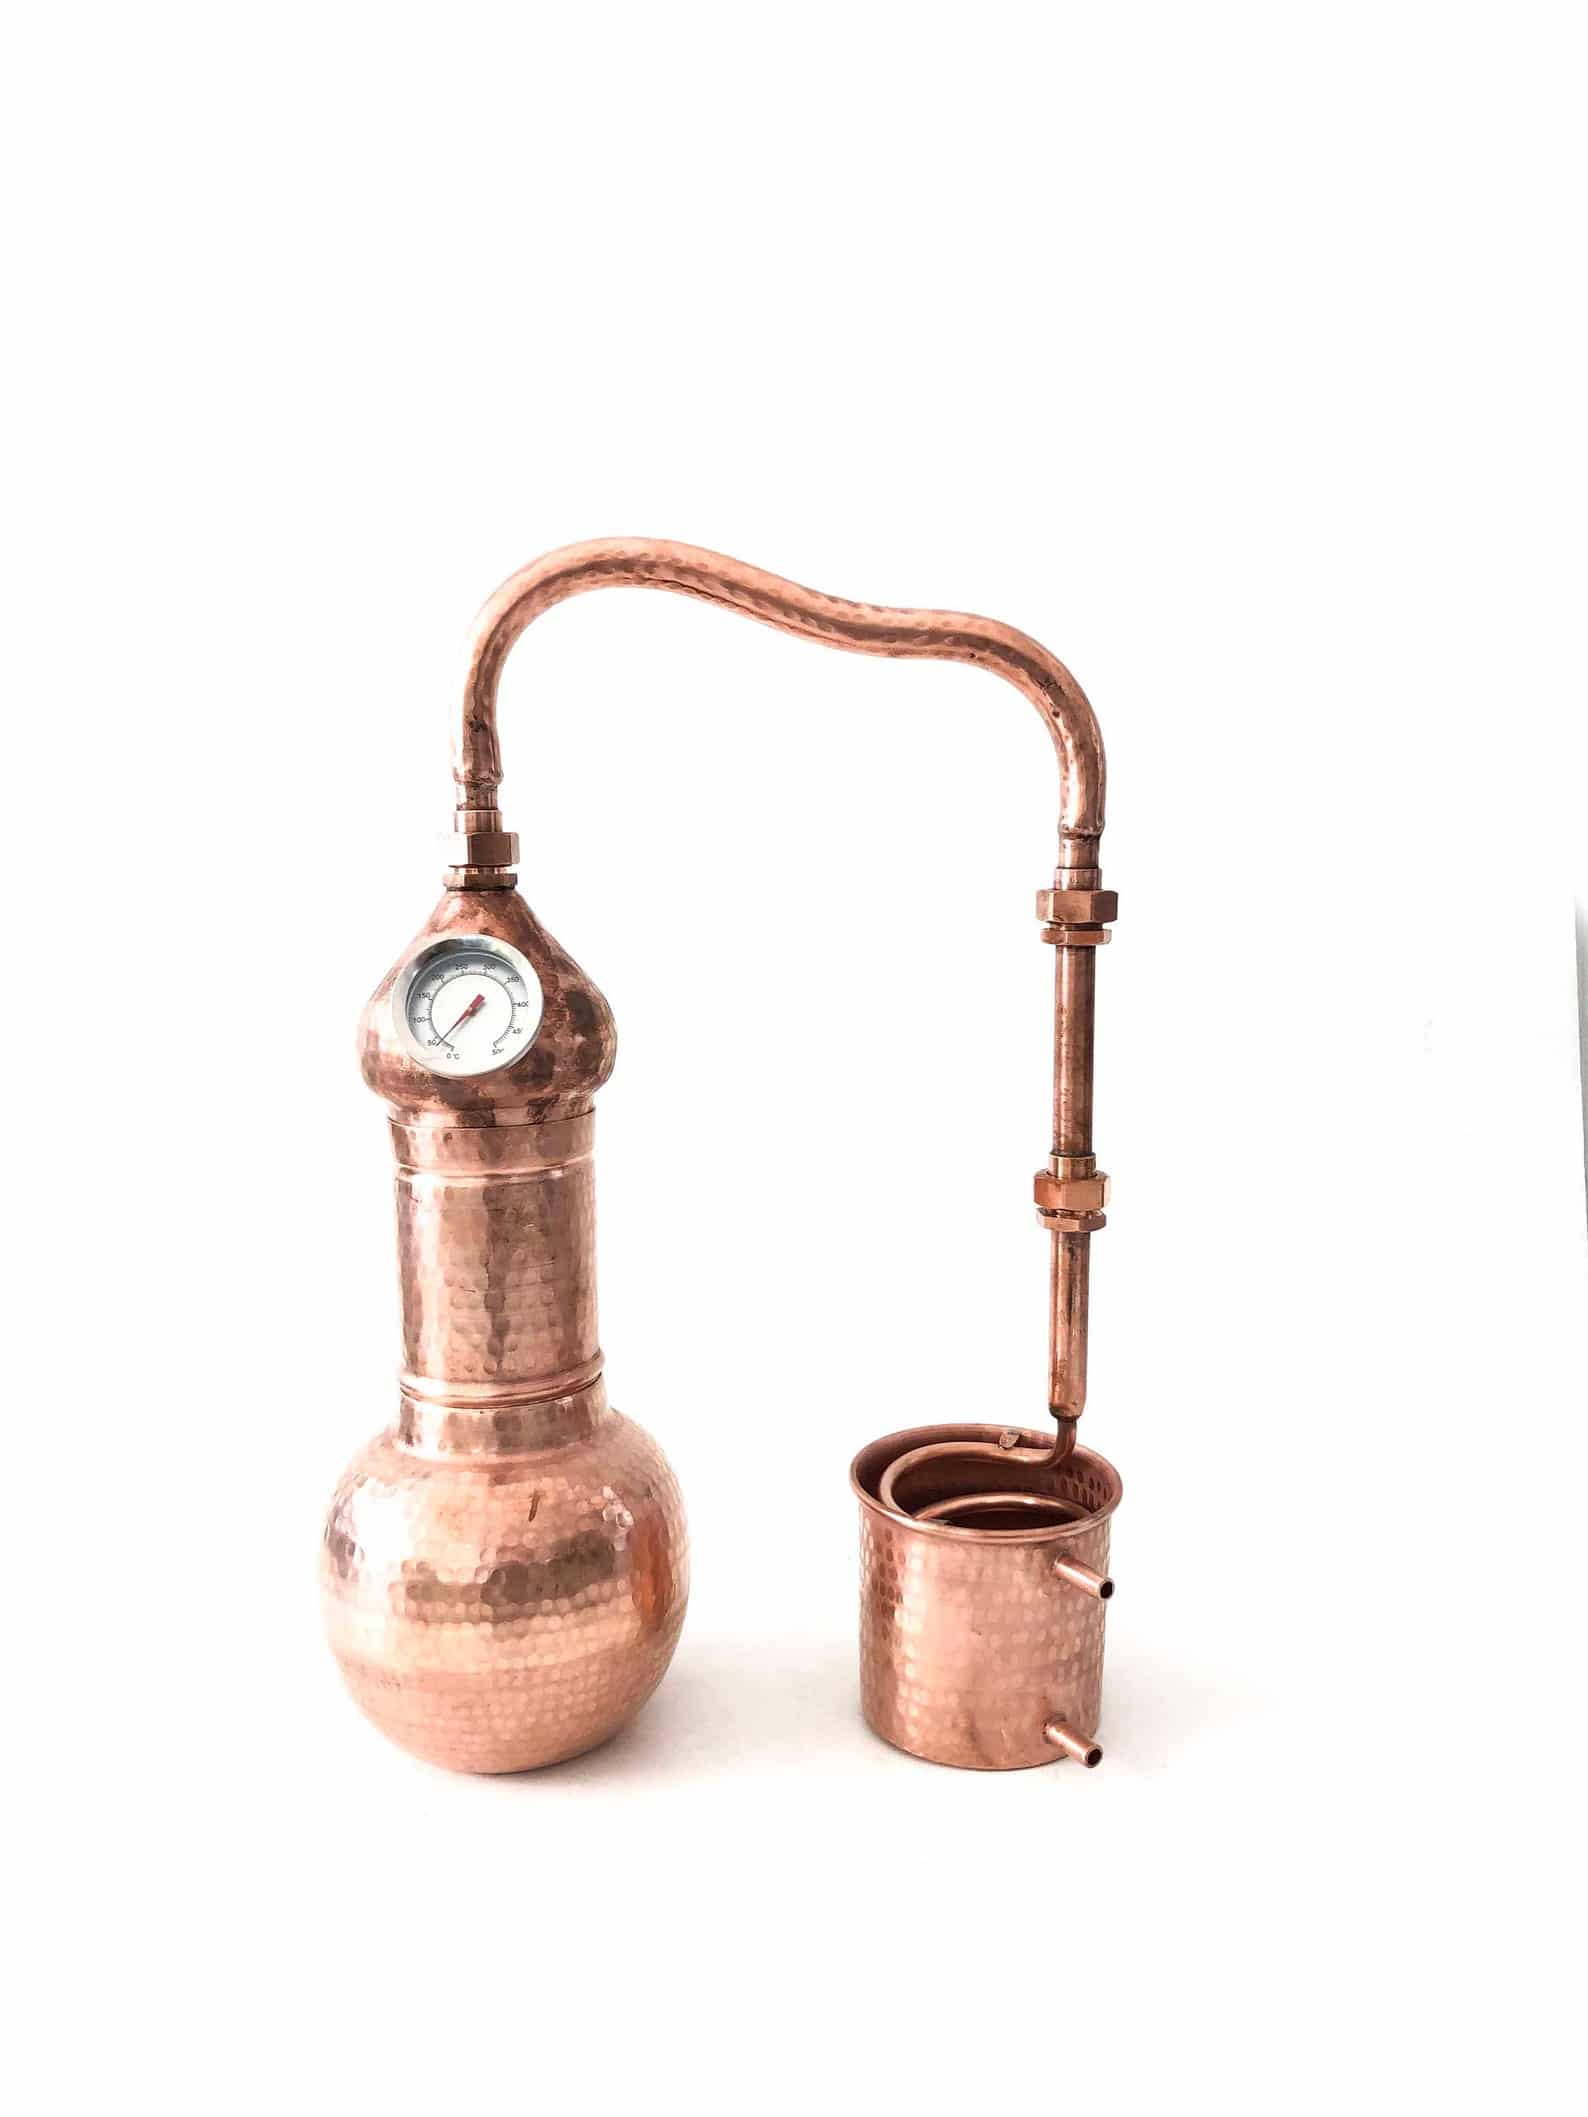
Purchasing a Still
If you are interested in purchasing a still to create some of your recipes, below are some excellent options. The list includes some Amazon options and some cool artisan options from Etsy.


Final Thoughts

Making alcohol at home is much easier than people think. Of course, it can get technical, and there is a lot of room for error when you get fancy, but it is fun. These three recipes keep it simple and basic. All you need is yeast, Sugar, and time.
The alcohol you make at home isn’t going to taste relatively as smooth as a bottle of top-shelf liquor. With experience, though, your alcohol will get improve over time. So now is the time to learn how to make alcohol while quickly buying the ingredients and supplies you need.
There may come a time you can’t run to the store to get a bottle.
You can also check out our article on DIY Wine-making at Home for more options.


This is a very good read. I have also tried making moon shine out of coconut flowers and sugar cane and I have to admit they are quite strong but very tasty. I’ve heard of other home brews from other organic raw materials and would be trying to make them all soon.
Thank you for sharing your experience with us, Kevin
interesting.
I attempted to make a homemade still out of an old hot water urn but had trouble sealing the lid on there.
Where do you buy your ingredients? I have a small potato but am not experienced when it comes to procuring other needed ingredients.
You can find most of the ingredients from grocery stores, such as the table sugar and baker’s yeast.
I’ve got a question about the kilju, I put all the ingredients in my bottle and left it over night and there is not visible change, what should I be looking for to know that it’s working?
I have a couple questions..
I have a lot of Ball canning jars with wide-mouth lids… can I make wine in those? I’ve never seen wine in something like that, and I wonder if the more surface area of air along the top will make something go wrong. I assume there isn’t much of a difference if I just fill them up to the top and put them at an angle; then there is only a tiny bit of surface area. (I can drill holes in the lids for the air locks as well)
Also I’d prefer to buy wine grapes and start from “scratch”; what does that entail?
I know it’s an old article, but just wanted to point out that when you say “85 degrees” and you’re dealing with a global readership, that isn’t specific enough. Do you mean fahrenheit or centigrade / celsius? I will google other kilju recipes, but thanks for the lead :-)
Making the mash for moonshine. You stated to heat it to 90 degrees…..Is this in F or C ?
C